THANK YOU FOR CHOOSING JBL
For more than 50 years, JBL has been involved in every aspect of music and film recording and reproduction, from live performances to monitoring the recordings you play in your home, car or office.
We’re confident that the JBL loudspeaker you have chosen
will provide every note of enjoyment that you expect – and that when you think about purchasing additional audio equipment for your home, car or office, you will once again choose JBL.
Please take a moment to reg- ister your product on our Web site at www.jbl.com. This
enables us to keep you posted on our latest advance- ments, and helps us to better understand our customers and build products that meet their needs and expectations.
JBL Consumer Products
SPEAKER PLACEMENT
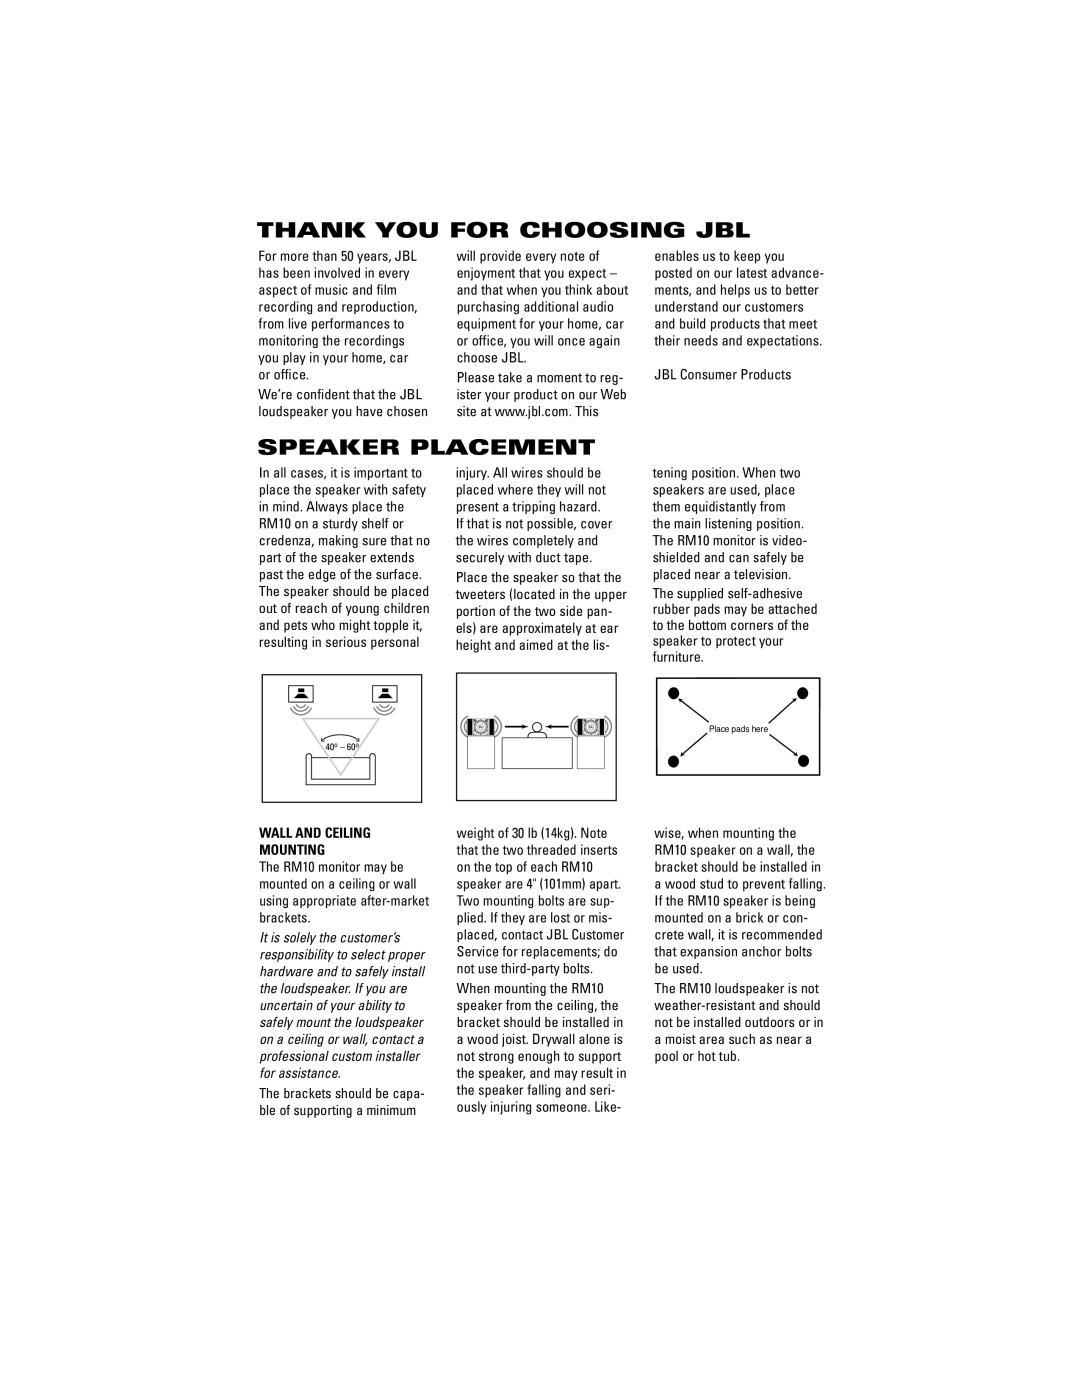
In all cases, it is important to place the speaker with safety in mind. Always place the RM10 on a sturdy shelf or credenza, making sure that no part of the speaker extends past the edge of the surface. The speaker should be placed out of reach of young children and pets who might topple it, resulting in serious personal
injury. All wires should be placed where they will not present a tripping hazard.
If that is not possible, cover the wires completely and securely with duct tape. Place the speaker so that the tweeters (located in the upper portion of the two side pan- els) are approximately at ear height and aimed at the lis-
tening position. When two speakers are used, place them equidistantly from the main listening position. The RM10 monitor is video- shielded and can safely be placed near a television.
The supplied
40o – 60o
Place pads here
WALL AND CEILING
MOUNTING
The RM10 monitor may be mounted on a ceiling or wall using appropriate
It is solely the customer’s responsibility to select proper hardware and to safely install the loudspeaker. If you are uncertain of your ability to safely mount the loudspeaker on a ceiling or wall, contact a professional custom installer for assistance.
The brackets should be capa- ble of supporting a minimum
weight of 30 lb (14kg). Note that the two threaded inserts on the top of each RM10 speaker are 4" (101mm) apart. Two mounting bolts are sup- plied. If they are lost or mis- placed, contact JBL Customer Service for replacements; do not use
wise, when mounting the RM10 speaker on a wall, the bracket should be installed in a wood stud to prevent falling. If the RM10 speaker is being mounted on a brick or con- crete wall, it is recommended that expansion anchor bolts be used.
The RM10 loudspeaker is not