9.When the selected internal temperature of the food has been reached, the oven will shut off and a beep will sound.
10.Remove the probe from the oven receptacle. The probe will be hot. Hold probe plug with an oven mitt or potholder when removing from the oven.
Notes:
•The probe must be removed from the oven when it is not being used.
•Because of the excellent insulation of the oven, the retained heat continues to cook the food after the beep has sounded and the oven has turned off. For this reason, it is important to remove the food from the oven as soon as the beep sounds.
•Use the handle of the probe for inserting or removing. Do not pull on the cable.
•The probe is hot after cooking – use a potholder or oven mitt to remove.
•To clean cooled probe, wipe with a soapy dishcloth. Do not submerge probe in water or wash in dishwasher.
•Gently close the door until the spacer magnet makes contact with the oven door. The magnet will hold the spacer in the proper position during the drying process and allows the door to be opened at any time during drying without losing proper positioning.
Important: If the spacer is not placed correctly, the convection fan will not operate.
2. Press Convect pad.
3.Press the arrow to scroll.
4.Select DRYING.
5.Select a displayed temperature or enter a temperature with the number pads. Temperatures can be set between 100° F and 200° F.
6.DRYING and the temperature will be displayed. PREHEAT will be displayed until the programmed temperature is reached.
7. When drying is complete, remove food from oven and press CANCEL pad.
Follow the Drying Guide on page 24 for drying times. Check foods at minimum times given. Cool foods to room temperature before testing for doneness.
Suggested Internal Food Temperatures
|
| INTERNAL |
FOOD | TEMPERATURE | |
|
|
|
Ground Beef |
| 165° F |
Fresh Beef, Veal, Lamb | Medium Rare | 145° F |
| Medium | 160° F |
| Well Done | 170° F |
Chicken, Turkey | Whole | 180° F |
| Breast | 170° F |
Pork | Medium | 160° F |
| Well Done | 170° F |
| Ham, Precooked | 140° F |
|
|
|
Drying (select models)
For best results, use a drying rack. A drying rack allows air to circulate evenly around the food.
The convection fan will operate during the drying procedure.
To set Drying:
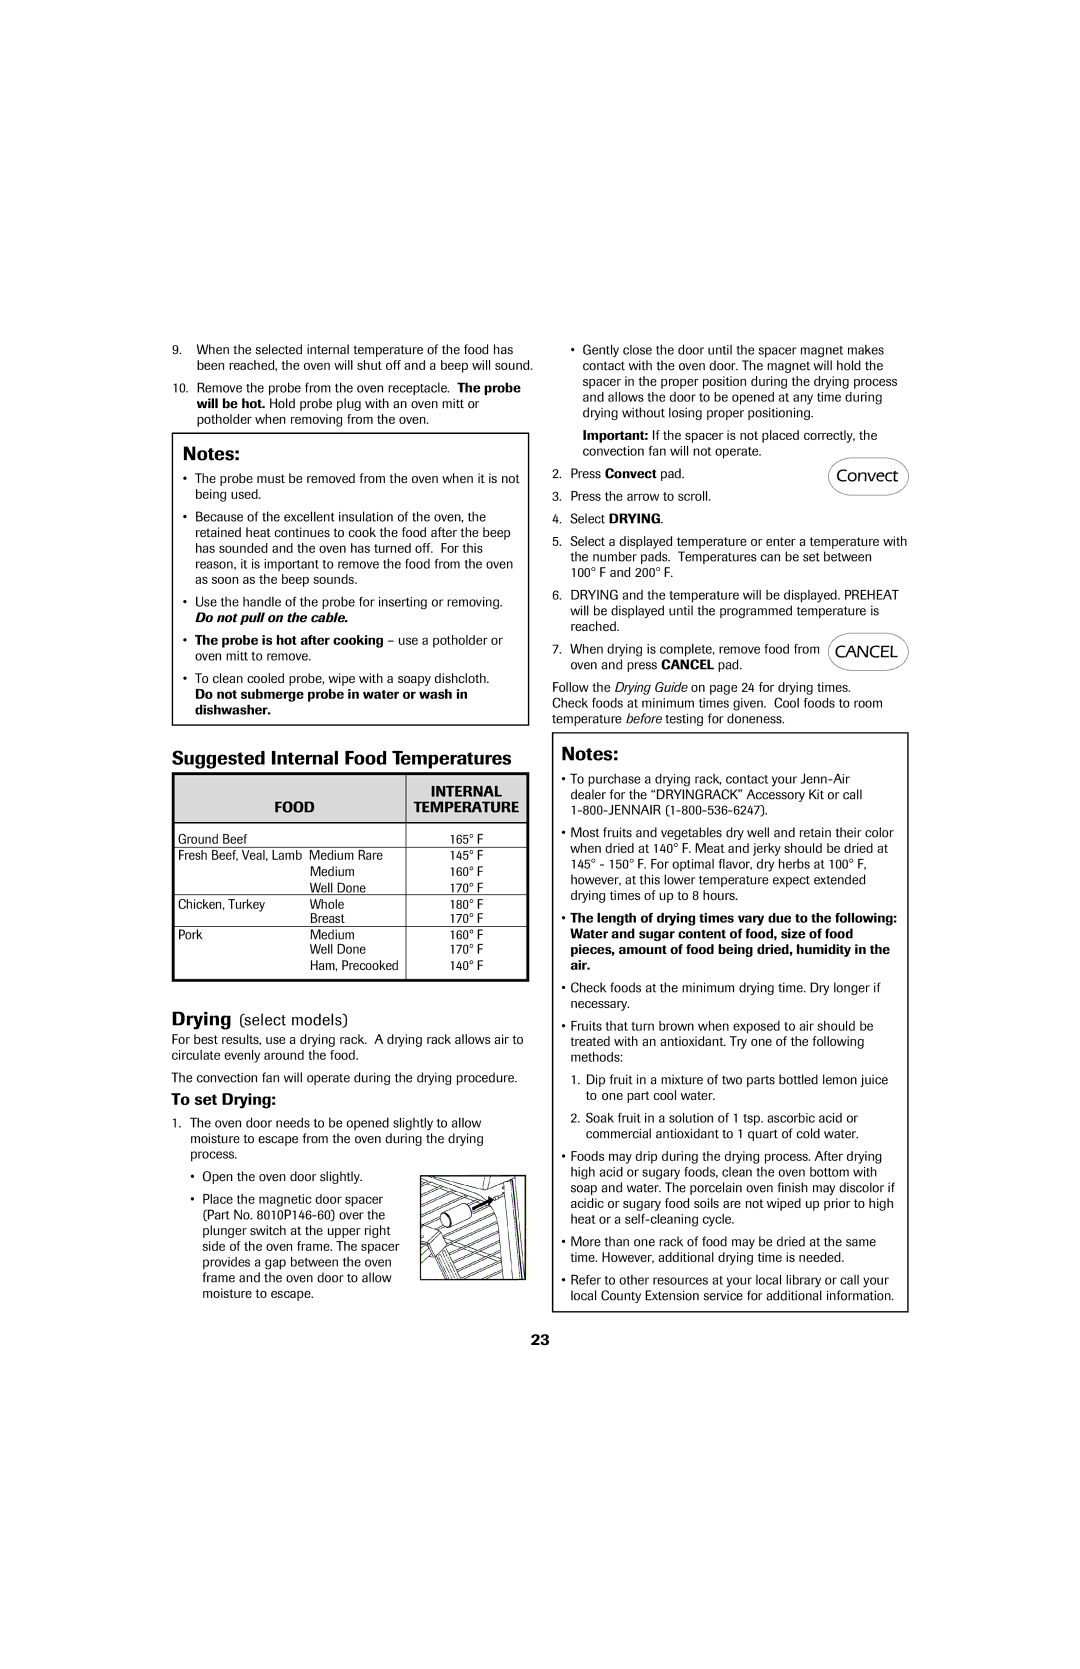
1.The oven door needs to be opened slightly to allow moisture to escape from the oven during the drying process.
•Open the oven door slightly.
•Place the magnetic door spacer (Part No.
Notes:
•To purchase a drying rack, contact your
•Most fruits and vegetables dry well and retain their color when dried at 140° F. Meat and jerky should be dried at 145° - 150° F. For optimal flavor, dry herbs at 100° F, however, at this lower temperature expect extended drying times of up to 8 hours.
•The length of drying times vary due to the following: Water and sugar content of food, size of food pieces, amount of food being dried, humidity in the air.
•Check foods at the minimum drying time. Dry longer if necessary.
•Fruits that turn brown when exposed to air should be treated with an antioxidant. Try one of the following methods:
1.Dip fruit in a mixture of two parts bottled lemon juice to one part cool water.
2.Soak fruit in a solution of 1 tsp. ascorbic acid or commercial antioxidant to 1 quart of cold water.
•Foods may drip during the drying process. After drying high acid or sugary foods, clean the oven bottom with soap and water. The porcelain oven finish may discolor if acidic or sugary food soils are not wiped up prior to high heat or a
•More than one rack of food may be dried at the same time. However, additional drying time is needed.
•Refer to other resources at your local library or call your local County Extension service for additional information.
23
