]
1.Place oven rack on the rack position suggested in the chart on page 27. Distancefrom broiling element depends on foods being prepared. Rack position 4o (offset rack in position #4) is usually recommendedunless otherwise stated.
2.Touch Broil Pad.
IndicatorWord BROIL will flash and Displaywill showthree dashes.
Note: If morethan five secondselapsesbetweentouchingBroil Pad andtouching a number pad, the oven is not set and Display will return to previous Display.
3.Touch the appropriate number pad(s).
The first number pad touched will enter "HI" in the Display.
The oven has a variablobroilfeature whichmeansthata lower temperaturecan be selected. After "HI" appears inthe Display,touchthe appropriatenumberpads for the desiredtemperature. Temperature can be entered in 5° increments. Use"HI" broil for most broil operations. Use variable broil for delicate and
Fiveseconds after entering "HI" or a temperature, the broilelement will come on and the Indicator Words BROILand ON will remain in the Display. If the variable broil feature was selected,the IndicatorWord ON will cycle with the element.
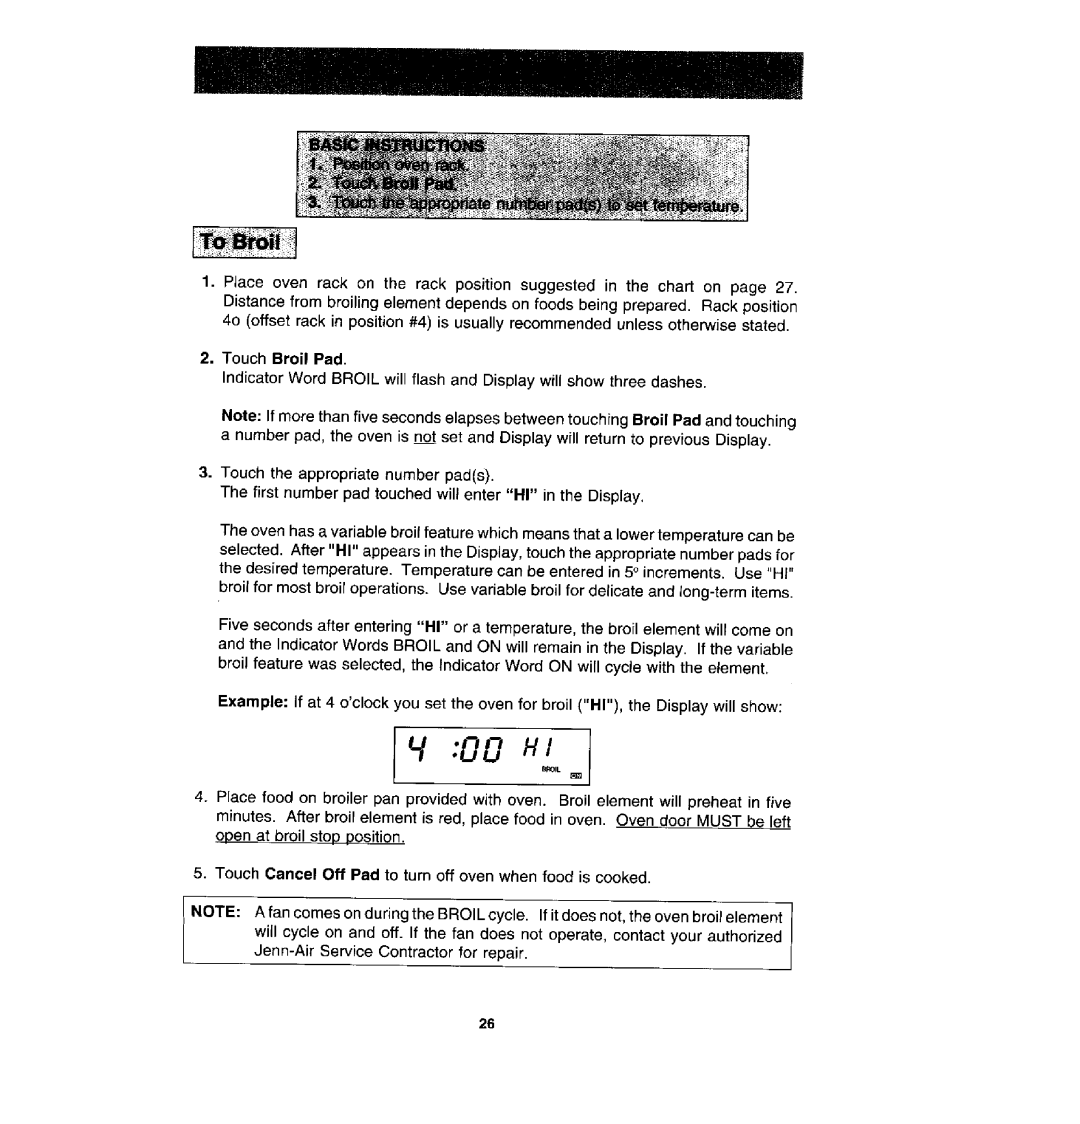
Example: If at 4 o'clockyou set the oven for broil ("HI"), the Display will show:
:00 Hl
_ROIL
4. Place food on broiler pan provided with oven. Broil element will preheat in five minutes. After broilelement is red, place food in oven. Oven door MUST be left open at broil stop position.
5. Touch Cancel Off Pad to turn off oven when food is cooked.
NOTE: Afan comesonduringthe BROILcycle. Ifit does not,the ovenbroilelement will cycle on and off. If the fan does not operate, contact your authorized
26
