Note: The numbers are also be influenced by the complexity of the picture.
![]() Scene complexity affects a picture’s file size. For example, the file size of a picture with trees in autumn is larger than that of the blue sky at the same resolution setting. Therefore, the number of pictures you can store in the memory may vary.
Scene complexity affects a picture’s file size. For example, the file size of a picture with trees in autumn is larger than that of the blue sky at the same resolution setting. Therefore, the number of pictures you can store in the memory may vary.
Setting Exposure Value
Similar to white balance, sometimes to obtain better image quality, the user can use manually select the exposure accompanied with the white balance.
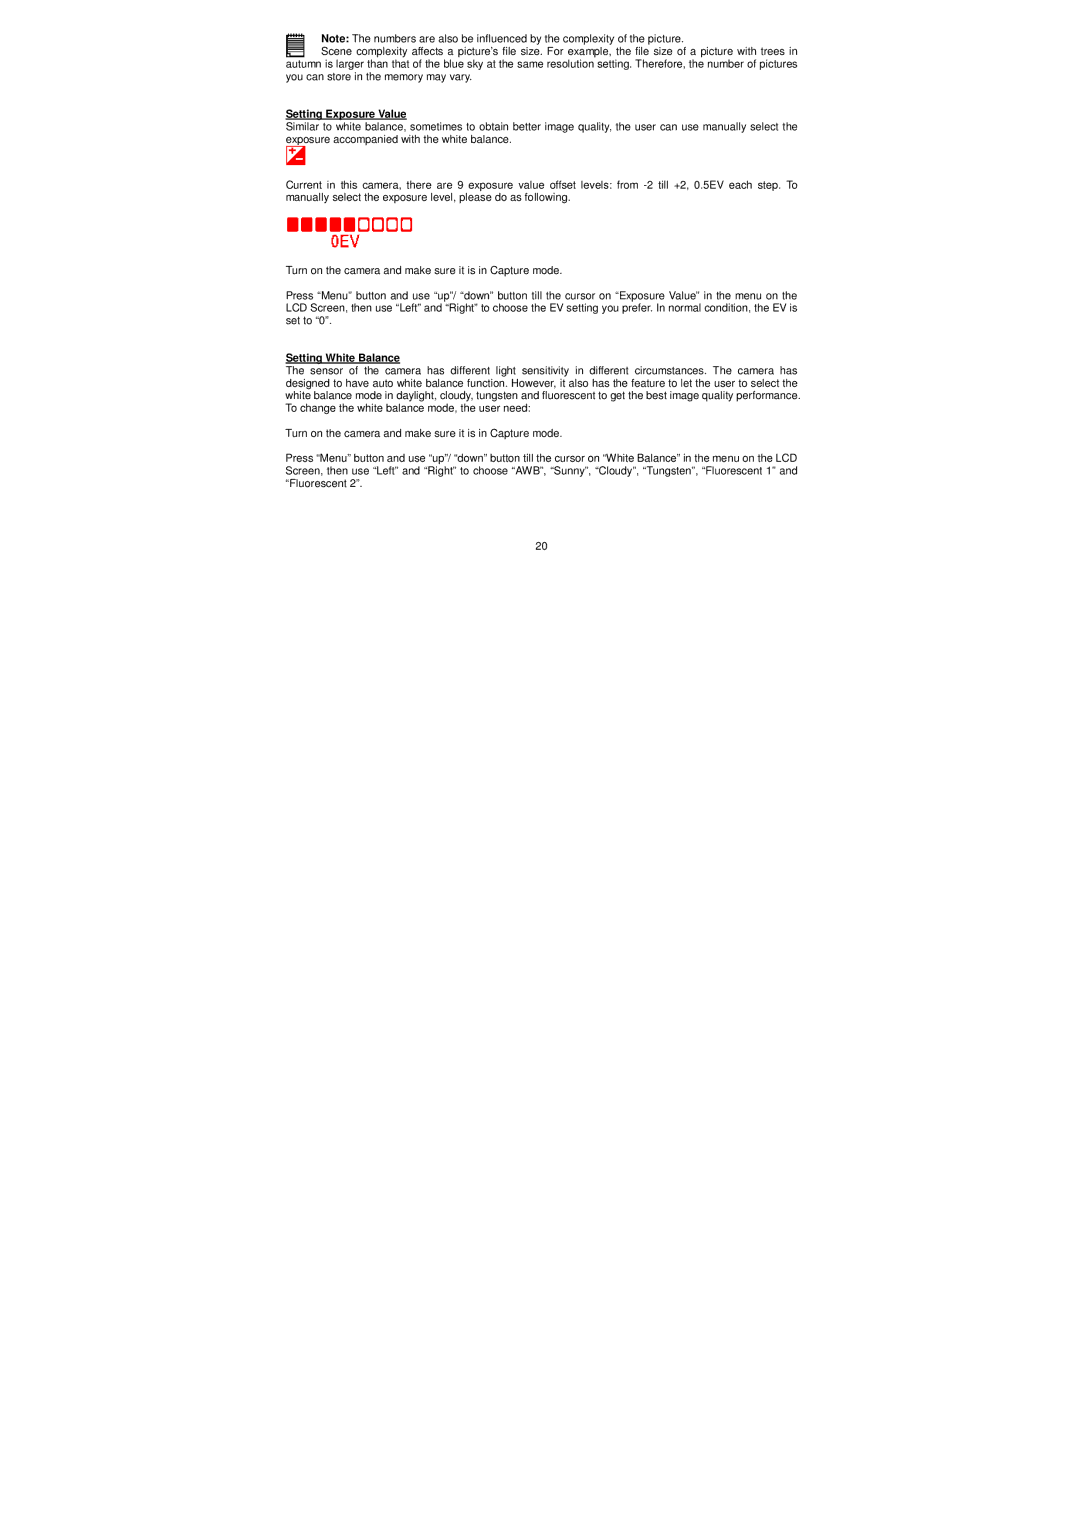
Current in this camera, there are 9 exposure value offset levels: from
Turn on the camera and make sure it is in Capture mode.
Press “Menu” button and use “up”/ “down” button till the cursor on “Exposure Value” in the menu on the LCD Screen, then use “Left” and “Right” to choose the EV setting you prefer. In normal condition, the EV is set to “0”.
Setting White Balance
The sensor of the camera has different light sensitivity in different circumstances. The camera has designed to have auto white balance function. However, it also has the feature to let the user to select the white balance mode in daylight, cloudy, tungsten and fluorescent to get the best image quality performance. To change the white balance mode, the user need:
Turn on the camera and make sure it is in Capture mode.
Press “Menu” button and use “up”/ “down” button till the cursor on “White Balance” in the menu on the LCD Screen, then use “Left” and “Right” to choose “AWB”, “Sunny”, “Cloudy”, “Tungsten”, “Fluorescent 1” and “Fluorescent 2”.
20