Selecting SANDSMART™ Feed Rates
Begin experimenting with the feed rate set at about
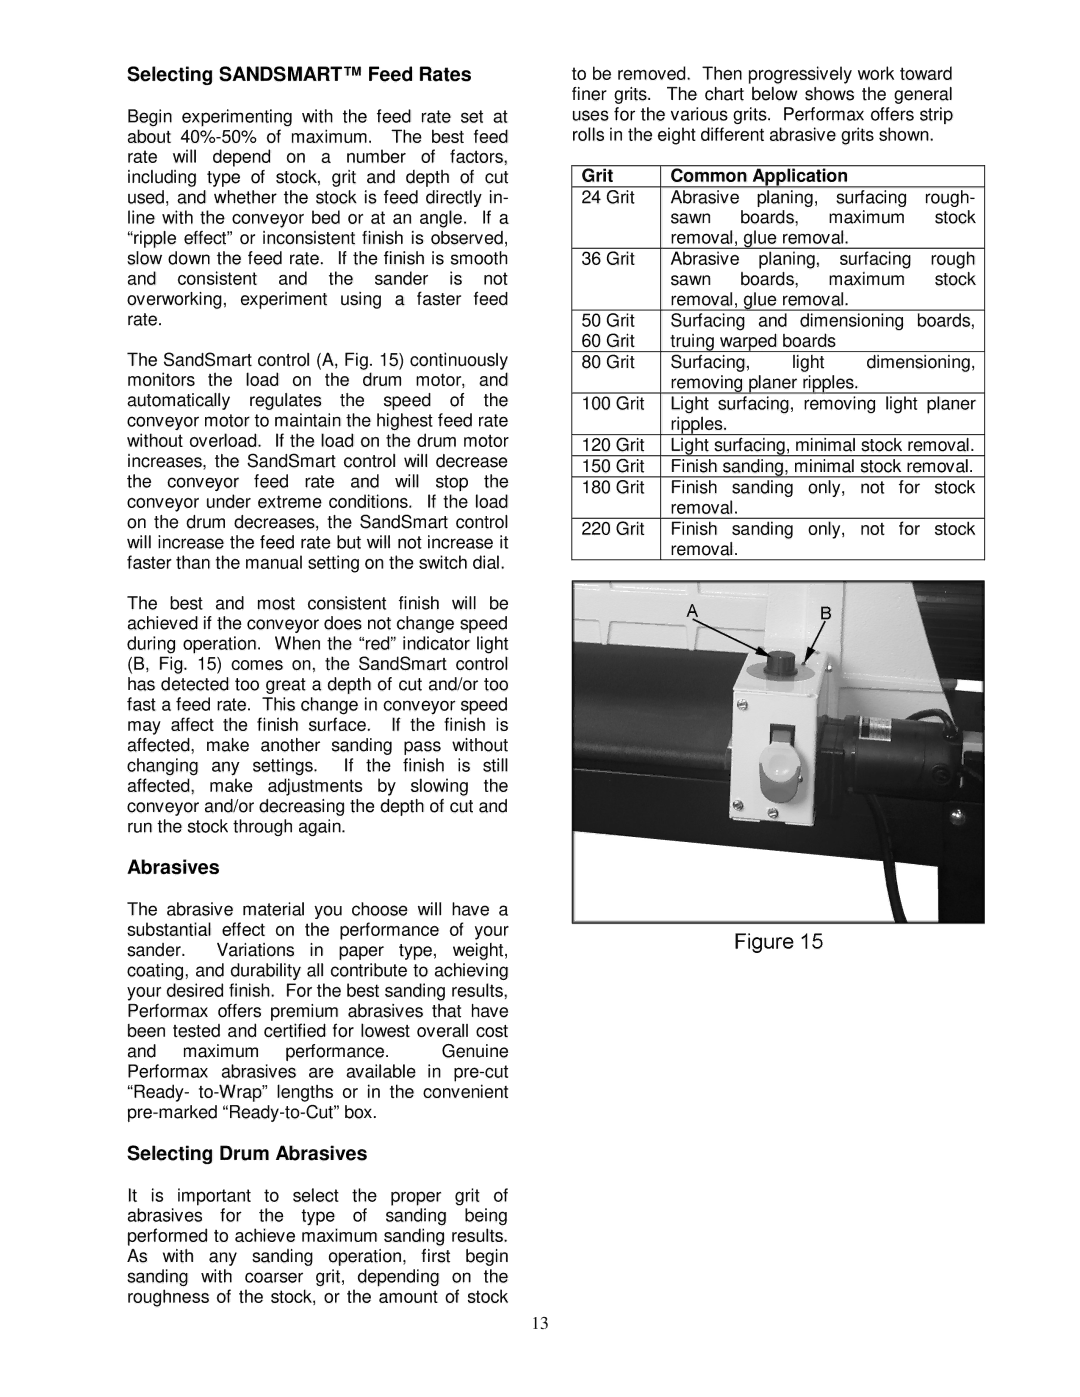
The SandSmart control (A, Fig. 15) continuously monitors the load on the drum motor, and automatically regulates the speed of the conveyor motor to maintain the highest feed rate without overload. If the load on the drum motor increases, the SandSmart control will decrease the conveyor feed rate and will stop the conveyor under extreme conditions. If the load on the drum decreases, the SandSmart control will increase the feed rate but will not increase it faster than the manual setting on the switch dial.
The best and most consistent finish will be achieved if the conveyor does not change speed during operation. When the “red” indicator light (B, Fig. 15) comes on, the SandSmart control has detected too great a depth of cut and/or too fast a feed rate. This change in conveyor speed may affect the finish surface. If the finish is affected, make another sanding pass without changing any settings. If the finish is still affected, make adjustments by slowing the conveyor and/or decreasing the depth of cut and run the stock through again.
Abrasives
The abrasive material you choose will have a substantial effect on the performance of your sander. Variations in paper type, weight, coating, and durability all contribute to achieving your desired finish. For the best sanding results, Performax offers premium abrasives that have been tested and certified for lowest overall cost
and maximum performance. Genuine Performax abrasives are available in
Selecting Drum Abrasives
It is important to select the proper grit of abrasives for the type of sanding being performed to achieve maximum sanding results. As with any sanding operation, first begin sanding with coarser grit, depending on the roughness of the stock, or the amount of stock
to be removed. Then progressively work toward finer grits. The chart below shows the general uses for the various grits. Performax offers strip rolls in the eight different abrasive grits shown.
Grit | Common Application |
| |||
24 Grit | Abrasive planing, surfacing rough- | ||||
| sawn | boards, | maximum | stock | |
| removal, glue removal. |
| |||
36 Grit | Abrasive |
| planing, | surfacing | rough |
| sawn | boards, | maximum | stock | |
| removal, glue removal. |
| |||
50 Grit | Surfacing | and dimensioning | boards, | ||
60 Grit | truing warped boards |
| |||
80 Grit | Surfacing, | light | dimensioning, | ||
| removing planer ripples. |
| |||
100 Grit | Light surfacing, removing light planer | ||||
| ripples. |
|
|
|
|
120 Grit | Light surfacing, minimal stock removal. | ||||
150 Grit | Finish sanding, minimal stock removal. | ||||
180 Grit | Finish sanding only, not for stock | ||||
| removal. |
|
|
|
|
220 Grit | Finish sanding only, not for stock | ||||
| removal. |
|
|
|
|
13
