Basic setting for picture (continued)
PICTURE SETTING
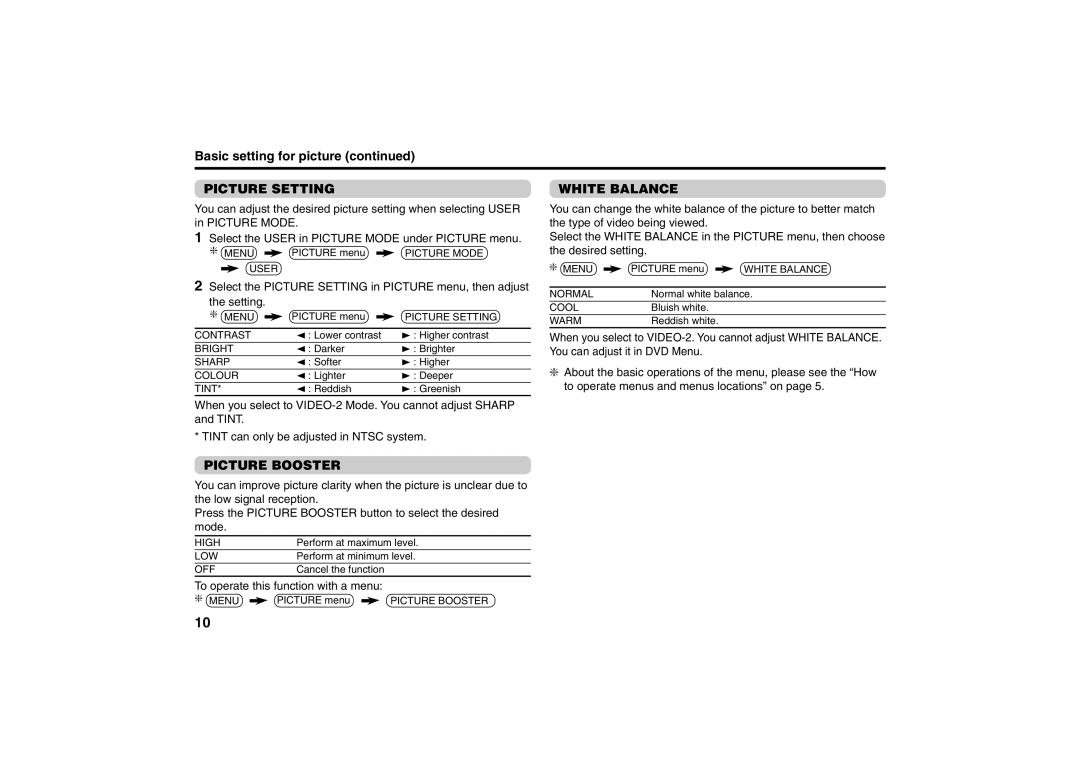
You can adjust the desired picture setting when selecting USER in PICTURE MODE.
1Select the USER in PICTURE MODE under PICTURE menu.
❇ MENU ![]() PICTURE menu
PICTURE menu ![]() PICTURE MODE
PICTURE MODE
USER
2Select the PICTURE SETTING in PICTURE menu, then adjust
the setting.
❇ MENU ![]() PICTURE menu
PICTURE menu ![]() PICTURE SETTING
PICTURE SETTING
CONTRAST | 2 | : Lower contrast | 3 | : Higher contrast |
BRIGHT | 2 | : Darker | 3 | : Brighter |
SHARP | 2 | : Softer | 3 | : Higher |
COLOUR | 2 | : Lighter | 3 | : Deeper |
TINT* | 2 | : Reddish | 3 | : Greenish |
WHITE BALANCE
You can change the white balance of the picture to better match the type of video being viewed.
Select the WHITE BALANCE in the PICTURE menu, then choose the desired setting.
❇MENU ![]() PICTURE menu
PICTURE menu ![]() WHITE BALANCE
WHITE BALANCE
NORMAL | Normal white balance. |
COOL | Bluish white. |
WARM | Reddish white. |
When you select to
❇About the basic operations of the menu, please see the “How to operate menus and menus locations” on page 5.
When you select to
* TINT can only be adjusted in NTSC system.
PICTURE BOOSTER
You can improve picture clarity when the picture is unclear due to the low signal reception.
Press the PICTURE BOOSTER button to select the desired mode.
HIGH | Perform at maximum level. |
LOW | Perform at minimum level. |
OFF | Cancel the function |
To operate this function with a menu:
❇ MENU ![]() PICTURE menu
PICTURE menu ![]() PICTURE BOOSTER
PICTURE BOOSTER
10
