Onscreen Menus
Using the Guide
Certain symbols are used throughout this guide to help you learn about the features of your new television. The ones you will see most frequently are:
Up and Down arrows mean press the CH+ or CH– buttons. Pressing the CH+ or CH– buttons let you:
•Move vertically in a main menu screen
•Move through a submenu screen
•Move to the next letter, number, or other choice in a submenu
•Back up to correct an error
•Scan through TV channels (when not in a menu screen)
Left and right arrows mean press the VOLUME+ or VOLUME– buttons to move left or right to:
•Select a highlighted menu item
•Select an item in a submenu
•Select numbers in certain menu options
•Turn the volume up or down (when not in a menu screen)
The “Press Button” icon means you should press the button named on your remote control. (Button names appear in SMALL CAPITAL LETTERS.)
The Onscreen Menus
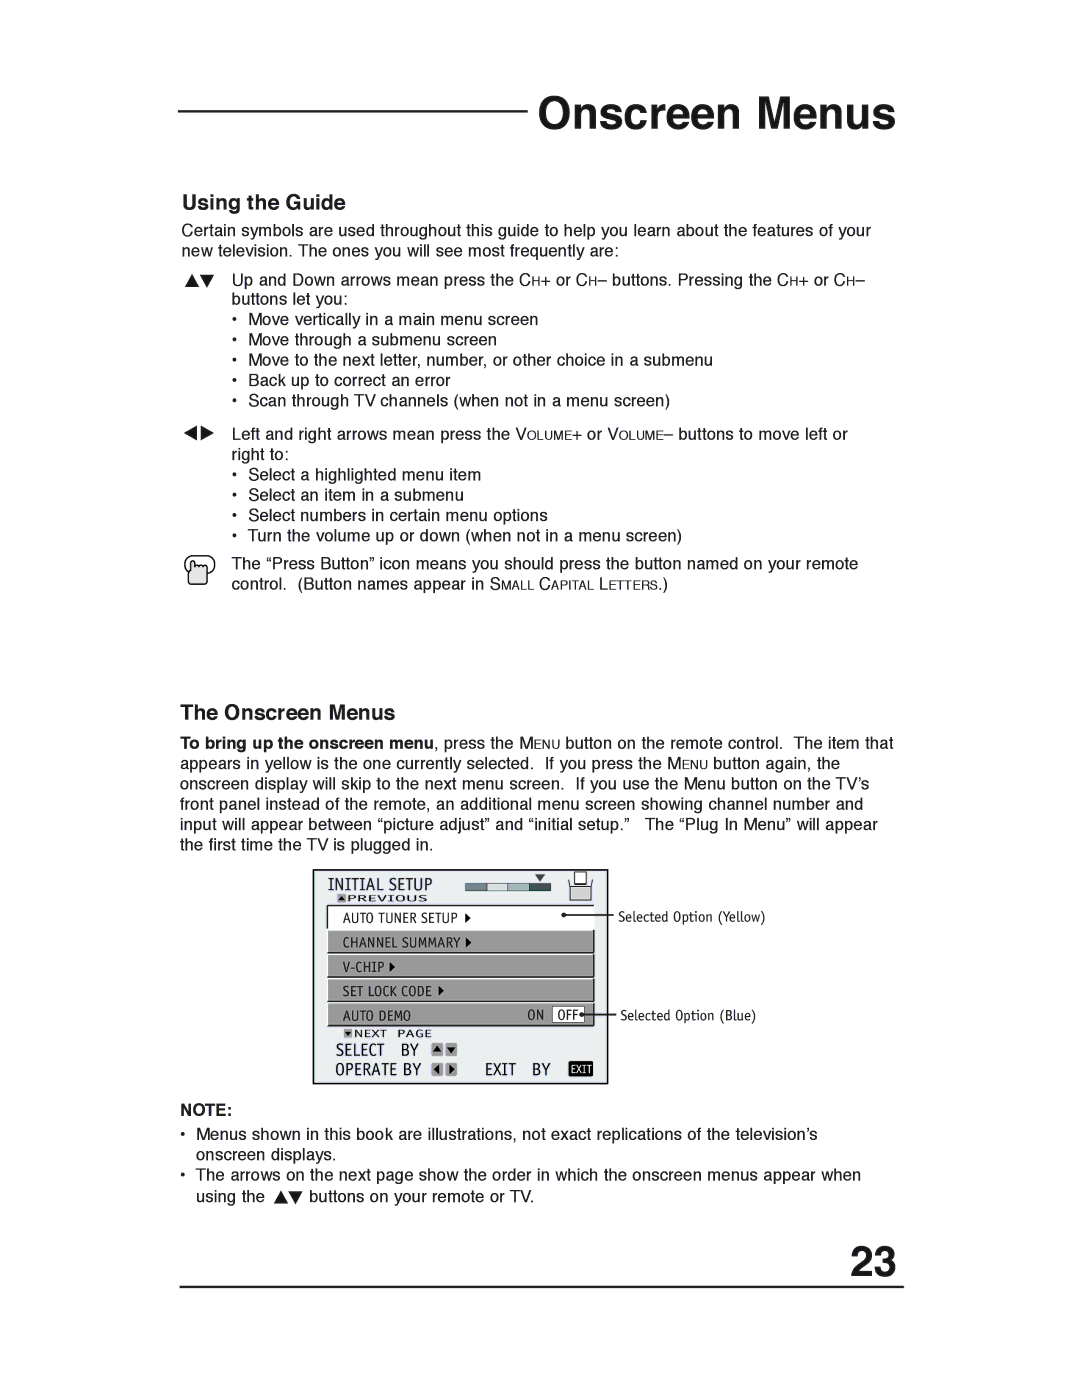
To bring up the onscreen menu, press the MENU button on the remote control. The item that appears in yellow is the one currently selected. If you press the MENU button again, the onscreen display will skip to the next menu screen. If you use the Menu button on the TV’s front panel instead of the remote, an additional menu screen showing channel number and input will appear between “picture adjust” and “initial setup.” The “Plug In Menu” will appear the first time the TV is plugged in.
|
|
|
|
|
|
|
|
|
|
|
|
|
|
|
|
|
|
|
| INITIAL SETUP |
|
|
|
|
|
|
|
|
|
|
|
|
|
| |
|
|
|
|
|
|
|
|
|
|
|
|
|
|
|
|
| |
|
| PREVIOUS |
|
|
|
|
|
|
|
|
|
|
|
|
| Selected Option (Yellow) | |
|
| AUTO TUNER SETUP |
|
|
|
|
|
|
|
|
|
|
|
|
| ||
|
|
|
|
|
|
|
|
|
|
|
|
|
|
| |||
|
| CHANNEL SUMMARY |
|
|
|
|
|
|
|
|
|
|
|
|
|
| |
|
|
|
|
|
|
|
|
|
|
|
|
|
|
|
|
| |
|
| SET LOCK CODE |
|
|
|
|
|
|
|
|
|
|
|
|
|
| |
|
| AUTO DEMO |
|
|
|
| ON | OFF |
|
|
|
| Selected Option (Blue) | ||||
|
|
|
|
|
|
|
|
|
| ||||||||
|
| NEXT | PAGE |
|
|
|
|
|
|
|
|
|
|
|
|
|
|
|
| SELECT | BY | EXIT BY |
|
|
|
|
|
|
| ||||||
|
| OPERATE BY |
| EXIT |
|
|
| ||||||||||
|
|
|
|
|
|
|
|
|
|
|
|
|
|
|
|
|
|
NOTE:
•Menus shown in this book are illustrations, not exact replications of the television’s onscreen displays.
•The arrows on the next page show the order in which the onscreen menus appear when
using the | buttons on your remote or TV. |
23