
AX-V5BK specifications
The JVC AX-V5BK is a high-fidelity integrated amplifier that exemplifies precision and power, catering to audio enthusiasts seeking a robust and versatile sound experience. With its chic black finish, the AX-V5BK not only enhances the aesthetics of any audio setup but also emphasizes JVC's commitment to quality in design and performance.At the heart of the AX-V5BK are its outstanding amplification capabilities. It delivers a power output of 100 watts per channel into 8 ohms, ensuring that even the most demanding speakers perform optimally. This ample power translates to dynamic sound reproduction across various genres, from the softest whispers in classical music to the thunderous crescendos of rock.
The amplifier incorporates a sophisticated power supply system which employs a toroidal transformer. This technology reduces electromagnetic interference and enhances the efficiency of the power delivery, resulting in cleaner and more stable sound. The AX-V5BK's current feedback topology enhances its response speed and accuracy, providing detailed transients and a more engaging listening experience.
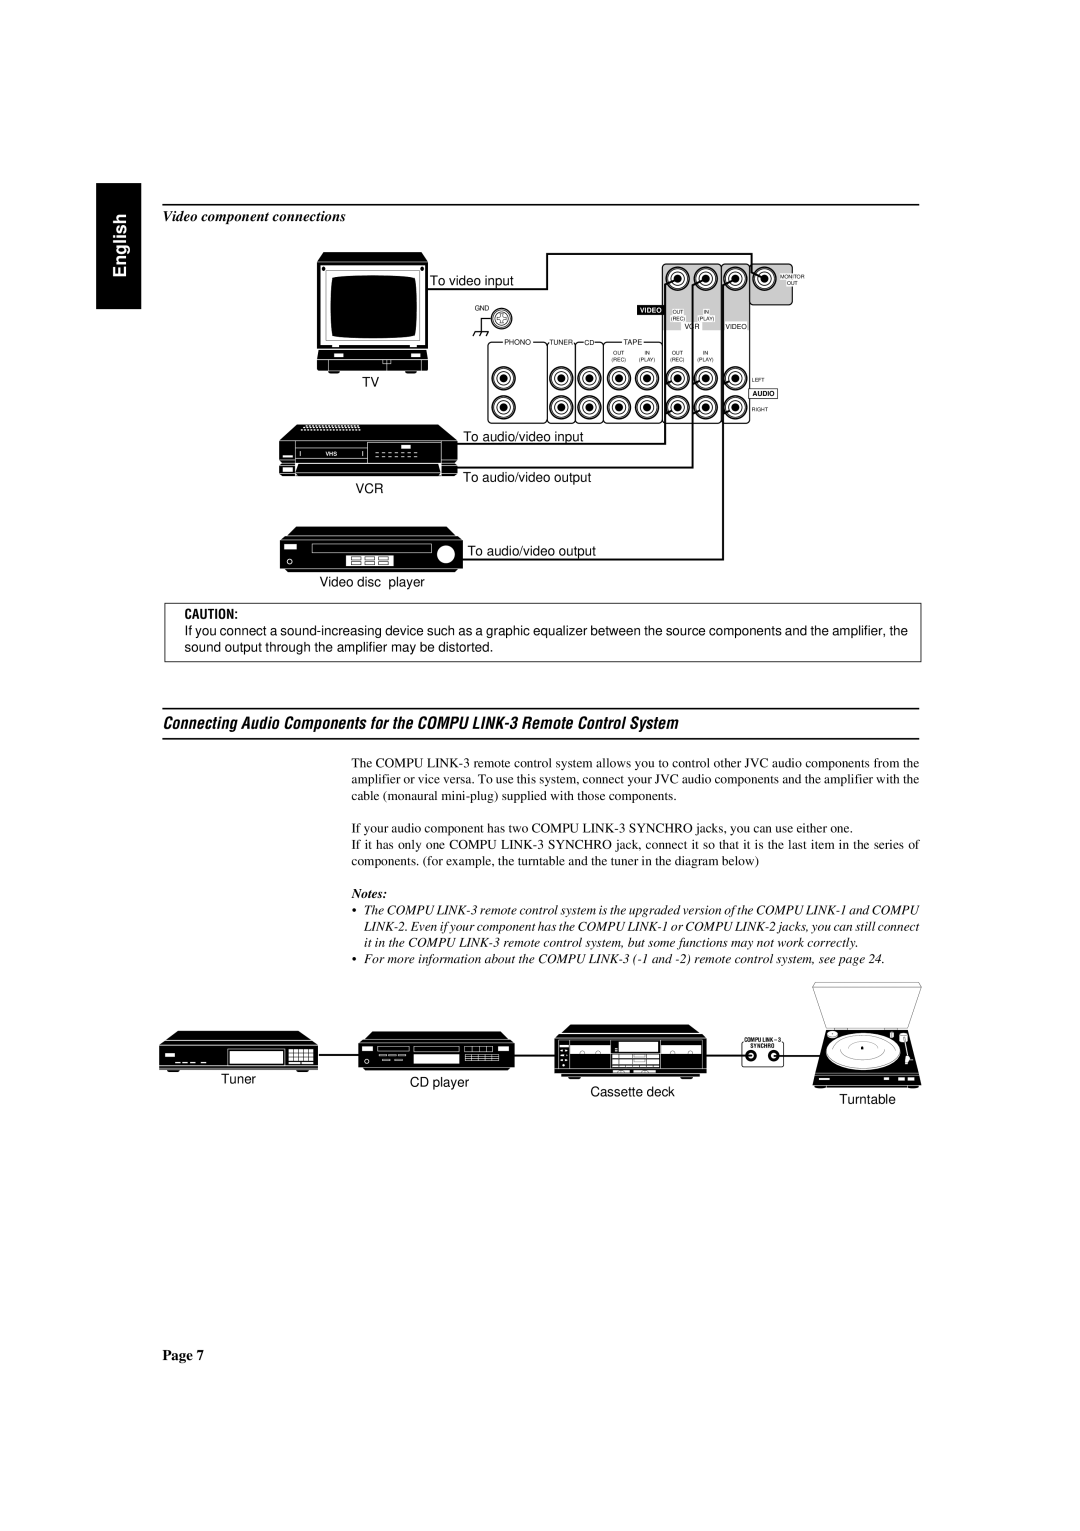
Moreover, the JVC AX-V5BK features multiple audio inputs, including line, phono, and digital inputs, making it compatible with a wide range of audio sources. The built-in phono stage allows users to connect turntables directly, catering to vinyl enthusiasts who appreciate the warm tones of analog sound. The amplifier also offers both treble and bass tone controls, letting listeners tailor the sound to their personal preferences.
For connectivity, the AX-V5BK includes A and B speaker outputs, which can facilitate the usage of multiple speaker sets. This feature is particularly beneficial for those who wish to enjoy music in different rooms or set up a home theater system.
To further enhance the user experience, the AX-V5BK features a remote control for effortless operation and control over various functionalities. This level of convenience ensures that users can enjoy their music without having to constantly adjust settings manually.
In conclusion, the JVC AX-V5BK is a formidable integrated amplifier laden with features that cater to audiophiles. With its powerful output, superior build quality, and user-friendly design, it represents a fine choice for anyone looking to elevate their audio experience to new heights. Whether for casual listening or critical music appreciation, the AX-V5BK undoubtedly stands out in its class.