
CA-D452TR, CA-D432TR specifications
The JVC CA-D432TR and CA-D452TR are standout mini component stereo systems that offer impressive sound quality, functionality, and modern features suitable for various audio needs. Designed for music enthusiasts who appreciate both performance and design, these models combine aesthetic appeal with advanced audio technology.One of the main features of both models is their robust power output, providing high-quality sound that fills any room. The CA-D432TR typically delivers around 40 watts per channel, while the CA-D452TR enhances the experience with greater fidelity and power. This power is backed by JVC's renowned sound engineering, ensuring that users can enjoy their favorite tracks with clarity and depth.
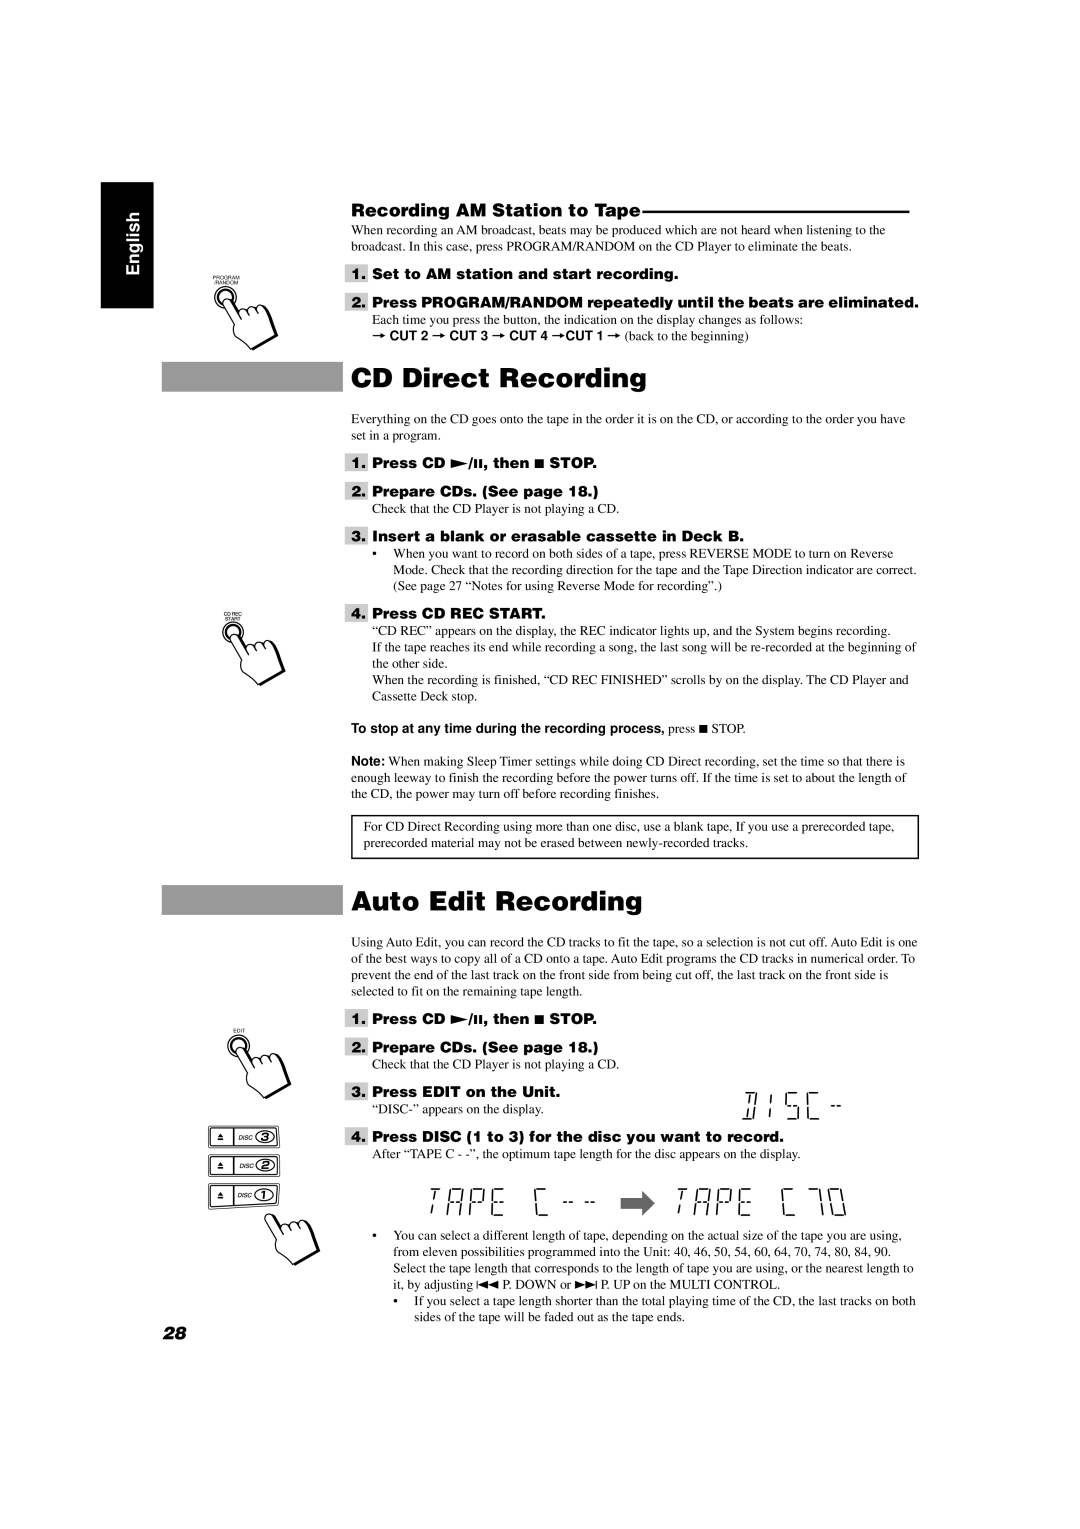
Both systems feature a CD player with a range of playback capabilities, including CD-R and CD-RW formats. This versatility allows users to enjoy their music collections without limitations, while the built-in AM/FM tuner provides access to a wide variety of radio stations. The CA-D452TR takes the audio experience further with digital tuning, enabling users to quickly tune into their favorite stations with precision.
Connectivity is another strong point for the CA-D432TR and CA-D452TR. Both models come equipped with multiple input options, including AUX and USB ports. This connectivity allows users to easily connect their smartphones, tablets, or other devices for seamless music playback, making it convenient to stream music from various sources. The incorporation of Bluetooth technology in the CA-D452TR takes this versatility one step further, enabling wireless streaming for a more liberated listening experience.
The speakers of both models are designed to deliver powerful bass and clear highs, ensuring that every genre of music is represented accurately. The CA-D452TR includes a dedicated subwoofer output, allowing users to enhance their sound system further with an external subwoofer, if desired.
Both stereo systems boast a stylish design that fits well in any home environment. With their sleek lines and contemporary look, they serve not just as audio devices but also as attractive additions to anyone's living space.
In conclusion, the JVC CA-D432TR and CA-D452TR offer a rich audio experience with their powerful performance, versatile connectivity options, and stylish design. Perfect for both casual listeners and audiophiles alike, these mini component systems showcase JVC's commitment to quality and innovation in home audio. Whether you're enjoying your favorite CDs or streaming music wirelessly, these models ensure that your listening experience remains top-notch.