RECPAUSE

TAPE CONTROL

\

CAUTION: If recordings you have made have excessive noise or static, the Unit may be too close to a TV which was on during recording. Either turn off the TV or increase the distance between the TV and the System.

Standard Recording

This is the basic method for recording any source. The System also has special ways for recording CD to tape, and tape to tape, which save your time and effort, as well as give you some special effects. However, when you need to add a selection to a tape you have made, or are combining selections from several sources on one tape, use the method described below; just substitute the source you want into this procedure, such as a CD or the Tuner. You can also record from auxiliary source with this procedure.

Using the Unit

1.Insert a blank or erasable tape into Deck B.

2.Press REVERSE MODE if you want to record on both sides of the tape.

Reverse Mode comes on.

When using Reverse Mode, insert the tape so that it will be recorded in the forward (3) direction.

3.Check the recording direction for the tape.

Check that the Tape Direction indicator is the same as that for the tape in the tape deck. If the directions are different, press 7 STOP after pressing TAPE ª £ to set the tape direction.

When using the Reverse Mode to record both sides of a tape, check that the Tape Direction indicator is in the forward (3) direction. If the direction indicator is not in the forward (3) direction, press TAPE ª £ then press 7STOP.

4.Prepare the source, for example, by tuning in a radio station, loading CDs, or turning on connected equipment.

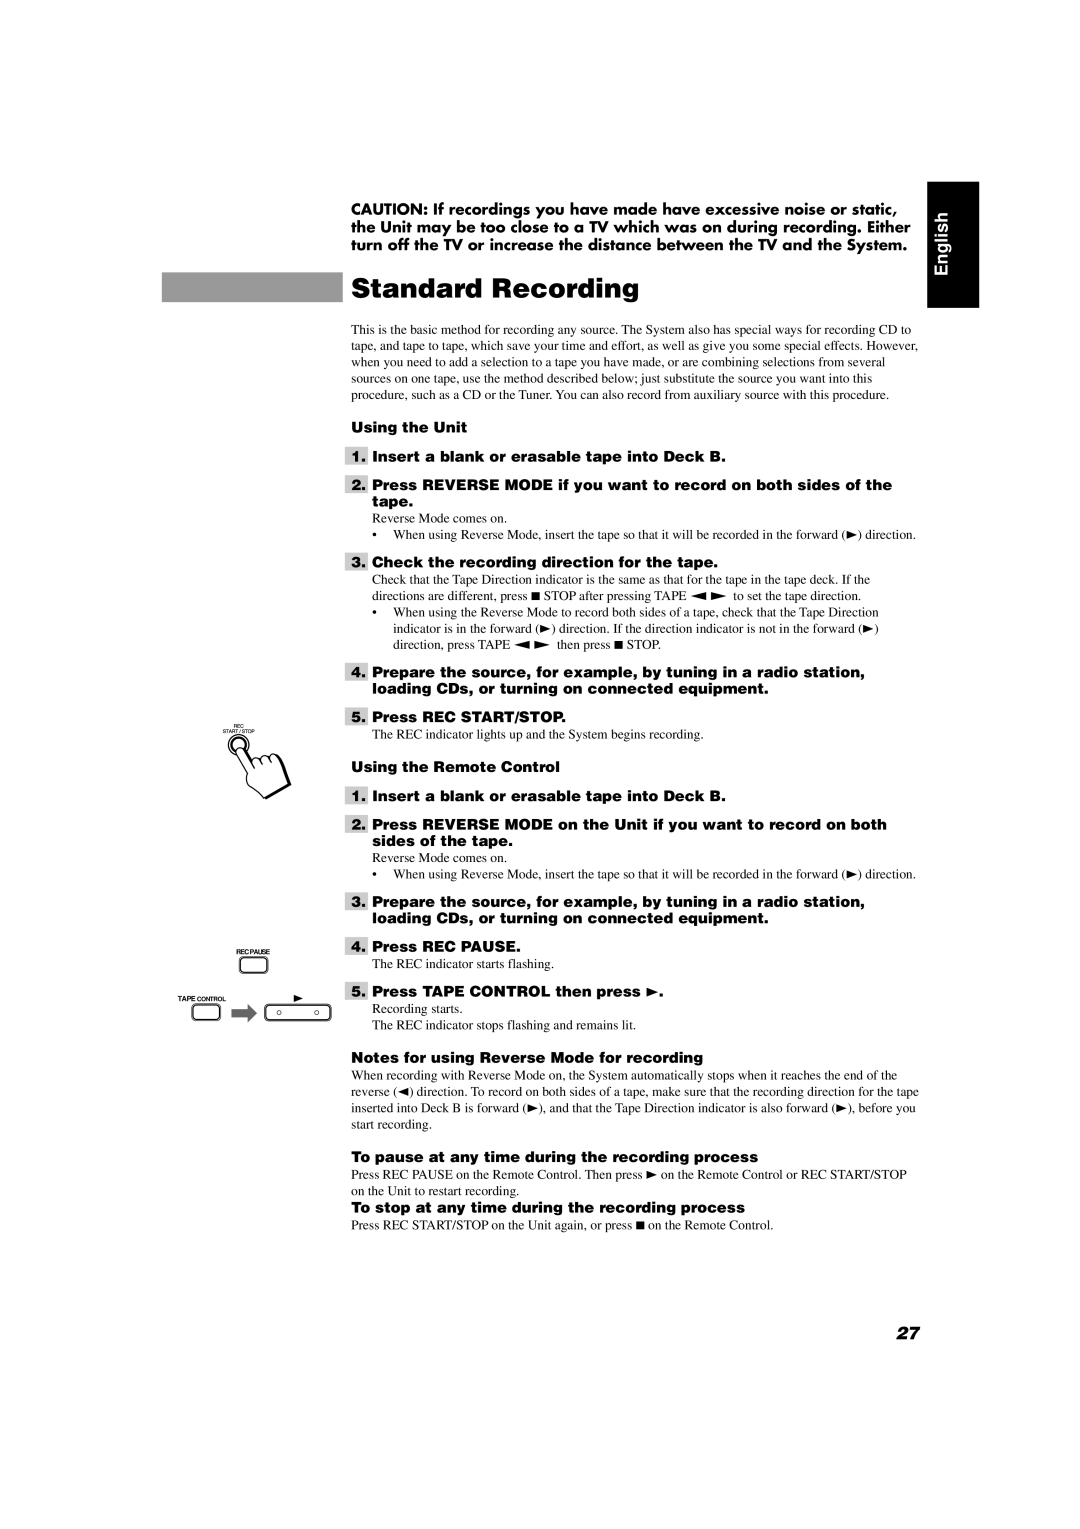
5.Press REC START/STOP.

The REC indicator lights up and the System begins recording.

Using the Remote Control

1.Insert a blank or erasable tape into Deck B.

2.Press REVERSE MODE on the Unit if you want to record on both sides of the tape.

Reverse Mode comes on.

• When using Reverse Mode, insert the tape so that it will be recorded in the forward (3) direction.

3.Prepare the source, for example, by tuning in a radio station, loading CDs, or turning on connected equipment.

4.Press REC PAUSE.

The REC indicator starts flashing.

5.Press TAPE CONTROL then press 3.

Recording starts.

The REC indicator stops flashing and remains lit.

Notes for using Reverse Mode for recording

When recording with Reverse Mode on, the System automatically stops when it reaches the end of the reverse (2) direction. To record on both sides of a tape, make sure that the recording direction for the tape inserted into Deck B is forward (3), and that the Tape Direction indicator is also forward (3), before you start recording.

To pause at any time during the recording process

Press REC PAUSE on the Remote Control. Then press 3on the Remote Control or REC START/STOP on the Unit to restart recording.

To stop at any time during the recording process

Press REC START/STOP on the Unit again, or press 7on the Remote Control.

English

27

Page 31
Image 31
JVC CA-D452TR, CA-D432TR Standard Recording, Check the recording direction for the tape, Press Tape Control then press

CA-D452TR, CA-D432TR specifications

The JVC CA-D432TR and CA-D452TR are standout mini component stereo systems that offer impressive sound quality, functionality, and modern features suitable for various audio needs. Designed for music enthusiasts who appreciate both performance and design, these models combine aesthetic appeal with advanced audio technology.

One of the main features of both models is their robust power output, providing high-quality sound that fills any room. The CA-D432TR typically delivers around 40 watts per channel, while the CA-D452TR enhances the experience with greater fidelity and power. This power is backed by JVC's renowned sound engineering, ensuring that users can enjoy their favorite tracks with clarity and depth.

Both systems feature a CD player with a range of playback capabilities, including CD-R and CD-RW formats. This versatility allows users to enjoy their music collections without limitations, while the built-in AM/FM tuner provides access to a wide variety of radio stations. The CA-D452TR takes the audio experience further with digital tuning, enabling users to quickly tune into their favorite stations with precision.

Connectivity is another strong point for the CA-D432TR and CA-D452TR. Both models come equipped with multiple input options, including AUX and USB ports. This connectivity allows users to easily connect their smartphones, tablets, or other devices for seamless music playback, making it convenient to stream music from various sources. The incorporation of Bluetooth technology in the CA-D452TR takes this versatility one step further, enabling wireless streaming for a more liberated listening experience.

The speakers of both models are designed to deliver powerful bass and clear highs, ensuring that every genre of music is represented accurately. The CA-D452TR includes a dedicated subwoofer output, allowing users to enhance their sound system further with an external subwoofer, if desired.

Both stereo systems boast a stylish design that fits well in any home environment. With their sleek lines and contemporary look, they serve not just as audio devices but also as attractive additions to anyone's living space.

In conclusion, the JVC CA-D432TR and CA-D452TR offer a rich audio experience with their powerful performance, versatile connectivity options, and stylish design. Perfect for both casual listeners and audiophiles alike, these mini component systems showcase JVC's commitment to quality and innovation in home audio. Whether you're enjoying your favorite CDs or streaming music wirelessly, these models ensure that your listening experience remains top-notch.