HDMI connection
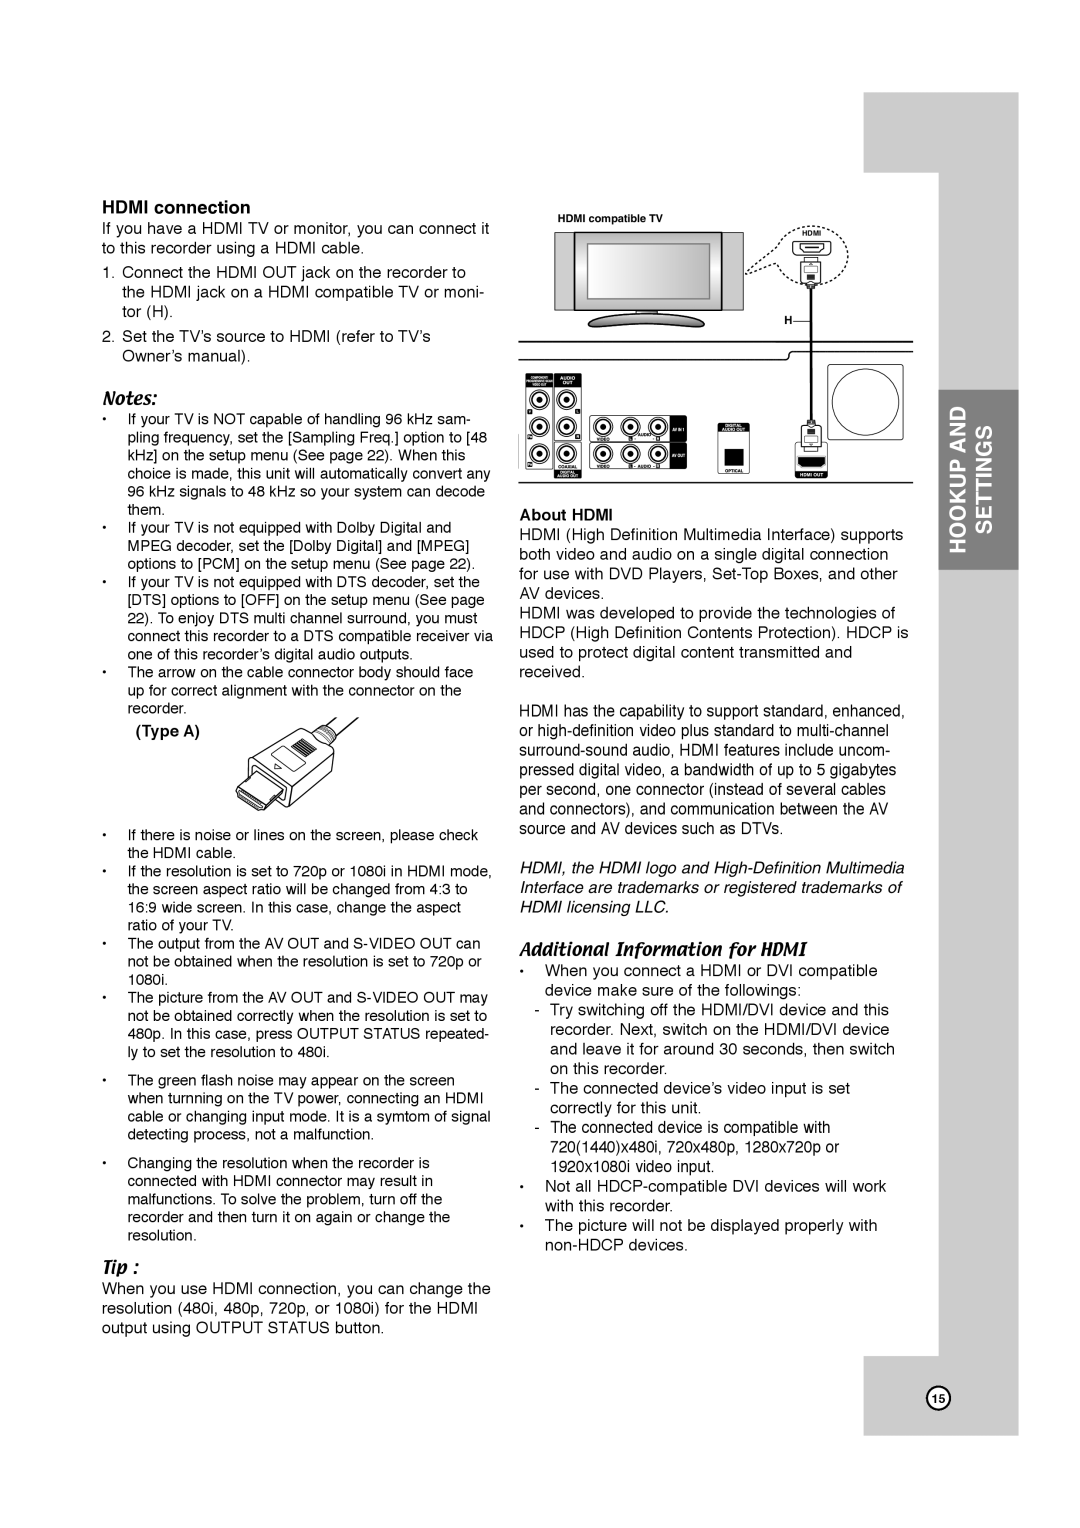
If you have a HDMI TV or monitor, you can connect it to this recorder using a HDMI cable.
1.Connect the HDMI OUT jack on the recorder to the HDMI jack on a HDMI compatible TV or moni- tor (H).
2.Set the TV’s source to HDMI (refer to TV’s Owner’s manual).
Notes:
•If your TV is NOT capable of handling 96 kHz sam- pling frequency, set the [Sampling Freq.] option to [48 kHz] on the setup menu (See page 22). When this choice is made, this unit will automatically convert any 96 kHz signals to 48 kHz so your system can decode them.
•If your TV is not equipped with Dolby Digital and MPEG decoder, set the [Dolby Digital] and [MPEG] options to [PCM] on the setup menu (See page 22).
•If your TV is not equipped with DTS decoder, set the [DTS] options to [OFF] on the setup menu (See page 22). To enjoy DTS multi channel surround, you must connect this recorder to a DTS compatible receiver via one of this recorder’s digital audio outputs.
•The arrow on the cable connector body should face up for correct alignment with the connector on the recorder.
(Type A)
•If there is noise or lines on the screen, please check the HDMI cable.
•If the resolution is set to 720p or 1080i in HDMI mode, the screen aspect ratio will be changed from 4:3 to 16:9 wide screen. In this case, change the aspect ratio of your TV.
•The output from the AV OUT and
•The picture from the AV OUT and
•The green flash noise may appear on the screen when turnning on the TV power, connecting an HDMI cable or changing input mode. It is a symtom of signal detecting process, not a malfunction.
•Changing the resolution when the recorder is connected with HDMI connector may result in malfunctions. To solve the problem, turn off the recorder and then turn it on again or change the resolution.
Tip :
When you use HDMI connection, you can change the resolution (480i, 480p, 720p, or 1080i) for the HDMI output using OUTPUT STATUS button.
HDMI compatible TV
HDMI
H
About HDMI
HDMI (High Definition Multimedia Interface) supports both video and audio on a single digital connection for use with DVD Players,
HDMI was developed to provide the technologies of HDCP (High Definition Contents Protection). HDCP is used to protect digital content transmitted and received.
HDMI has the capability to support standard, enhanced, or
HDMI, the HDMI logo and
Additional Information for HDMI
•When you connect a HDMI or DVI compatible device make sure of the followings:
-Try switching off the HDMI/DVI device and this recorder. Next, switch on the HDMI/DVI device and leave it for around 30 seconds, then switch on this recorder.
-The connected device’s video input is set correctly for this unit.
-The connected device is compatible with 720(1440)x480i, 720x480p, 1280x720p or 1920x1080i video input.
•Not all
•The picture will not be displayed properly with
HOOKUP AND SETTINGS
15