[Back] [Next]
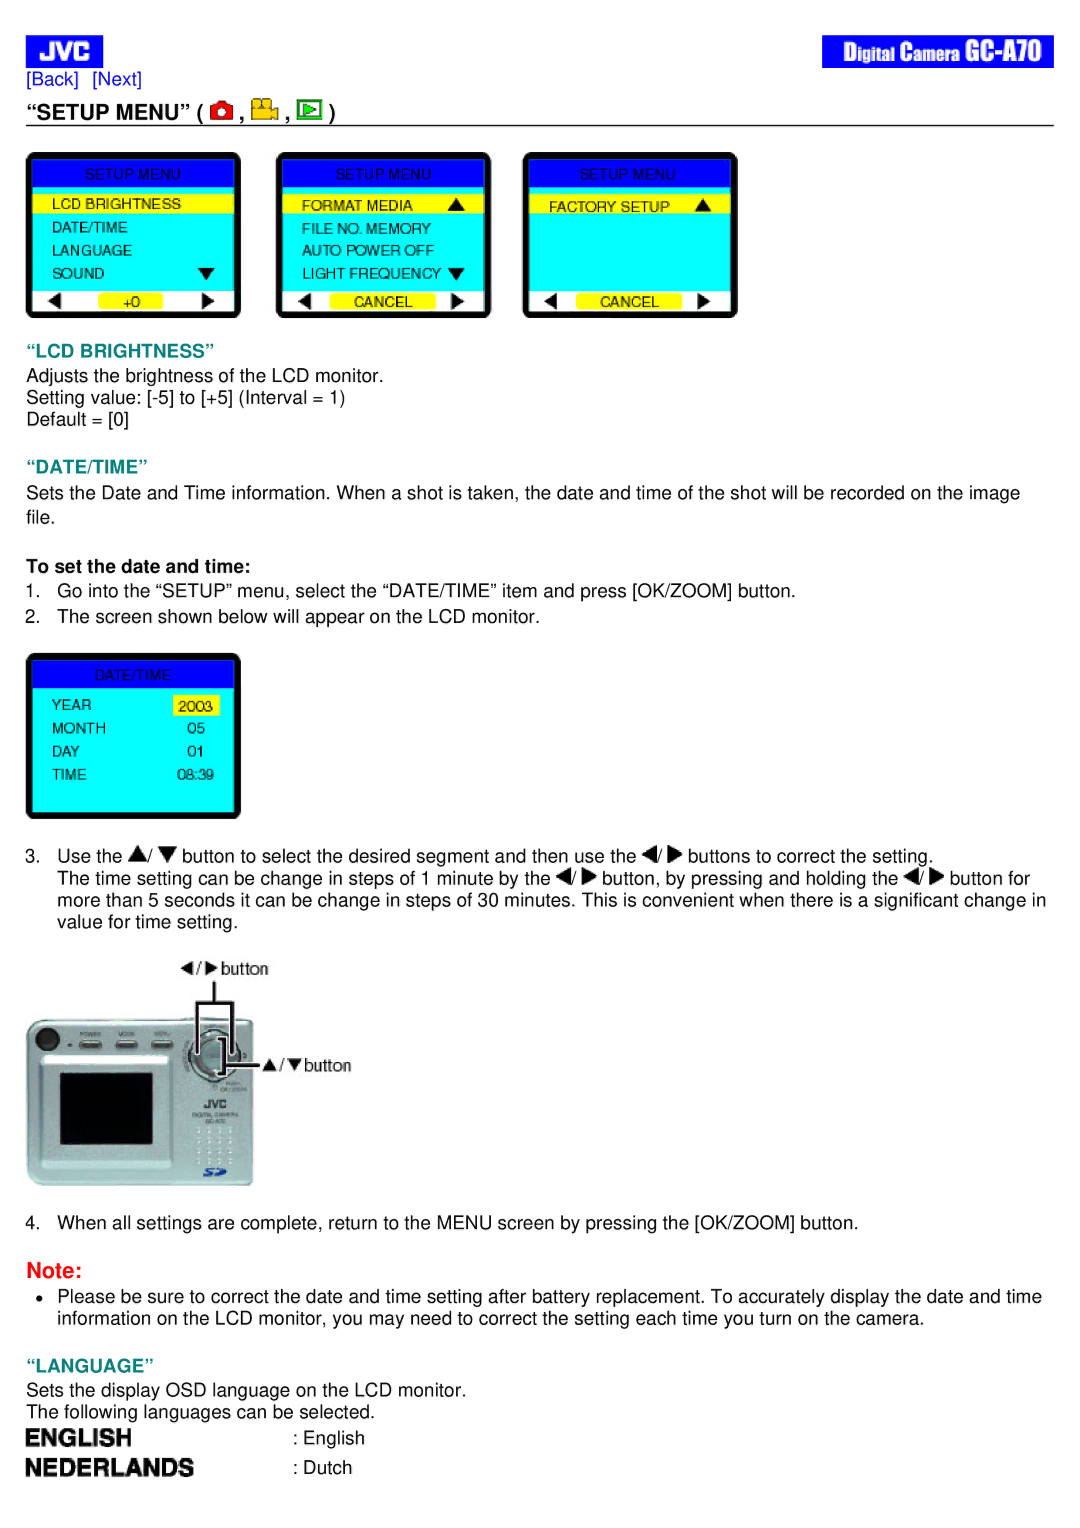
“SETUP MENU” (  ,
,  ,
,  )
)
“LCD BRIGHTNESS”
Adjusts the brightness of the LCD monitor.
Setting value:
Default = [0]
“DATE/TIME”
Sets the Date and Time information. When a shot is taken, the date and time of the shot will be recorded on the image file.
To set the date and time:
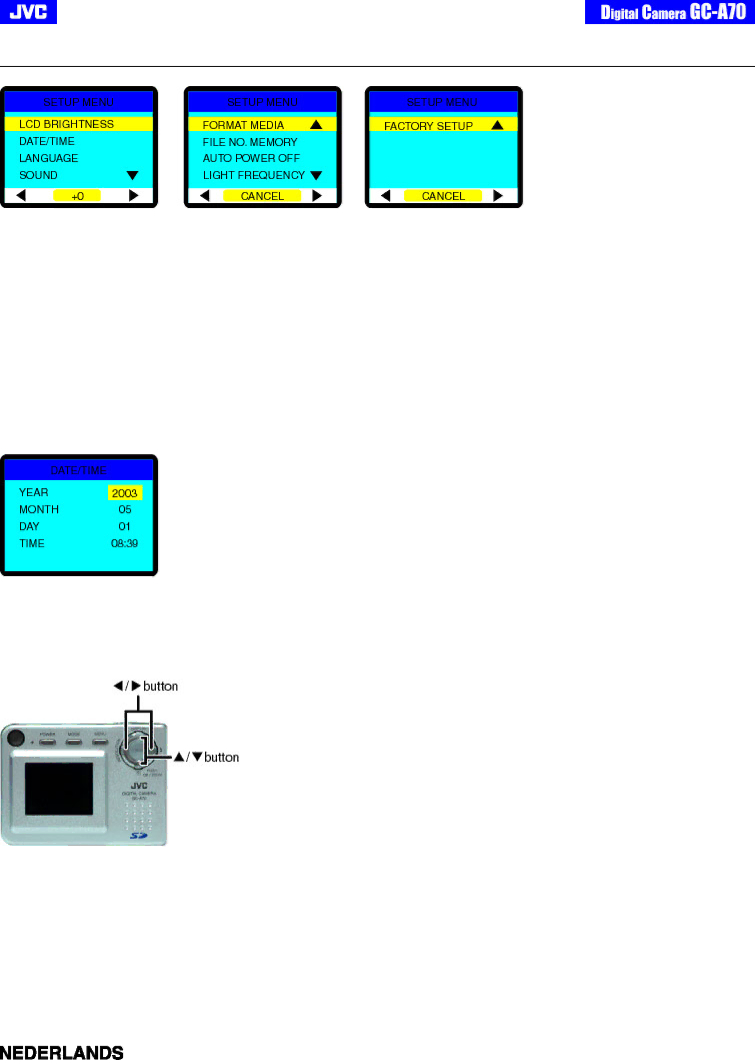
1.Go into the “SETUP” menu, select the “DATE/TIME” item and press [OK/ZOOM] button.
2.The screen shown below will appear on the LCD monitor.
3.Use the ![]() /
/ ![]() button to select the desired segment and then use the
button to select the desired segment and then use the ![]() /
/ ![]() buttons to correct the setting.
buttons to correct the setting.
The time setting can be change in steps of 1 minute by the ![]() /
/ ![]() button, by pressing and holding the
button, by pressing and holding the ![]() /
/ ![]() button for more than 5 seconds it can be change in steps of 30 minutes. This is convenient when there is a significant change in value for time setting.
button for more than 5 seconds it can be change in steps of 30 minutes. This is convenient when there is a significant change in value for time setting.
4. When all settings are complete, return to the MENU screen by pressing the [OK/ZOOM] button.
Note:
zPlease be sure to correct the date and time setting after battery replacement. To accurately display the date and time information on the LCD monitor, you may need to correct the setting each time you turn on the camera.
“LANGUAGE”
Sets the display OSD language on the LCD monitor. The following languages can be selected. ![]() : English
: English
: Dutch