Video Adjustments (Continued) |
|
|
| |||
|
|
|
| To make an adjustment while viewing the adjustment | ||
|
|
|
| bar |
|
|
|
|
|
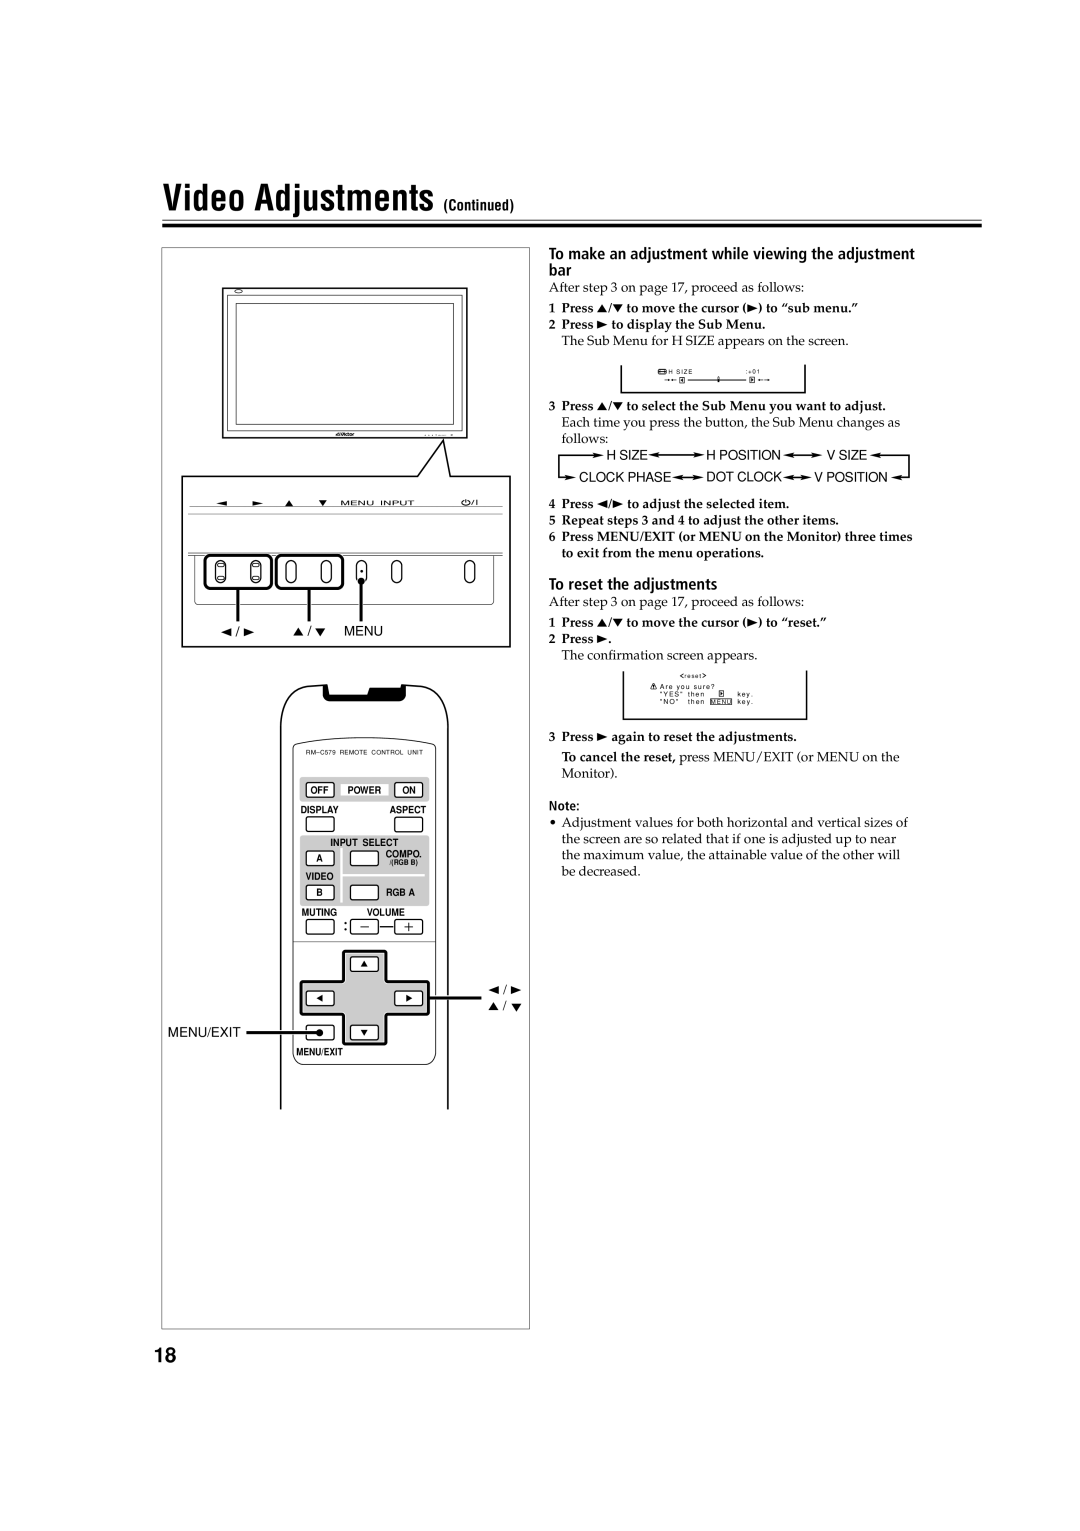
| After step 3 on page 17, proceed as follows: |
| |
|
|
|
| 1 Press 5/∞ to move the cursor (3) to “sub menu.” | ||
|
|
|
| 2 Press 3 to display the Sub Menu. |
| |
|
|
|
| The Sub Menu for H SIZE appears on the screen. | ||
|
|
|
| H S I Z E | : + 0 1 |
|
|
|
|
| ++ | ++ |
|
|
|
|
| 3 Press 5/∞ to select the Sub Menu you want to adjust. | ||
|
|
|
| Each time you press the button, the Sub Menu changes as | ||
|
|
|
| follows: |
|
|
|
|
|
| H SIZE | H POSITION | V SIZE |
|
|
|
| CLOCK PHASE | DOT CLOCK | V POSITION |
|
| MENU INPUT | 4 Press 2/3 to adjust the selected item. |
| ||
|
|
|
|
| ||
|
|
|
| 5 Repeat steps 3 and 4 to adjust the other items. | ||
|
|
|
| 6 Press MENU/EXIT (or MENU on the Monitor) three times | ||
|
|
|
| to exit from the menu operations. |
| |
|
|
|
| To reset the adjustments |
| |
|
|
|
| After step 3 on page 17, proceed as follows: |
| |
2 / 3 | 5 / 5 | MENU |
| 1 Press 5/∞ to move the cursor (3) to “reset.” | ||
| 2 Press 3. |
|
| |||
|
|
|
|
|
| |
|
|
|
| The confirmation screen appears. |
| |
|
|
|
| r e s e t |
|
|
|
|
|
| A r e y o u s u r e ? |
| |
|
|
|
| " Y E S " t h e n | k e y . |
|
|
|
|
| " N O " t h e n M E N U k e y . |
| |
|
|
|
| 3 Press 3 again to reset the adjustments. |
| |
| To cancel the reset, press MENU/EXIT (or MENU on the | |||||
|
|
|
| |||
|
|
|
| Monitor). |
|
|
| OFF | POWER | ON |
|
|
|
| DISPLAY |
| ASPECT | Note: |
|
|
|
|
|
| • Adjustment values for both horizontal and vertical sizes of | ||
| INPUT SELECT | the screen are so related that if one is adjusted up to near | ||||
| A |
| COMPO. | the maximum value, the attainable value of the other will | ||
|
|
| /(RGB B) | be decreased. |
|
|
| VIDEO |
|
|
|
| |
| B |
| RGB A |
|
|
|
| MUTING | VOLUME |
|
|
| |
|
|
| 2 / 3 |
|
|
|
|
|
| 5 / 5 |
|
|
|
MENU/EXIT |
|
|
|
|
|
|
| MENU/EXIT |
|
|
|
| |
18 |
|
|
|
|
|
|
