12EN | GETTING STARTED (cont.) |
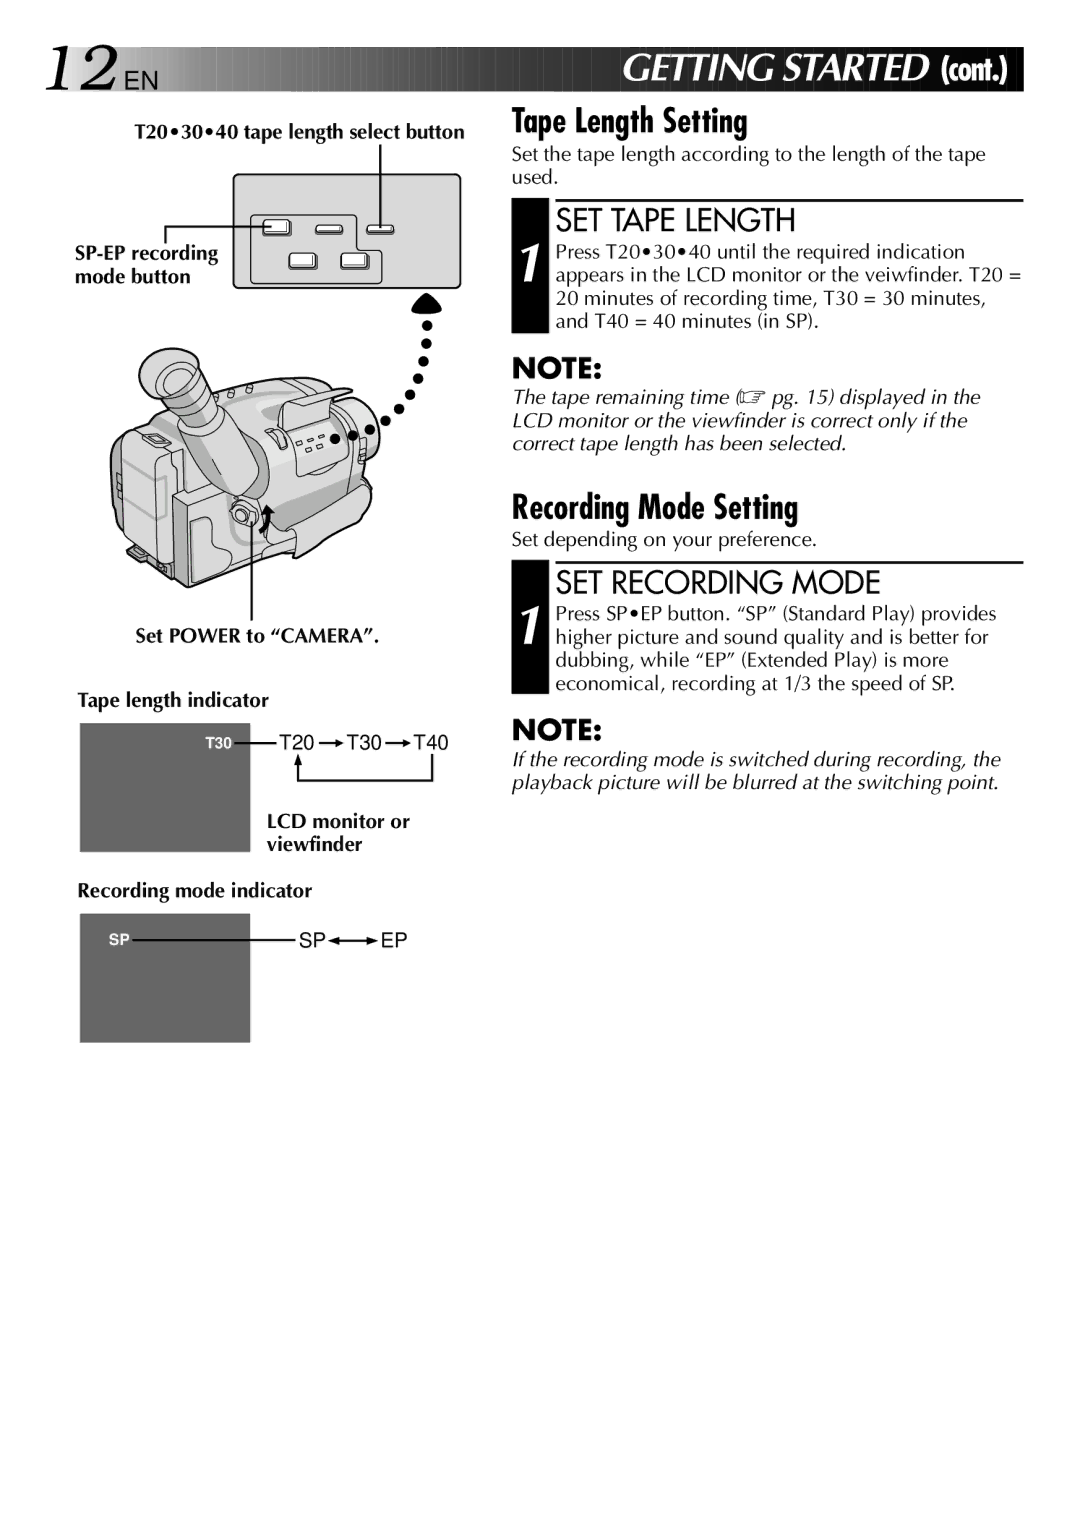
T20•30•40 tape length select button | Tape Length Setting |
Set POWER to “CAMERA”.
Tape length indicator
Set the tape length according to the length of the tape used.
SET TAPE LENGTH
1 Press T20•30•40 until the required indication appears in the LCD monitor or the veiwfinder. T20 = 20 minutes of recording time, T30 = 30 minutes, and T40 = 40 minutes (in SP).
NOTE:
The tape remaining time (☞ pg. 15) displayed in the LCD monitor or the viewfinder is correct only if the correct tape length has been selected.
Recording Mode Setting
Set depending on your preference.
SET RECORDING MODE
1 Press SP•EP button. “SP” (Standard Play) provides higher picture and sound quality and is better for dubbing, while “EP” (Extended Play) is more economical, recording at 1/3 the speed of SP.
T30 |
| T20 |
| T30 |
| T40 | ||
|
|
| ||||||
|
|
|
|
|
|
|
|
|
|
|
|
|
|
|
|
|
|
LCD monitor or viewfinder
Recording mode indicator
NOTE:
If the recording mode is switched during recording, the playback picture will be blurred at the switching point.
SPSP![]()
![]() EP
EP