PLAYBACK

Using
 The
The Cassette
 Adapter


 EN41
EN41

Cassette Adapter
Use this to play back a
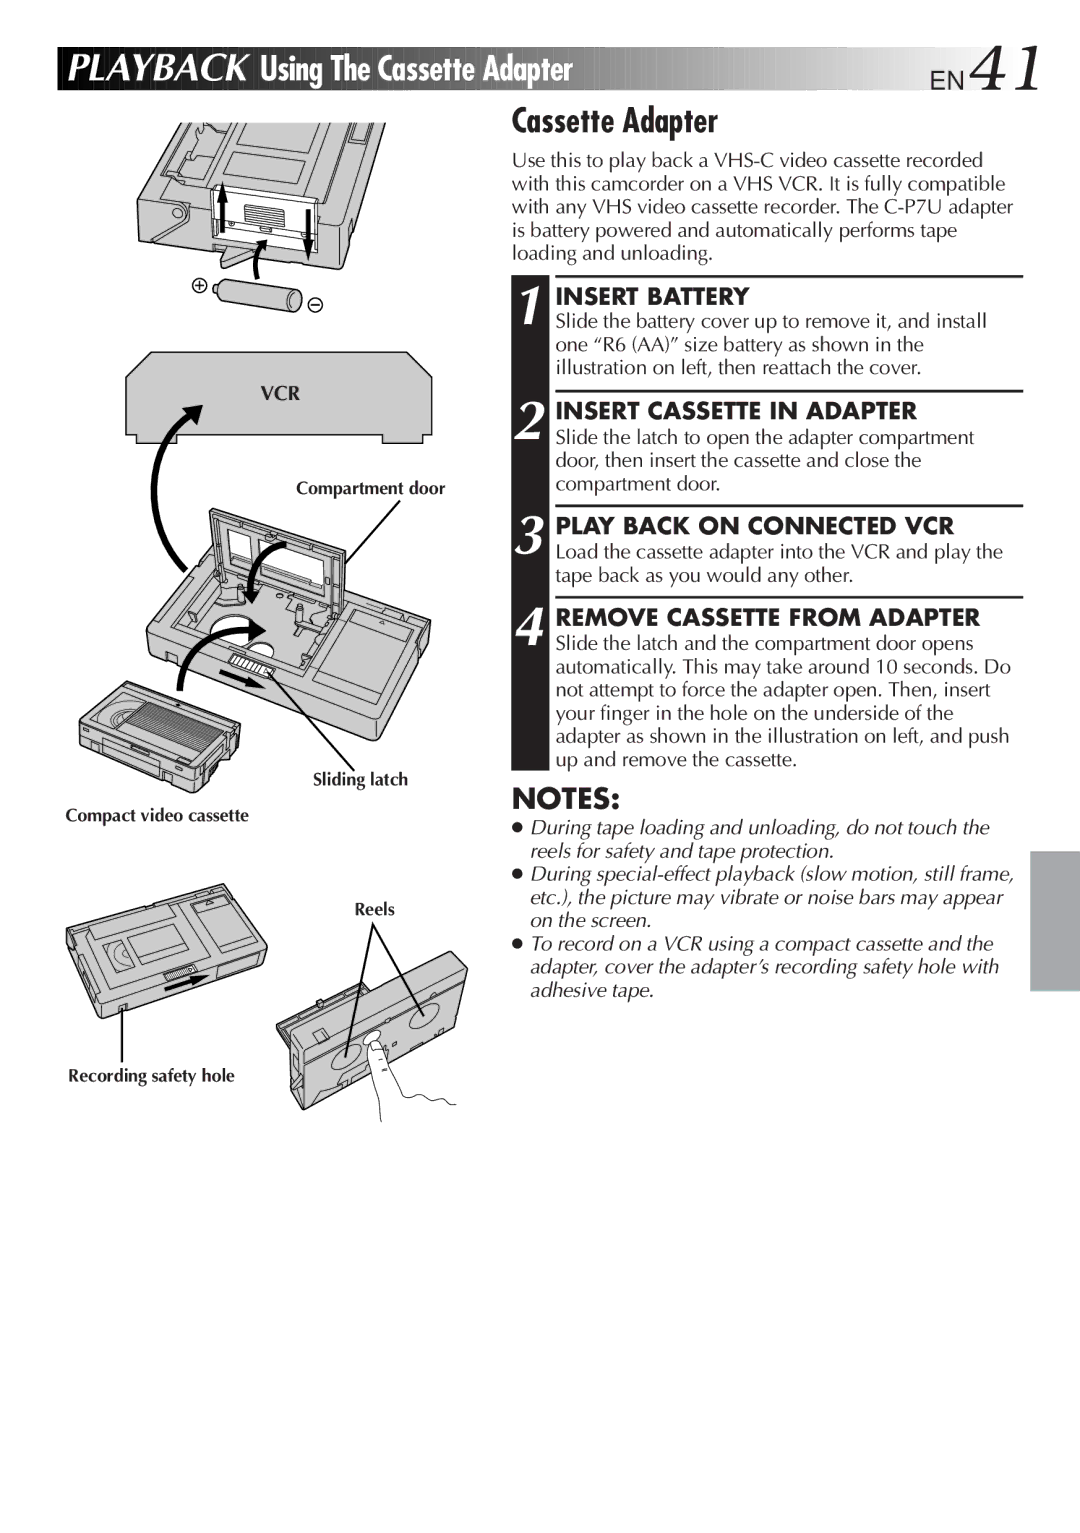
VCR
Compartment door
Sliding latch
Compact video cassette
Reels
1 INSERT BATTERY
Slide the battery cover up to remove it, and install one “R6 (AA)” size battery as shown in the illustration on left, then reattach the cover.
2 INSERT CASSETTE IN ADAPTER Slide the latch to open the adapter compartment door, then insert the cassette and close the compartment door.
3 PLAY BACK ON CONNECTED VCR Load the cassette adapter into the VCR and play the tape back as you would any other.
4 REMOVE CASSETTE FROM ADAPTER Slide the latch and the compartment door opens automatically. This may take around 10 seconds. Do not attempt to force the adapter open. Then, insert your finger in the hole on the underside of the adapter as shown in the illustration on left, and push up and remove the cassette.
NOTES:
●During tape loading and unloading, do not touch the reels for safety and tape protection.
●During
●To record on a VCR using a compact cassette and the adapter, cover the adapter’s recording safety hole with adhesive tape.
Recording safety hole