GR-SXM920 specifications
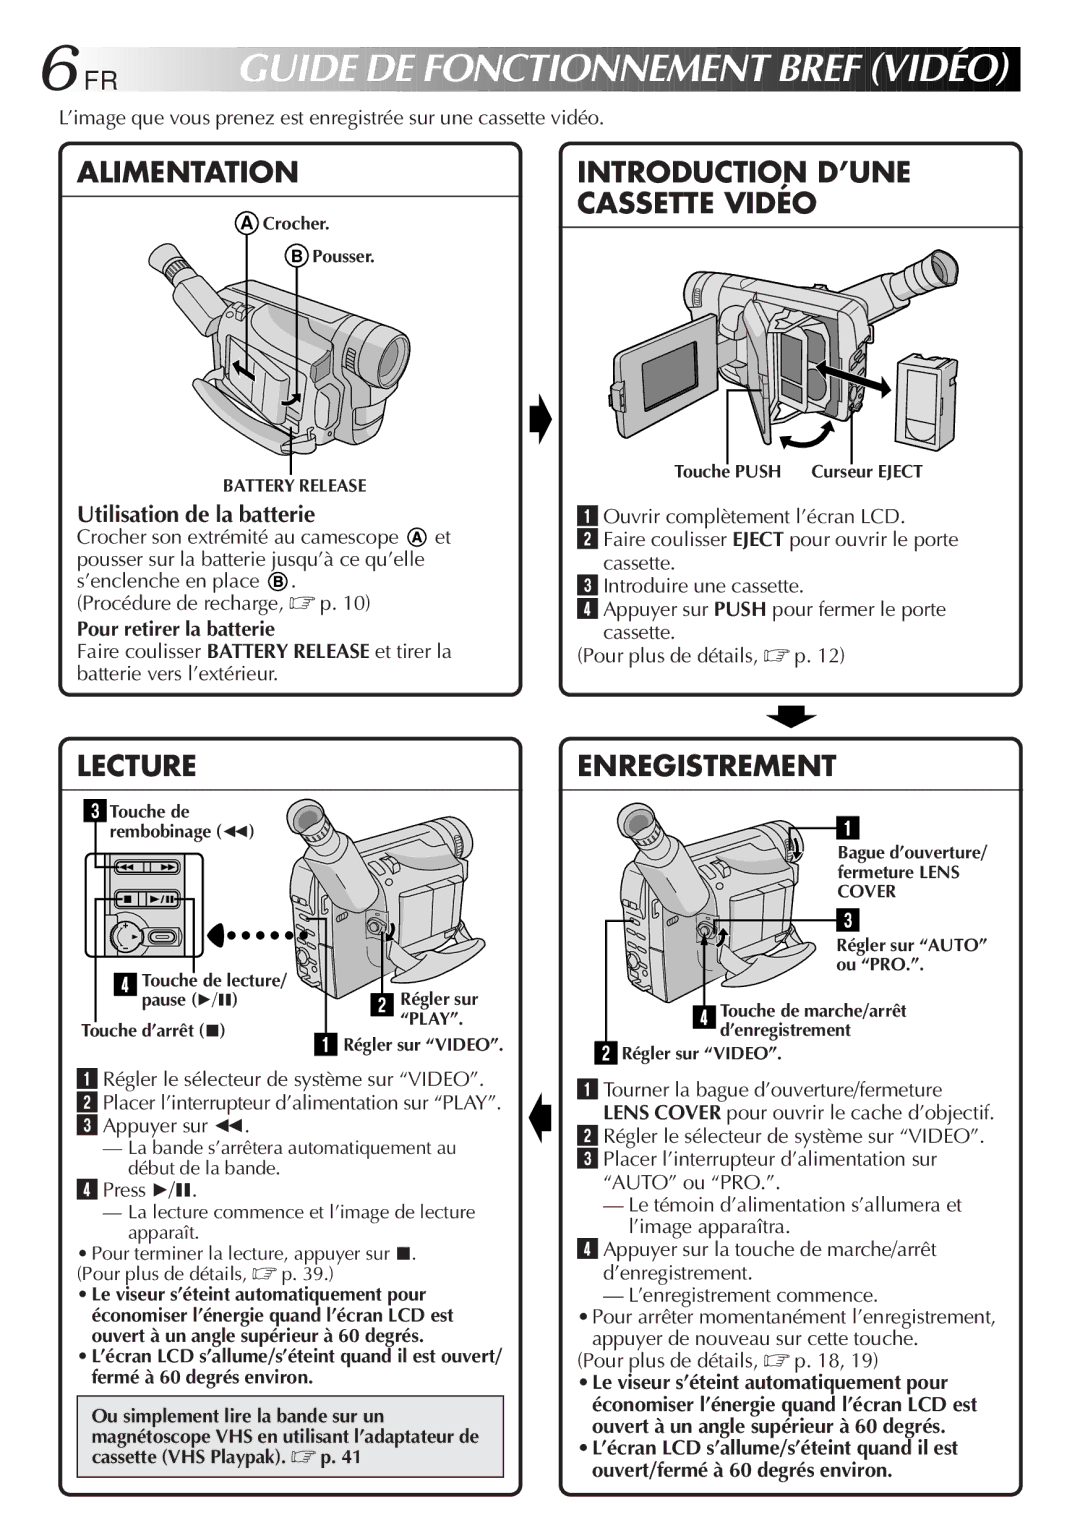
The JVC GR-SXM920 is a compact and versatile camcorder that exemplifies the best of portable video recording technology. Designed for amateur videographers and enthusiasts alike, this model combines ease of use with impressive performance, making it an excellent choice for capturing family events, travel experiences, or creative projects.One of the standout features of the JVC GR-SXM920 is its advanced Super VHS (S-VHS) capability. This technology significantly enhances video quality, providing sharper images and greater detail compared to standard VHS. The camcorder supports S-VHS recording, allowing users to create high-resolution tapes with improved color fidelity and reduced noise.
In terms of design, the GR-SXM920 is compact and lightweight, making it easily portable. Its ergonomic grip and intuitive controls ensure comfortable handling during extended recording sessions. The camcorder features a 20x optical zoom lens, providing excellent versatility for capturing subjects both near and far. Users can achieve stunning close-ups without sacrificing image quality, thanks to the optical zoom feature combined with digital zoom capabilities.
The camcorder is equipped with a 3.5-inch LCD screen that provides a clear view of the recording scene, enabling users to frame shots accurately. The screen can be tilted for adaptability, enhancing the user experience in various shooting conditions. Additionally, the GR-SXM920 supports night vision recording, making it an excellent tool for shooting in low-light situations. This feature utilizes infrared technology to capture clear images even in complete darkness.
Audio quality is another area where the GR-SXM920 excels. It includes a built-in stereo microphone that captures clear sound, essential for producing high-quality videos. Users can also connect external microphones for enhanced audio options, making it suitable for a variety of recording environments.
The battery life of the GR-SXM920 is commendable, allowing for extended shooting sessions without frequent recharges. Its easy-to-navigate menu system simplifies accessing settings and features, making it user-friendly for beginners.
Overall, the JVC GR-SXM920 stands out for its combination of advanced S-VHS recording technology, portability, and user-friendly design. Whether for recording cherished family moments or embarking on creative projects, this camcorder offers functionality and performance to meet diverse videography needs. With its impressive features, it remains a notable option for those seeking a reliable and efficient video recording solution.

