EN55

NOTE:

Use the RM-V715U remote control unit to perform the following procedures.

Insert Editing (Insert A Still Image

From The Built-in Memory Onto A

Tape)

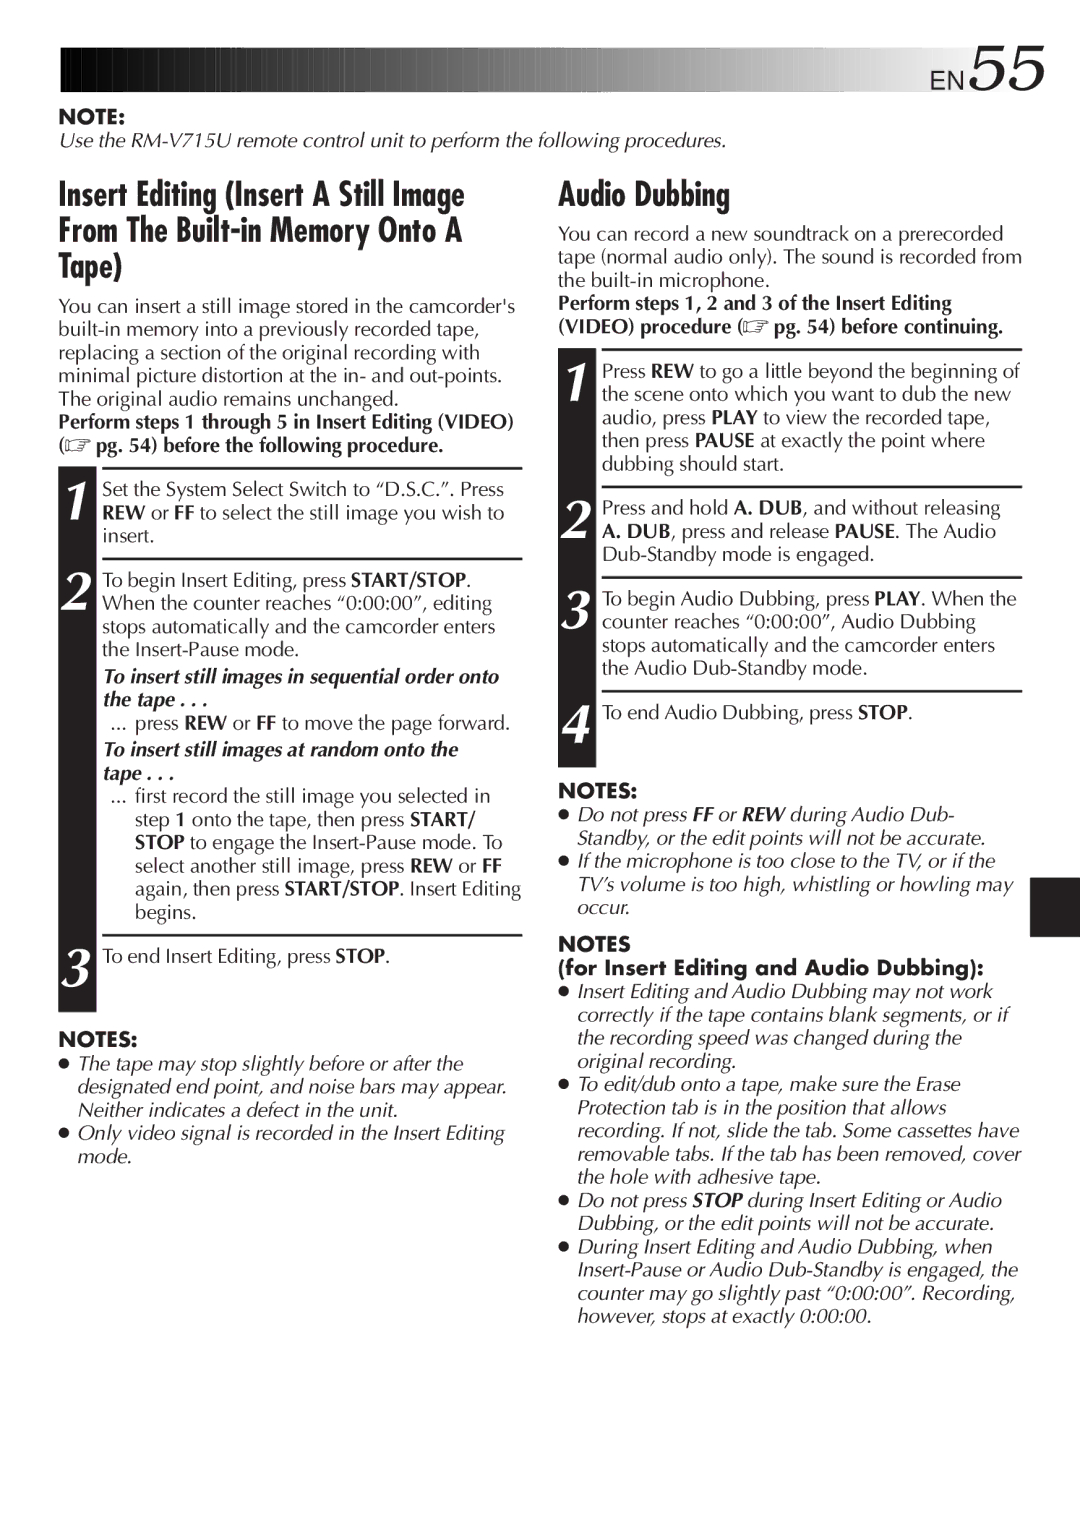
You can insert a still image stored in the camcorder's built-in memory into a previously recorded tape, replacing a section of the original recording with minimal picture distortion at the in- and out-points. The original audio remains unchanged.

Perform steps 1 through 5 in Insert Editing (VIDEO) (pg. 54) before the following procedure.

1 Set the System Select Switch to “D.S.C.”. Press REW or FF to select the still image you wish to insert.

2 To begin Insert Editing, press START/STOP. When the counter reaches “0:00:00”, editing stops automatically and the camcorder enters the Insert-Pause mode.

To insert still images in sequential order onto the tape . . .

... press REW or FF to move the page forward.

To insert still images at random onto the tape . . .

... first record the still image you selected in step 1 onto the tape, then press START/ STOP to engage the Insert-Pause mode. To select another still image, press REW or FF again, then press START/STOP. Insert Editing begins.

3 To end Insert Editing, press STOP.

NOTES:

The tape may stop slightly before or after the designated end point, and noise bars may appear. Neither indicates a defect in the unit.

Only video signal is recorded in the Insert Editing mode.

Audio Dubbing

You can record a new soundtrack on a prerecorded tape (normal audio only). The sound is recorded from the built-in microphone.

Perform steps 1, 2 and 3 of the Insert Editing (VIDEO) procedure (pg. 54) before continuing.

1 Press REW to go a little beyond the beginning of the scene onto which you want to dub the new audio, press PLAY to view the recorded tape, then press PAUSE at exactly the point where dubbing should start.

2 Press and hold A. DUB, and without releasing A. DUB, press and release PAUSE. The Audio Dub-Standby mode is engaged.

3 To begin Audio Dubbing, press PLAY. When the counter reaches “0:00:00”, Audio Dubbing stops automatically and the camcorder enters the Audio Dub-Standby mode.

4 To end Audio Dubbing, press STOP.

NOTES:

Do not press FF or REW during Audio Dub- Standby, or the edit points will not be accurate.

If the microphone is too close to the TV, or if the TV’s volume is too high, whistling or howling may occur.

NOTES

(for Insert Editing and Audio Dubbing):

Insert Editing and Audio Dubbing may not work correctly if the tape contains blank segments, or if the recording speed was changed during the original recording.

To edit/dub onto a tape, make sure the Erase Protection tab is in the position that allows recording. If not, slide the tab. Some cassettes have removable tabs. If the tab has been removed, cover the hole with adhesive tape.

Do not press STOP during Insert Editing or Audio Dubbing, or the edit points will not be accurate.

During Insert Editing and Audio Dubbing, when Insert-Pause or Audio Dub-Standby is engaged, the counter may go slightly past “0:00:00”. Recording, however, stops at exactly 0:00:00.

Page 55
Image 55
JVC GR-SXM937UM specifications Tape, Audio Dubbing, To insert still images in sequential order onto the tape

GR-SXM937UM specifications

The JVC GR-SXM937UM is a compact camcorder that represents an impressive amalgamation of advanced technology and user-friendly design, allowing both amateur and professional videographers to capture high-quality footage with ease. This model is part of JVC's line of versatile and robust camcorders, making it an ideal choice for anyone looking to document life's moments, whether at family gatherings, outdoor adventures, or professional events.

One of the standout features of the GR-SXM937UM is its comprehensive optical zoom capability. Equipped with a powerful zoom lens, users can capture distant subjects without sacrificing image quality. The camcorder offers a 34x optical zoom that facilitates close-up shots, providing flexibility when filming in various environments. Coupled with digital zoom capabilities, it allows for an extended zoom range, ideal for shooting detailed scenes from afar.

In terms of video quality, the GR-SXM937UM boasts a 700,000-pixel CCD image sensor that captures crisp and vibrant video footage. With its capacity to record in standard VHS-C format, it delivers excellent resolution that preserves the integrity of images even during playback. Furthermore, an array of features including Digital Image Stabilization helps to minimize the effects of camera shake, ensuring that videos are smooth and cinematic.

The camcorder is equipped with JVC's innovative 3-inch flip-out LCD screen, allowing users to easily frame their shots and view recordings. This TFT LCD display provides a clear and bright image, enhancing usability in both bright and dim lighting conditions. The ability to rotate the screen adds versatility, especially for self-recording and vlogging.

Additionally, the GR-SXM937UM comes with built-in editing features that allow users to trim clips and compile their footage directly in-camera, removing the need for complex software during the initial editing process. This user-centric functionality is complemented by various shooting modes, including night mode, giving users the option to adapt to different lighting environments.

The JVC GR-SXM937UM also features an ergonomic design, making it easy to handle during extended use. With multiple connectivity options, including S-Video, the camcorder can easily connect to TVs or external devices for viewing or transferring videos.

In conclusion, the JVC GR-SXM937UM is not just a camcorder; it's a comprehensive tool for capturing memories with technical precision. With its impressive zoom, high-quality image sensor, and user-friendly interface, it caters to a wide range of videography needs. Whether you are a casual user or a budding filmmaker, this model stands out as a solid investment for anyone looking to enhance their video recording experience.