Advanced Tape Operations
Remote control
USB MEMORY 3
DVD/CD 3


7
TAPE ![]() FM/AM/AUX
FM/AM/AUX
IMPORTANT
It may be unlawful to record or playback copyrighted material without the consent of the copyright owner.
Recording on a Tape INFO
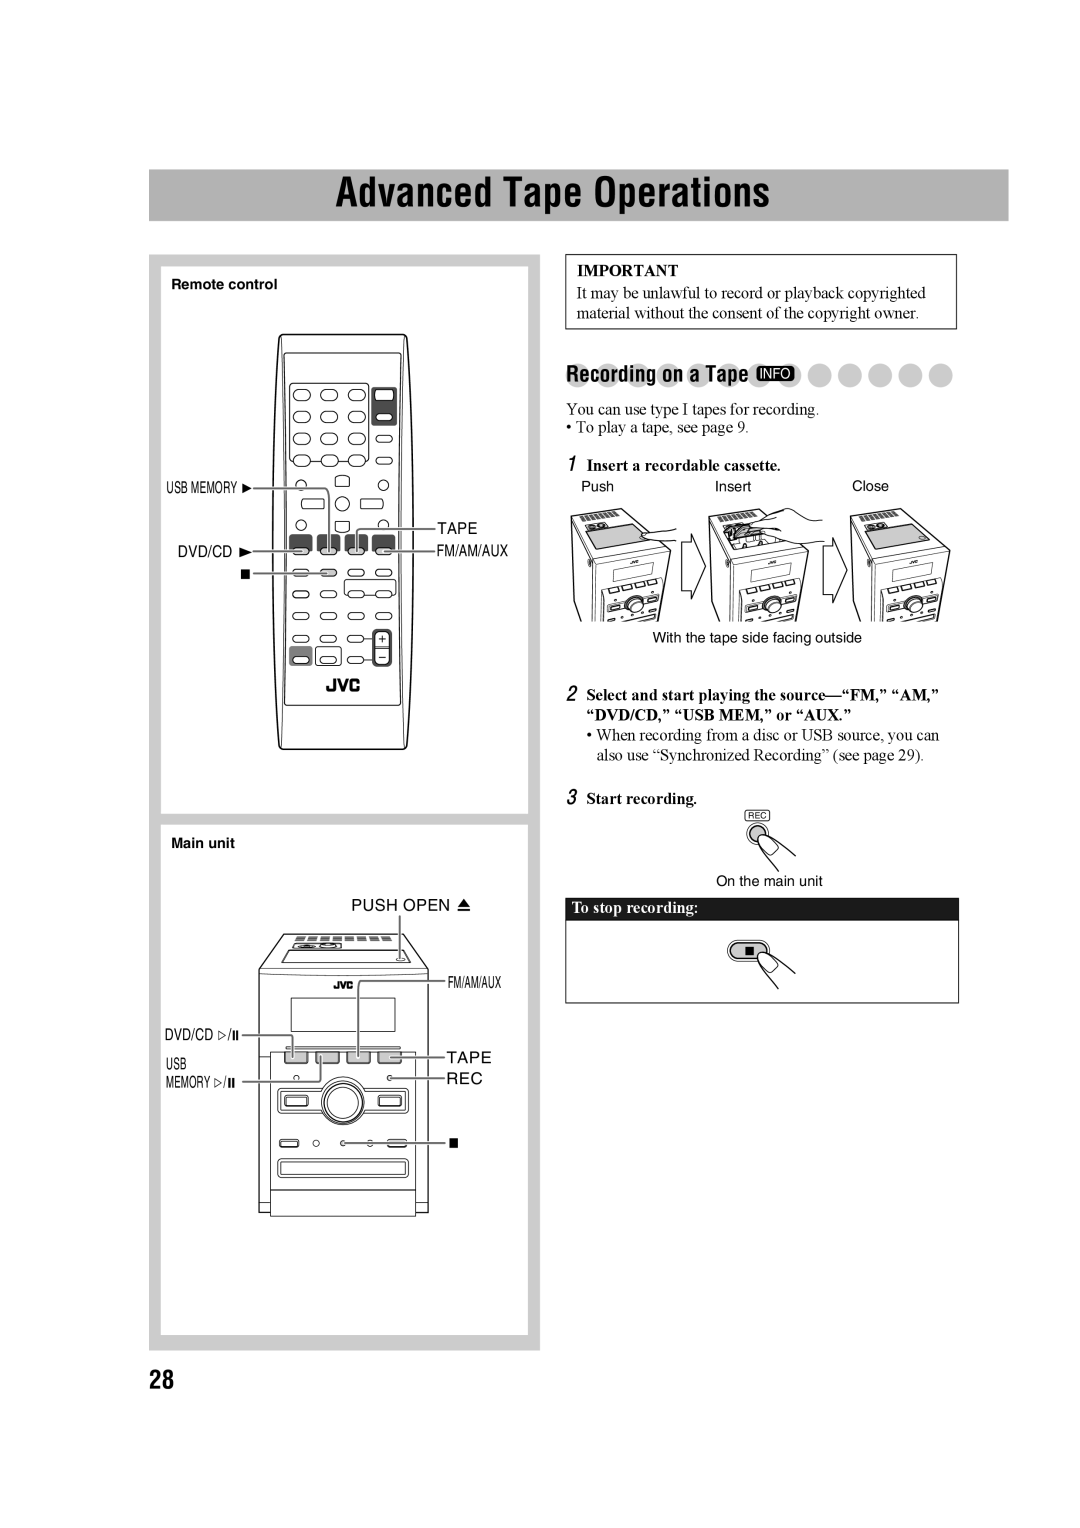
You can use type I tapes for recording.
• To play a tape, see page 9.
1Insert a recordable cassette.
Push | Insert | Close |
With the tape side facing outside
2Select and start playing the
•When recording from a disc or USB source, you can also use “Synchronized Recording” (see page 29).
3Start recording.
REC
Main unit
| PUSH OPEN 0 | |
| FM/AM/AUX | |
DVD/CD #/8 |
| |
USB | TAPE | |
REC | ||
MEMORY #/8 | ||
| 7 |
On the main unit
To stop recording:
28
