3
SELECT LANGUAGE
Press OK. The Language Set display appears on the front display panel and/or on the screen.
If you are referring to the front display panel
Press %Þ to select your language code.
Language Code |
|
|
| |
ENGLISH | : 01 | NORSK | : 08 | |
DEUTSCH | : 02 | SUOMI | : 09 | |
FRANCAIS | : 03 | DANSK | : 10 | |
ITALIANO | : 04 | POLSKI | : 11 | |
CASTELLANO : 05 | E TINA | : 12 | ||
NEDERLANDS : 06 | MAGYAR | : 13 | ||
SVENSKA | : 07 |
|
|
|
(Ex.) DEUTSCH is selected for SUISSE | ||||
International telephone | Language code | |||
country code |
|
|
|
|
|
|
|
|
|
|
|
|
|
|
![]()
![]()
![]()
![]()
![]()
![]()
![]()
![]()
![]()
![]()
![]()
![]()
![]()
![]()
![]()
![]()
![]()
![]()
![]() EN
EN![]()
![]() 5
5
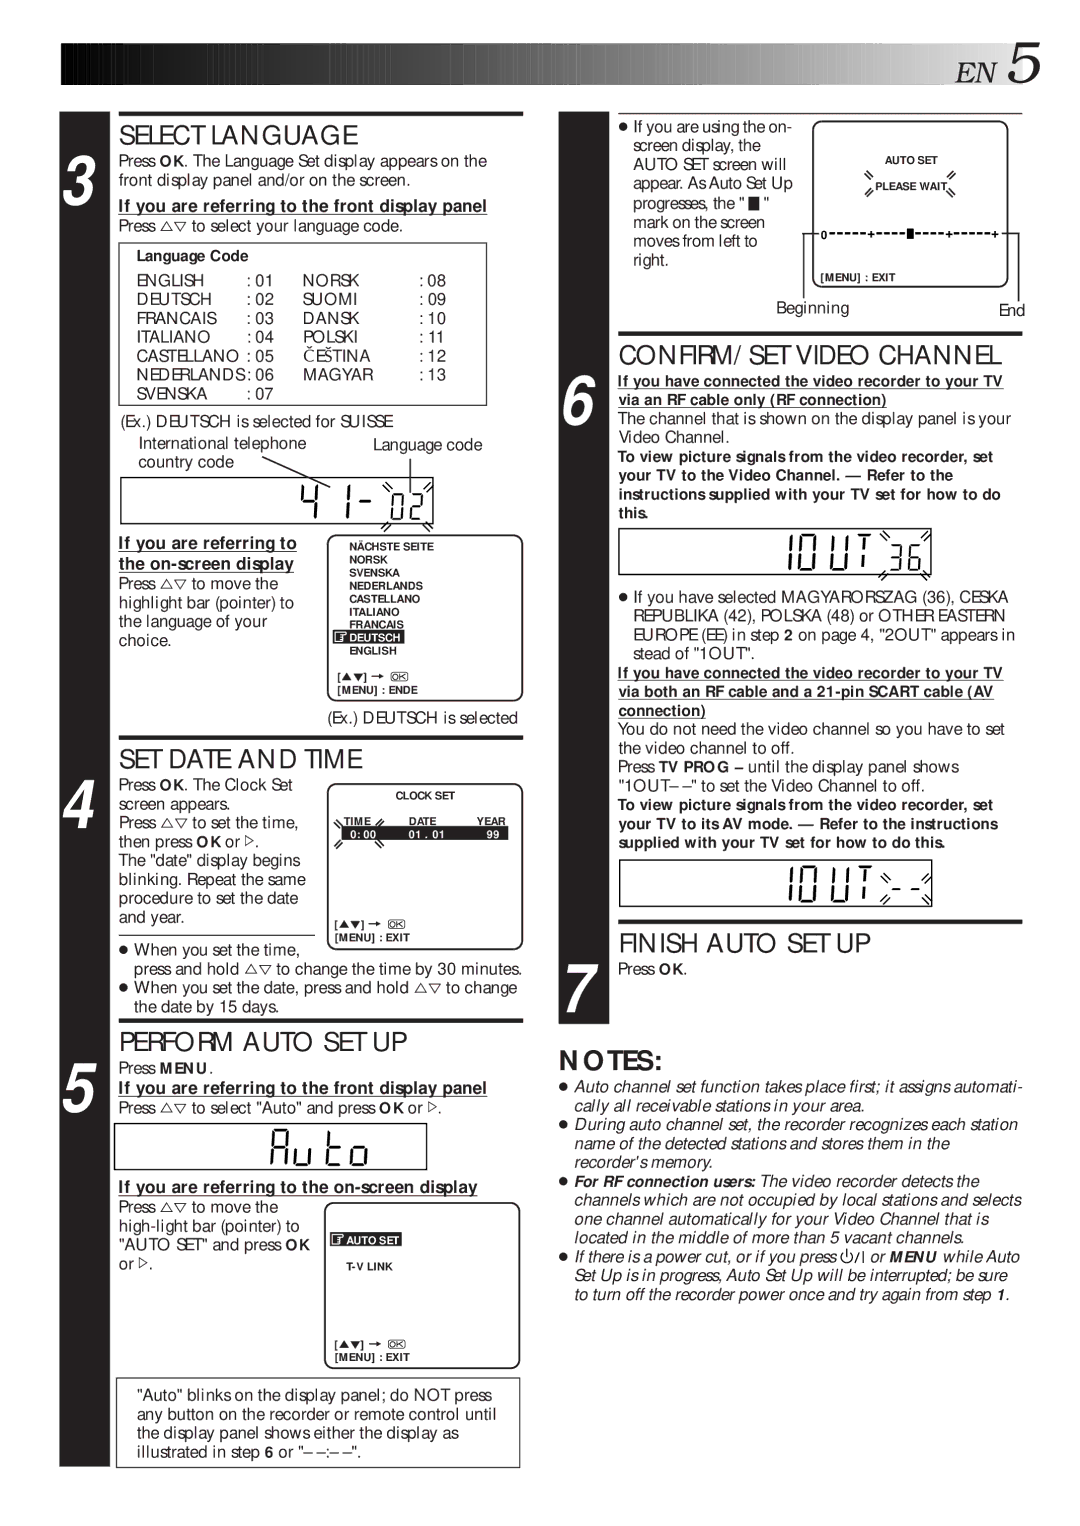
●If you are using the on- screen display, the
AUTO SET screen will |
| AUTO SET |
|
|
|
|
| ||||
appear. As Auto Set Up |
| PLEASE WAIT |
|
|
|
| |||||
progresses, the " |
| " |
|
|
|
|
|
|
|
|
|
|
|
|
|
|
|
|
|
|
| ||
mark on the screen | 0 | + |
|
| + | + |
|
|
| ||
moves from left to |
|
|
|
|
|
|
|
|
| ||
right. | [MENU] : EXIT |
|
|
|
|
| |||||
|
|
|
|
|
|
|
| ||||
|
| Beginning |
|
|
|
|
|
| |||
|
|
|
|
|
| End |
| ||||
6 | CONFIRM/SET VIDEO CHANNEL |
If you have connected the video recorder to your TV | |
via an RF cable only (RF connection) | |
The channel that is shown on the display panel is your | |
| Video Channel. |
| To view picture signals from the video recorder, set |
| your TV to the Video Channel. — Refer to the |
| instructions supplied with your TV set for how to do |
| this. |
If you are referring to the
Press %Þ to move the highlight bar (pointer) to the language of your choice.
NÄCHSTE SEITE
NORSK
SVENSKA
NEDERLANDS
CASTELLANO
ITALIANO
FRANCAIS
![]() DEUTSCH
DEUTSCH
ENGLISH
[5°] = ![]()
[MENU] : ENDE
(Ex.) DEUTSCH is selected
●If you have selected MAGYARORSZAG (36), CESKA REPUBLIKA (42), POLSKA (48) or OTHER EASTERN EUROPE (EE) in step 2 on page 4, "2OUT" appears in stead of "1OUT".
If you have connected the video recorder to your TV via both an RF cable and a
You do not need the video channel so you have to set
4
5
SET DATE AND TIME |
|
| ||
Press OK. The Clock Set |
|
| CLOCK SET |
|
screen appears. |
|
|
| |
|
|
|
| |
Press %Þ to set the time, |
| TIME | DATE | YEAR |
then press OK or #. |
| 0: 00 | 01 . 01 | 99 |
|
|
|
| |
The "date" display begins |
|
|
|
|
blinking. Repeat the same |
|
|
|
|
procedure to set the date |
|
|
|
|
and year. | [5°] = |
|
| |
| [MENU] : EXIT |
| ||
|
| |||
●When you set the time,
press and hold %Þ to change the time by 30 minutes.
●When you set the date, press and hold %Þ to change the date by 15 days.
PERFORM AUTO SET UP
Press MENU.
If you are referring to the front display panel
Press %Þ to select "Auto" and press OK or #.
If you are referring to the on-screen display
Press %Þ to move the |
|
| |
"AUTO SET" and press OK | AUTO SET |
| |
or #. |
[5°] = ![]()
[MENU] : EXIT
"Auto" blinks on the display panel; do NOT press any button on the recorder or remote control until the display panel shows either the display as illustrated in step 6 or "–
the video channel to off.
Press TV PROG – until the display panel shows "1OUT–
To view picture signals from the video recorder, set your TV to its AV mode. — Refer to the instructions supplied with your TV set for how to do this.
FINISH AUTO SET UP
7 Press OK.
NOTES:
●Auto channel set function takes place first; it assigns automati- cally all receivable stations in your area.
●During auto channel set, the recorder recognizes each station name of the detected stations and stores them in the recorder's memory.
●For RF connection users: The video recorder detects the channels which are not occupied by local stations and selects one channel automatically for your Video Channel that is located in the middle of more than 5 vacant channels.
●If there is a power cut, or if you press ![]()
![]()
![]() or MENU while Auto Set Up is in progress, Auto Set Up will be interrupted; be sure to turn off the recorder power once and try again from step 1.
or MENU while Auto Set Up is in progress, Auto Set Up will be interrupted; be sure to turn off the recorder power once and try again from step 1.