6

 EN
EN


 INITIAL
 SETTINGS
 (cont.)


Preset
Download
You can use this function only with the TV offering
*Compatible with TVs offering
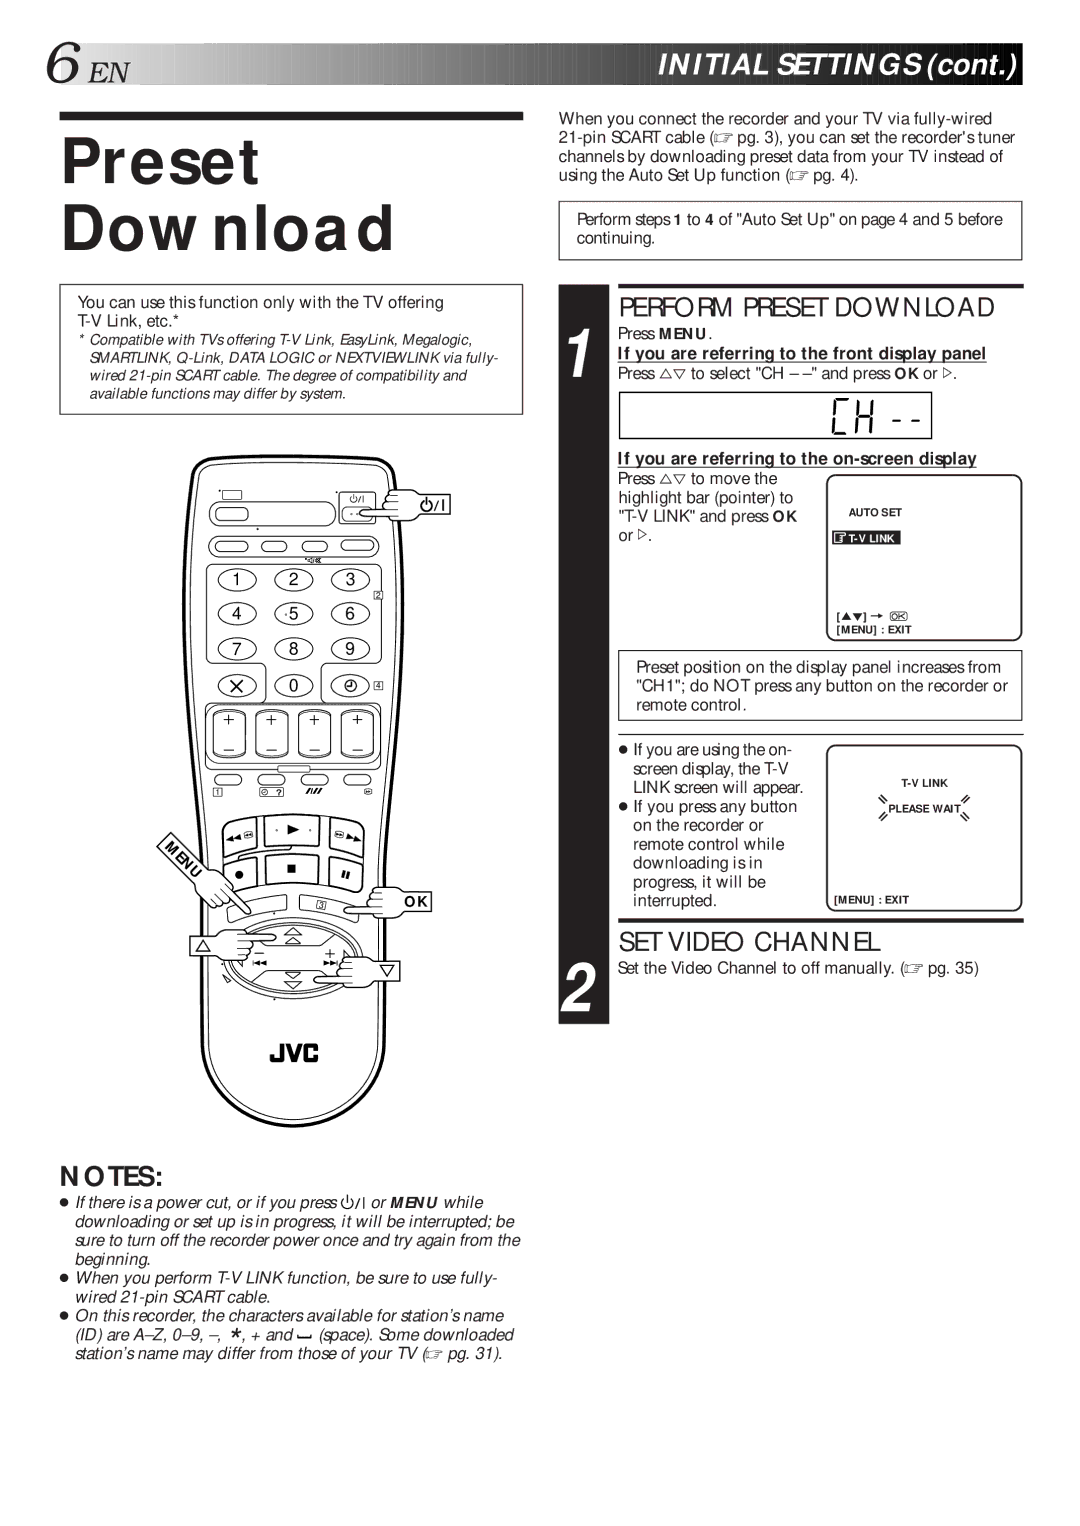
1 2 3
2
4 5 6
7 8 9
0 | 4 |
1 | ? |
ENU
3 | OK |
NOTES:
● If there is a power cut, or if you press ![]()
![]()
![]() or MENU while downloading or set up is in progress, it will be interrupted; be sure to turn off the recorder power once and try again from the beginning.
or MENU while downloading or set up is in progress, it will be interrupted; be sure to turn off the recorder power once and try again from the beginning.
●When you perform
●On this recorder, the characters available for station’s name
(ID) are ![]() (space). Some downloaded station’s name may differ from those of your TV (☞ pg. 31).
(space). Some downloaded station’s name may differ from those of your TV (☞ pg. 31).
When you connect the recorder and your TV via
Perform steps 1 to 4 of "Auto Set Up" on page 4 and 5 before continuing.
PERFORM PRESET DOWNLOAD
1 | Press MENU. |
|
|
|
If you are referring to the front display panel | ||||
Press %Þ to select "CH – | ||||
|
|
|
|
|
| If you are referring to the | |||
| Press %Þ to move the |
|
|
|
| highlight bar (pointer) to | AUTO SET | ||
| ||||
| or #. |
|
|
|
| ||||
|
| [5°] = |
|
|
|
| [MENU] : EXIT | ||
Preset position on the display panel increases from "CH1"; do NOT press any button on the recorder or remote control.
● If you are using the on- |
|
screen display, the | |
LINK screen will appear. | |
● If you press any button | PLEASE WAIT |
on the recorder or |
|
remote control while |
|
downloading is in |
|
progress, it will be |
|
interrupted. | [MENU] : EXIT |
SET VIDEO CHANNEL
2 Set the Video Channel to off manually. (☞ pg. 35)