EN 35

Automatic Satellite

Programme

Recording

This function allows you to automatically record a satellite programme which is timer-programmed on your external satellite receiver. Connect a satellite receiver to the recorder’s AV2 (L-2) IN/DECODER connector and programme the timer on the satellite receiver. The recorder starts or stops recording by the signals input from the satellite receiver. After recording, the recorder’s power shuts off automatically.

ATTENTION

Be sure not to turn on the satellite receiver before the programme is executed; otherwise, the recorder will start recording when the satellite receiver’s power is turned on.

If you have connected another appliance other than a satellite receiver to the AV2 (L-2) IN/DECODER connector, be sure not to engage the Automatic Satellite Programme Recording mode; otherwise, the recorder will start recording when the connected appliance’s power is turned on.

Automatic Satellite Programme Recording and timer-recording cannot be done at the same time.

Before performing the following steps:

Make sure the satellite receiver is connected to the recorder’s AV2 (L-2) IN/DECODER connector. ( pg. 44, 45)

Programme the timer on the satellite receiver.

Insert a cassette with the safety tab in place.

A Select the L-2 SELECT mode.

Set “L-2 SELECT” to “A/V” or “SAT” ( pg. 43).

When you select “SAT”, refer to “IMPORTANT” on page 44.

B Set the tape speed.

Press SP/LP/EP (p).

It is not possible to select EP mode if “COLOUR SYSTEM” is

set to “MESECAM”. ( pg. 52)

C Engage the Automatic Satellite Programme

Recording mode.

indicator

Press and hold SAT# for about 2 seconds. The ““ indicator lights up and the recorder turns off automatically.

NOTES:

To disengage the Automatic Satellite Programme Recording mode, press SAT#. The ““ indicator goes off.

If the recorder’s power is off, it is not possible to engage the Automatic Satellite Programme Recording mode.

In step 3, if the ““ indicator does not light but instead blinks quickly even though your satellite receiver’s power is off, Automatic Satellite Programme Recording will not work properly with that satellite receiver*. If this is the case, perform “Express Timer Programming” ( pg. 30) to timer-record a satellite programme.

*Some satellite receivers output signals even if the power is off. Automatic Satellite Programme Recording is not possible with those satellite receivers.

The ““ indicator blinks while Automatic Satellite Programme Recording is in progress.

For timer programming of the satellite receiver, refer to the instruction manual of the satellite receiver.

Automatic Satellite Programme Recording is not possible if your satellite receiver does not have a timer.

Pressing the recorder’s 1 button while Automatic Satellite Programme Recording is in progress turns off the recorder’s power and disengages the Automatic Satellite Programme Recording mode.

If there are more than one satellite programmes you wish to record with Automatic Satellite Programme Recording, it is not possible to set different tape speeds for each programme.

Depending on the type of satellite receiver, the recorder may not record a slight portion of the beginning of the programme or may record slightly longer than the actual length of the programme.

If you engage the Automatic Satellite Programme Recording mode when the satellite receiver’s power is on, the recorder will not

start Automatic Satellite Programme Recording even though the ““ indicator blinks. When the satellite receiver shuts off once and is turned back on again, the recorder starts recording.

You can also record a programme from your cable system in the same way if the system has a timer.

The B.E.S.T. system ( pg. 27) does not work while Automatic Satellite Programme Recording is in progress.

Just Clock ( pg. 60) does not work when the Automatic Satellite Programme Recording mode is engaged.

When the Automatic Satellite Programme Recording mode is engaged, or the recorder’s power is turned off after Automatic Satellite

Programme Recording is finished, the recorder will not enter the Timer mode even though “AUTO TIMER” is set to “ON” ( pg. 49).

Page 35
Image 35
JVC HR - S7950EU Programme Recording, Select the L-2 Select mode, Recording mode, Before performing the following steps

HR - S7950EU specifications

The JVC HR-S7950EU is a notable addition to the VCR market, known for its advanced technologies and user-friendly features that redefine the home video experience. Designed for enthusiasts of analog video recording and playback, this model showcases JVC's commitment to delivering high-quality performance in a compact format.

One of the standout features of the HR-S7950EU is its Super VHS capability. This innovative technology allows for superior image quality compared to standard VHS, providing a clearer and more vibrant picture. The Super VHS format boasts enhanced resolution, which is particularly beneficial for recording high-detail content. It is an ideal choice for those looking to preserve their home videos with an enhanced level of detail.

Another significant characteristic of the HR-S7950EU is its dual-head system, which optimizes playback and recording quality. This dual-head design minimizes tape wear and enhances the clarity of the video, ensuring that each playback is as good as the last. Furthermore, the unit incorporates a high-quality video processing circuit that improves color reproduction and reduces noise, leading to a more immersive viewing experience.

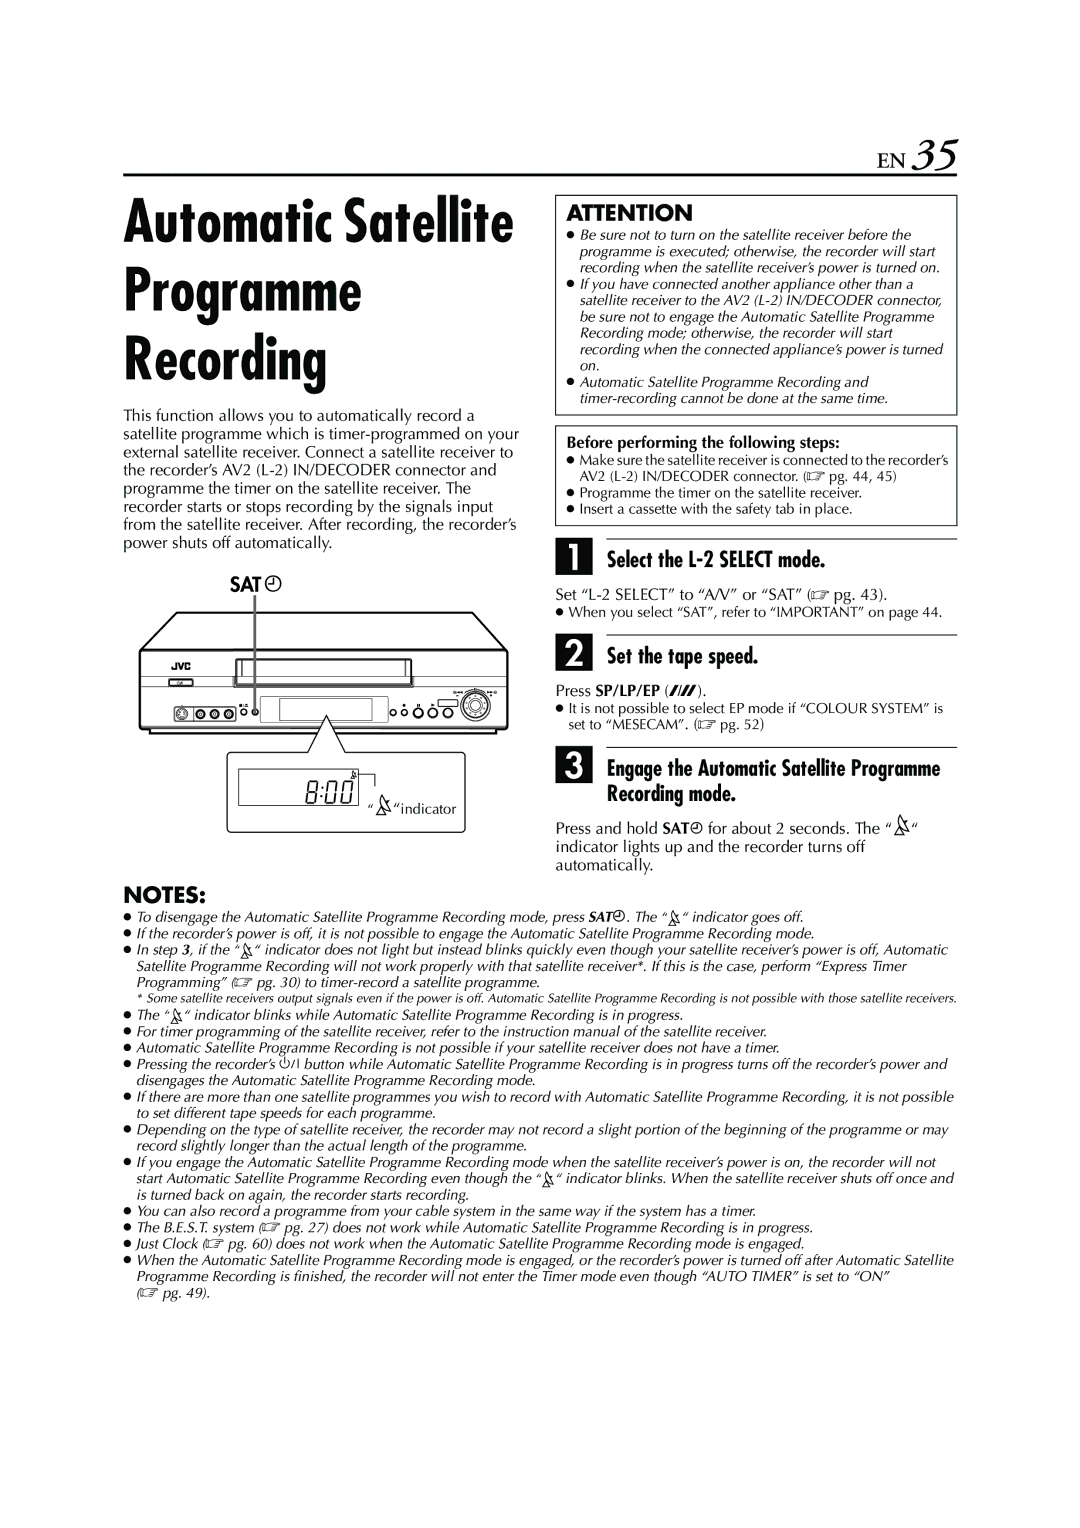
In addition to its video processing capabilities, the HR-S7950EU is equipped with various convenient features, including a built-in timer for scheduled recordings. This allows users to tape their favorite shows or events without the need for manual operation, showcasing JVC's commitment to user convenience. The unit also includes options for edited playback, enabling users to create customized viewing experiences by skipping unwanted content.

The JVC HR-S7950EU supports a wide range of tape formats, making it compatible with both standard VHS and Super VHS tapes, ensuring versatility for users with diverse collections. The model also prides itself on its sleek design and user-friendly interface, making navigation straightforward even for those less familiar with technology.

Connectivity options on the HR-S7950EU are robust, featuring multiple AV inputs and outputs to accommodate various devices. The inclusion of S-Video outputs further enhances the video quality for connecting to televisions and projectors, allowing users to enjoy their recordings with minimal signal loss.

In summary, the JVC HR-S7950EU offers a blend of advanced features and user-centric designs that firmly establish it as a valuable choice for home video recording and playback. Whether one is looking to preserve memories on tape or enjoy classic films, this VCR delivers performance and quality that resonate with video enthusiasts. Its combination of Super VHS capabilities, dual-head recording technology, and user-friendly features makes it an excellent choice in the realm of analog video technology.