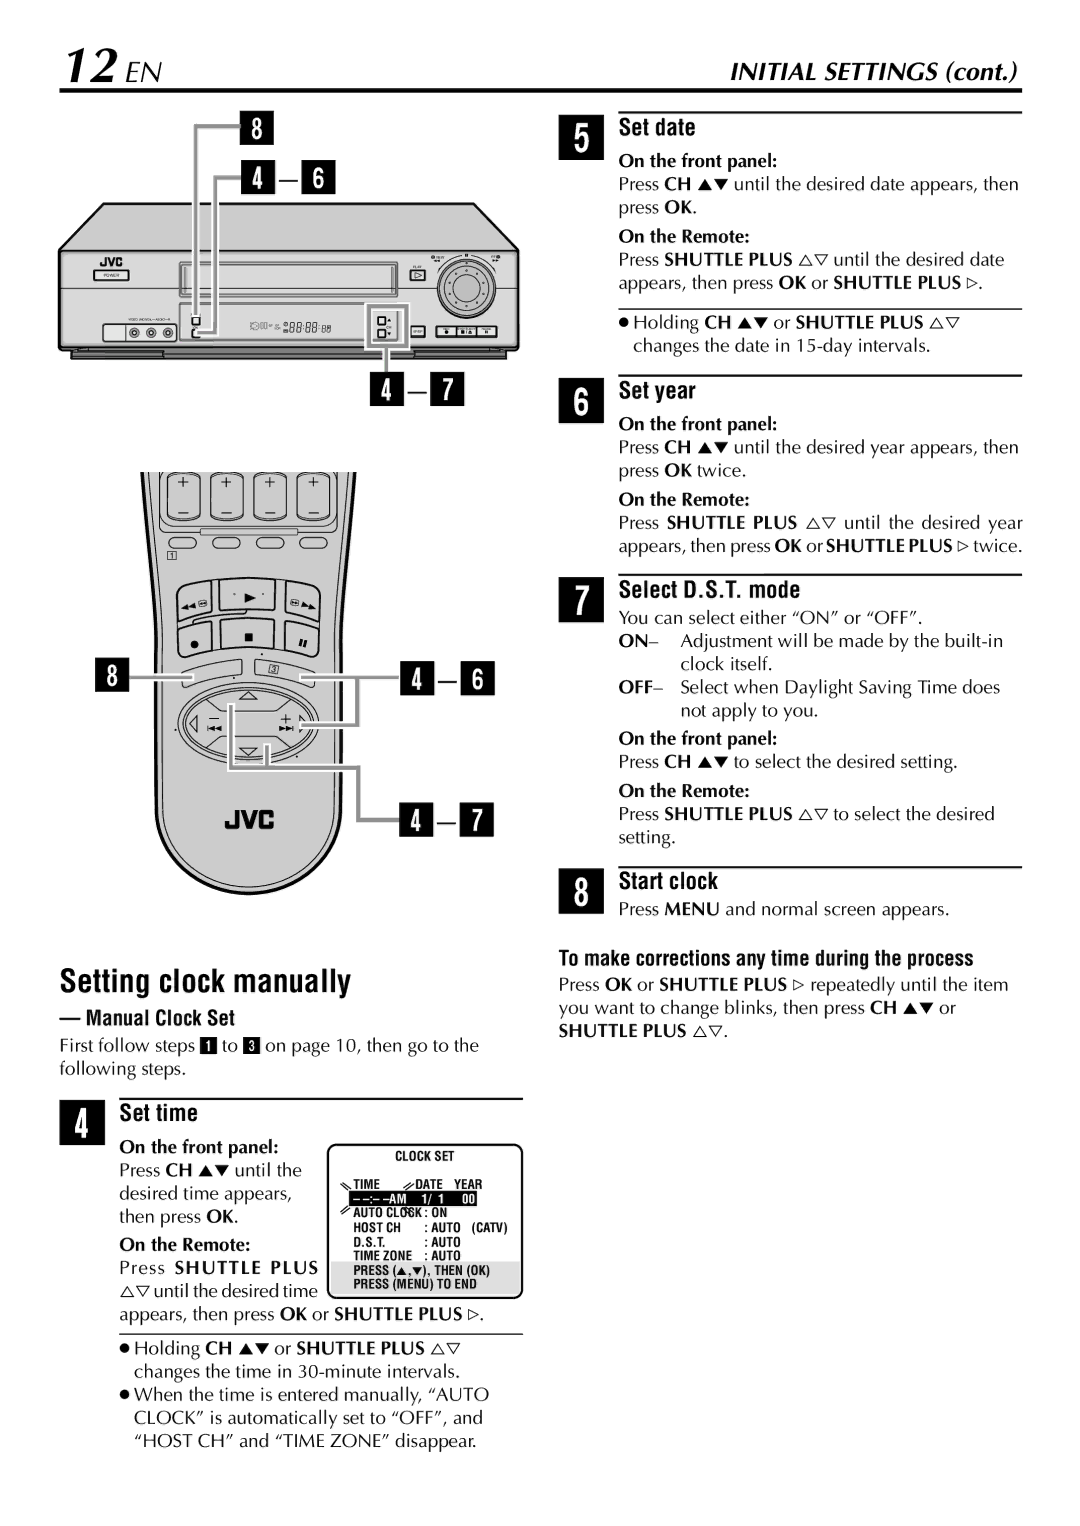
12 EN | 8 | 5 |
| INITIAL SETTINGS (cont.) | ||
|
|
| 4– 64 |
|
|
|
|
|
|
| Set date |
| |
|
|
|
|
| ||
|
|
|
| On the front panel: | ||
|
|
|
| Press CH 5∞ until the desired date appears, then | ||
|
|
|
| |||
|
|
|
|
| press OK. |
|
|
|
|
|
|
| On the Remote: |
|
|
| PLAY | REW | FF | Press SHUTTLE PLUS %fi until the desired date |
POWER |
|
|
|
|
| appears, then press OK or SHUTTLE PLUS #. |
|
|
|
|
|
| |
OK | VCR | CH | SP/EP | REC STOP/EJECT PAUSE |
| ● Holding CH 5∞ or SHUTTLE PLUS %fi |
VIDEO |
|
|
|
|
| 6changes the date in |
| SP EP |
|
|
|
| |
|
|
|
|
|
|
– 7 |
|
Set year |
1
On the front panel:
Press CH 5∞ until the desired year appears, then press OK twice.
On the Remote:
Press SHUTTLE PLUS %fi until the desired year
7appears, then press OK or SHUTTLE PLUS # twice.
8 | 44– 6 |
| – 7 |
Setting clock manually
—Manual Clock Set
First follow steps 1to 3on page 10, then go to the following4steps.
Select D.S.T. mode
You can select either “ON” or “OFF”.
ON– Adjustment will be made by the
OFF– Select when Daylight Saving Time does not apply to you.
On the front panel:
Press CH 5∞ to select the desired setting.
On the Remote:
Press SHUTTLE PLUS %fi to select the desired
8setting.
Start clock
Press MENU and normal screen appears.
To make corrections any time during the process
Press OK or SHUTTLE PLUS # repeatedly until the item you want to change blinks, then press CH 5∞ or SHUTTLE PLUS %fi.
Set time |
|
|
|
| |
On the front panel: | CLOCK SET |
|
| ||
Press CH 5∞ until the |
|
| |||
TIME | DATE YEAR | ||||
desired time appears, | |||||
– | 1/ 1 | 00 |
| ||
then press OK. | AUTO CLOCK : ON | (CATV) | |||
On the Remote: | HOST CH | : AUTO | |||
D.S.T. | : AUTO |
|
| ||
Press SHUTTLE PLUS | TIME ZONE | : AUTO |
|
| |
PRESS (5,∞), THEN (OK) | |||||
%fiuntil the desired time | PRESS (MENU) TO END |
|
appears, then press OK or SHUTTLE PLUS #.
●Holding CH 5∞ or SHUTTLE PLUS %fi changes the time in
●When the time is entered manually, “AUTO CLOCK” is automatically set to “OFF”, and “HOST CH” and “TIME ZONE” disappear.