Using the Menu
This chapter contains information about how to changing monitor settings for your LCD Monitor. It is designed with an menu to help you easily adjust to its optimum performance.
Note: In the PC mode, do the “AUTO SET UP” setting first, before adjusting any settings. For details, see “AUTO SET UP” on page 13.
Summary of Control Buttons
There are three control buttons located at the lower part of the front panel of your monitor:
ÖMENU/ENTER: Display and select a menu. You can also exit a menu by pressing this button repeatedly.
ÖUP(▲): Move upward through the choice in the submenu. If an adjustment bar is displayed, this button increases the setting value.
ÖDown(▼) : Move downward through the choice in the submenu. If an adjustment bar is displayed, this button decreases the setting value.
Menu Operation
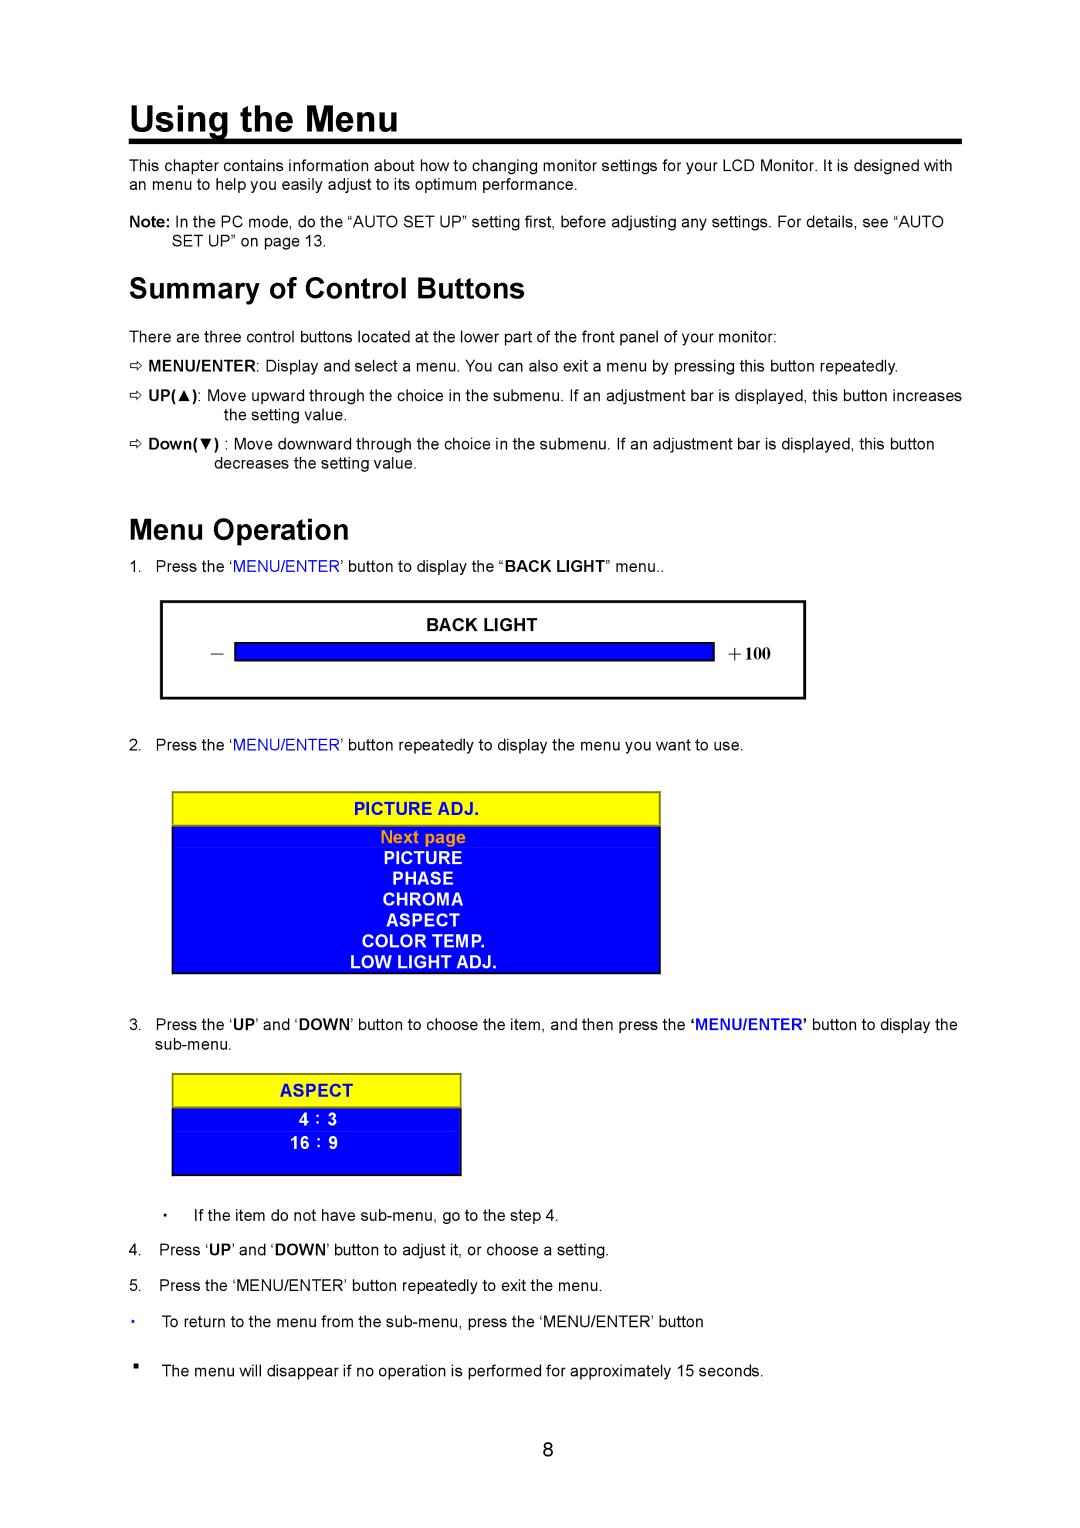
1. Press the ‘MENU/ENTER’ button to display the “BACK LIGHT” menu..
-
BACK LIGHT
+100
2. Press the ‘MENU/ENTER’ button repeatedly to display the menu you want to use.
PICTURE ADJ.
Next page
PICTURE
PHASE
CHROMA
ASPECT
COLOR TEMP.
LOW LIGHT ADJ.
3.Press the ‘UP’ and ‘DOWN’ button to choose the item, and then press the ‘MENU/ENTER’ button to display the
ASPECT
4:3
16:9
・If the item do not have
4.Press ‘UP’ and ‘DOWN’ button to adjust it, or choose a setting.
5.Press the ‘MENU/ENTER’ button repeatedly to exit the menu.
・To return to the menu from the
・The menu will disappear if no operation is performed for approximately 15 seconds.
8
