SET UP menu
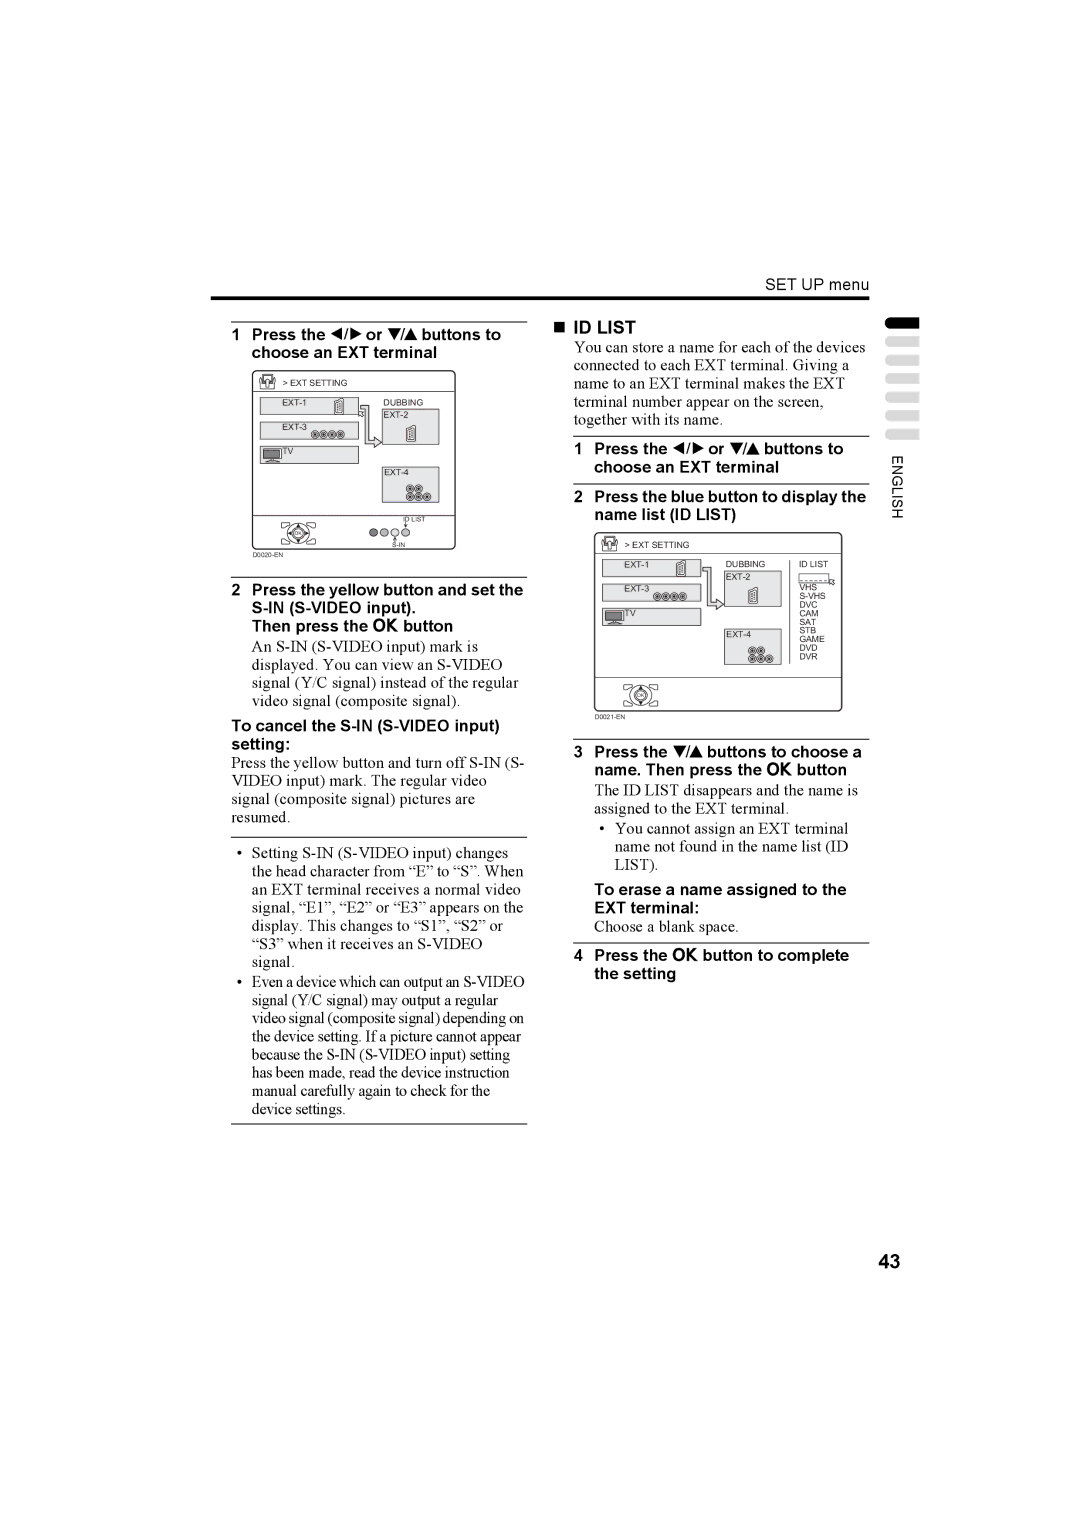
1Press the 5 or 6 buttons to choose an EXT terminal
> EXT SETTING
DUBBING |
![]()
![]()
![]() TV
TV
ID LIST
ID LIST
You can store a name for each of the devices connected to each EXT terminal. Giving a name to an EXT terminal makes the EXT terminal number appear on the screen, together with its name.
1Press the 5 or 6 buttons to choose an EXT terminal
2Press the blue button to display the name list (ID LIST)
ENGLISH
OK
2Press the yellow button and set the
Then press the a button
An
To cancel the S-IN (S-VIDEO input) setting:
Press the yellow button and turn off
•Setting
•Even a device which can output an
> EXT SETTING
DUBBING | ID LIST | |
|
| |
| VHS | |
|
| |
|
| DVC |
TV |
| CAM |
|
| SAT |
| STB | |
| GAME | |
|
| |
|
| DVD |
|
| DVR |
OK
3Press the 6 buttons to choose a name. Then press the a button
The ID LIST disappears and the name is assigned to the EXT terminal.
•You cannot assign an EXT terminal name not found in the name list (ID LIST).
To erase a name assigned to the EXT terminal:
Choose a blank space.
4Press the a button to complete the setting
43
