Recording Discs
—Disc Synchronized Recording
You can start disc play and recording at the same time.
On the unit ONLY:
1 Put a recordable cassette in with the exposed part of the tape down.
• See also page 14.
To stop recording for a moment, press REC. |
| REC | |
|
|
| |
Both the CD playback and tape recording are |
|
| |
paused. To resume recording, press TAPE ¤ ‹. |
|
| |
To stop recording, press 7. | 4 | 7 | ¢ |
| DOWN |
| UP |
The recording stops and the CD playback is paused.
2 Close the cassette holder gently.
3 Press CD ‹/8 to select the CD player as the source.
4 Press 7 to stop the disc | DOWN |
| |
| 4 |
playback. |
|
•You can make a program (see page
11)if you want.
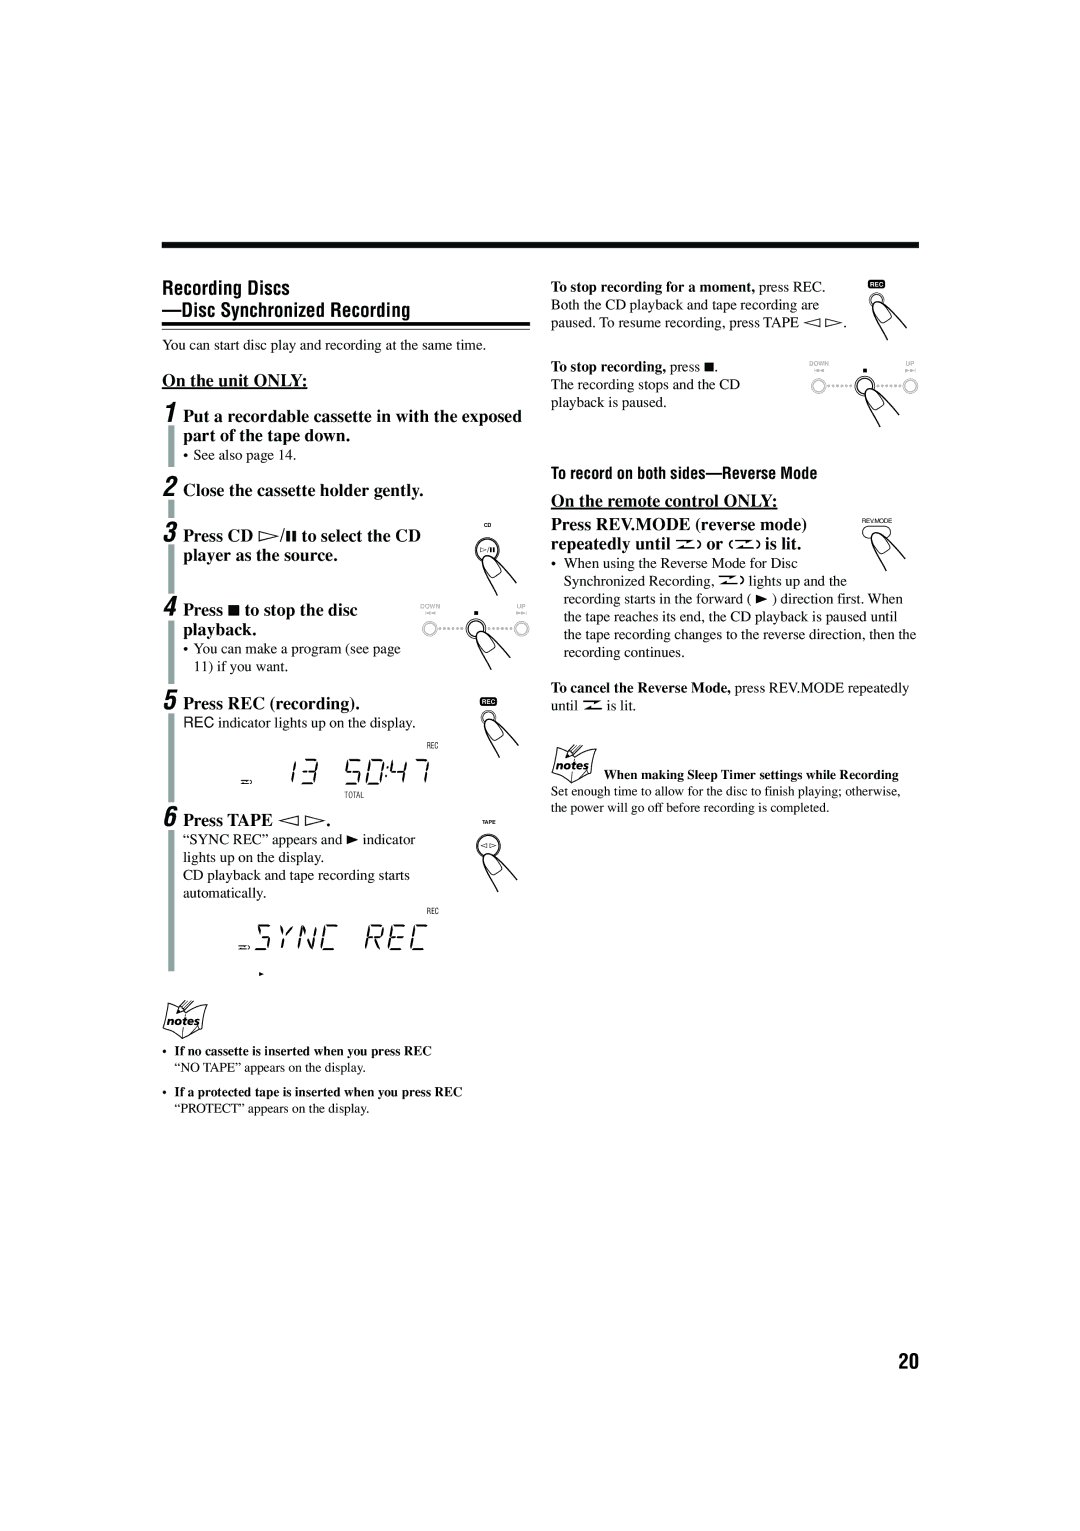
5 Press REC (recording).
REC indicator lights up on the display.
REC
TOTAL
6 Press TAPE ¤ ‹.
“SYNC REC” appears and 3 indicator lights up on the display.
CD playback and tape recording starts automatically.
REC
•If no cassette is inserted when you press REC “NO TAPE” appears on the display.
•If a protected tape is inserted when you press REC “PROTECT” appears on the display.
CD
#/8
UP
7¢
REC
TAPE
To record on both sides—Reverse Mode
On the remote control ONLY:
Press REV.MODE (reverse mode) | REV.MODE | ||
repeatedly until | or | is lit. |
|
•When using the Reverse Mode for Disc
Synchronized Recording, ![]()
![]() lights up and the recording starts in the forward ( 3 ) direction first. When the tape reaches its end, the CD playback is paused until the tape recording changes to the reverse direction, then the recording continues.
lights up and the recording starts in the forward ( 3 ) direction first. When the tape reaches its end, the CD playback is paused until the tape recording changes to the reverse direction, then the recording continues.
To cancel the Reverse Mode, press REV.MODE repeatedly
until ![]() is lit.
is lit.
When making Sleep Timer settings while Recording
Set enough time to allow for the disc to finish playing; otherwise, the power will go off before recording is completed.
20