PROGRAM /RANDOM

EDIT

Recording AM Station to Tape———————————————

When recording an AM broadcast, beats may be produced which are not heard when listening to the broadcast. In this case, press PROGRAM/RANDOM on the CD Player to eliminate the beats.

1.Set to AM station and start recording.

2.Press PROGRAM/RANDOM repeatedly until the beats are eliminated.

Each time you press the button, the indication on the display changes as follows: = CUT 2 = CUT 3 = CUT 1 =(back to the beginning)

CD Direct Recording

Everything on the CD goes onto the tape in the order it is on the CD, or according to the order you have set in a program.

1.Press CD £/8, then 7 STOP.

2.Prepare CDs. (See page 21.)

Check that the CD Player is not playing a CD.

3.Insert a blank or erasable cassette in Deck B.

When you want to record on both sides of a tape, press REVERSE MODE to turn on Reverse Mode. Check that the recording direction for the tape and the Tape Direction indicator are correct. (See page 30 “Notes for using Reverse Mode for recording”.)

4.Press CD REC START.

“CD REC” appears on the display, the REC indicator lights up, and the System begins recording.

If the tape reaches its end while recording a song, the last song will be re-recorded at the beginning of the other side.

When the recording is finished, “CD REC FINISHED” scrolls by on the display. The CD Player and Cassette Deck stop.

To stop at any time during the recording process, press 7STOP.

Note: When making Sleep Timer settings while doing CD Direct recording, set the time so that there is enough leeway to finish the recording before the power turns off. If the time is set to about the length of the CD, the power may turn off before recording finishes.

For CD Direct Recording using more than one disc, use a blank tape, If you use a prerecorded tape, prerecorded material may not be erased between newly-recorded tracks.

Auto Edit Recording

Using Auto Edit, you can record the CD tracks to fit the tape, so a selection is not cut off. Auto Edit is one of the best ways to copy all of a CD onto a tape. Auto Edit programs the CD tracks in numerical order. To prevent the end of the last track on the front side from being cut off, the last track on the front side is selected to fit on the remaining tape length.

1.Press CD £/8, then 7 STOP.

2.Prepare CDs. (See page 21.)

Check that the CD Player is not playing a CD.

3.Press EDIT on the Unit.

“DISC-” appears on the display.

4.Press DISC (1 to 3) for the disc you want to record.

After “TAPE C - -”, the optimum tape length for the disc appears on the display.

\

You can select a different length of tape, depending on the actual size of the tape you are using, from eleven possibilities programed into the Unit: 40, 46, 50, 54, 60, 64, 70, 74, 80, 84, 90. Select the tape length that corresponds to the length of tape you are using, or the nearest length to it, by adjusting 4P. DOWN or ¢ P. UP on the MULTI CONTROL.

If you select a tape length shorter than the total playing time of the CD, the last tracks on both sides of the tape will be faded out as the tape ends.

31

Page 33
Image 33
JVC MX-D602T manual CD Direct Recording, Auto Edit Recording, Recording AM Station to Tape

MX-D602T specifications

The JVC MX-D602T is a versatile mini component system that combines style, power, and advanced technology to enhance your music listening experience. With its sleek design, this system is aesthetically pleasing, making it an excellent addition to any room without being overly obtrusive.

One of the standout features of the MX-D602T is its impressive audio output, delivering a robust sound profile that caters to various genres. The system is equipped with a high-power amplifier that boasts a peak power output of 260 watts, ensuring that your music comes through with clarity and depth, whether you're lounging at home or hosting a gathering.

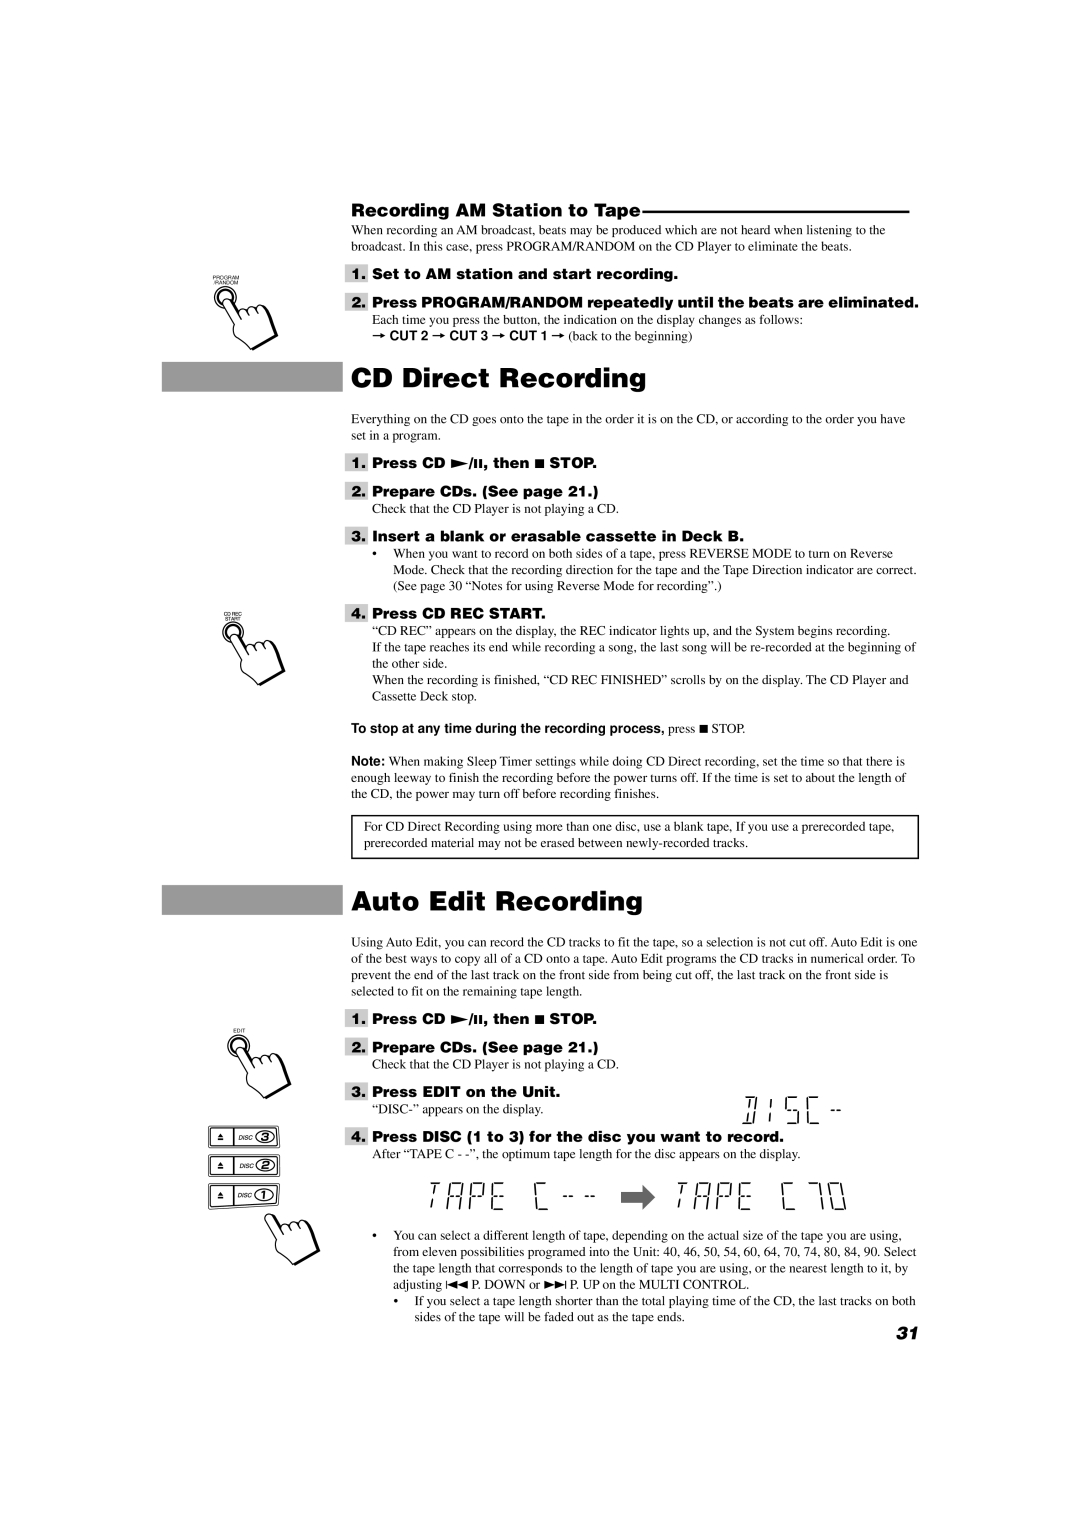
The MX-D602T supports CD playback, allowing users to enjoy their favorite albums with ease. Its built-in CD player is compatible with a variety of formats, providing flexibility in your music choices. Additionally, the system features a cassette deck, a nostalgic nod to the era of tape music, enabling users to play their old cassette tapes or record new ones.

For those who prefer modern connectivity, the JVC MX-D602T offers a range of options. The system includes a USB port for direct playback from USB drives and an auxiliary input, allowing users to connect devices such as smartphones and tablets. This makes it convenient to play music stored on various devices or even stream from popular platforms.

The MX-D602T also features a built-in radio tuner, allowing users to access a broad range of FM radio stations. With preset tuning options, switching between favorite channels is efficient and user-friendly. The LCD display provides clear visibility of system functions and track information, simplifying the user experience.

Moreover, the system incorporates JVC's Digital Signal Processing (DSP) technology, which optimizes sound quality and allows customization of audio settings. Users can adjust equalizer settings to tailor the music output to their preferences, ensuring an optimal listening experience for every occasion.

In terms of design, the JVC MX-D602T is compact yet powerful. Its modern look, coupled with a stylish remote control, provides added convenience in operation. Overall, the JVC MX-D602T is a well-rounded mini component system that combines traditional media formats with modern playback options, making it an ideal choice for music enthusiasts looking for quality, performance, and versatility in one package.