Using the Timers

English

Using the Unit

You can set the time in the same way as for setting the Daily Tim- er.

1 Insert a blank or erasable tape into the Deck B and wind past the tape leader.

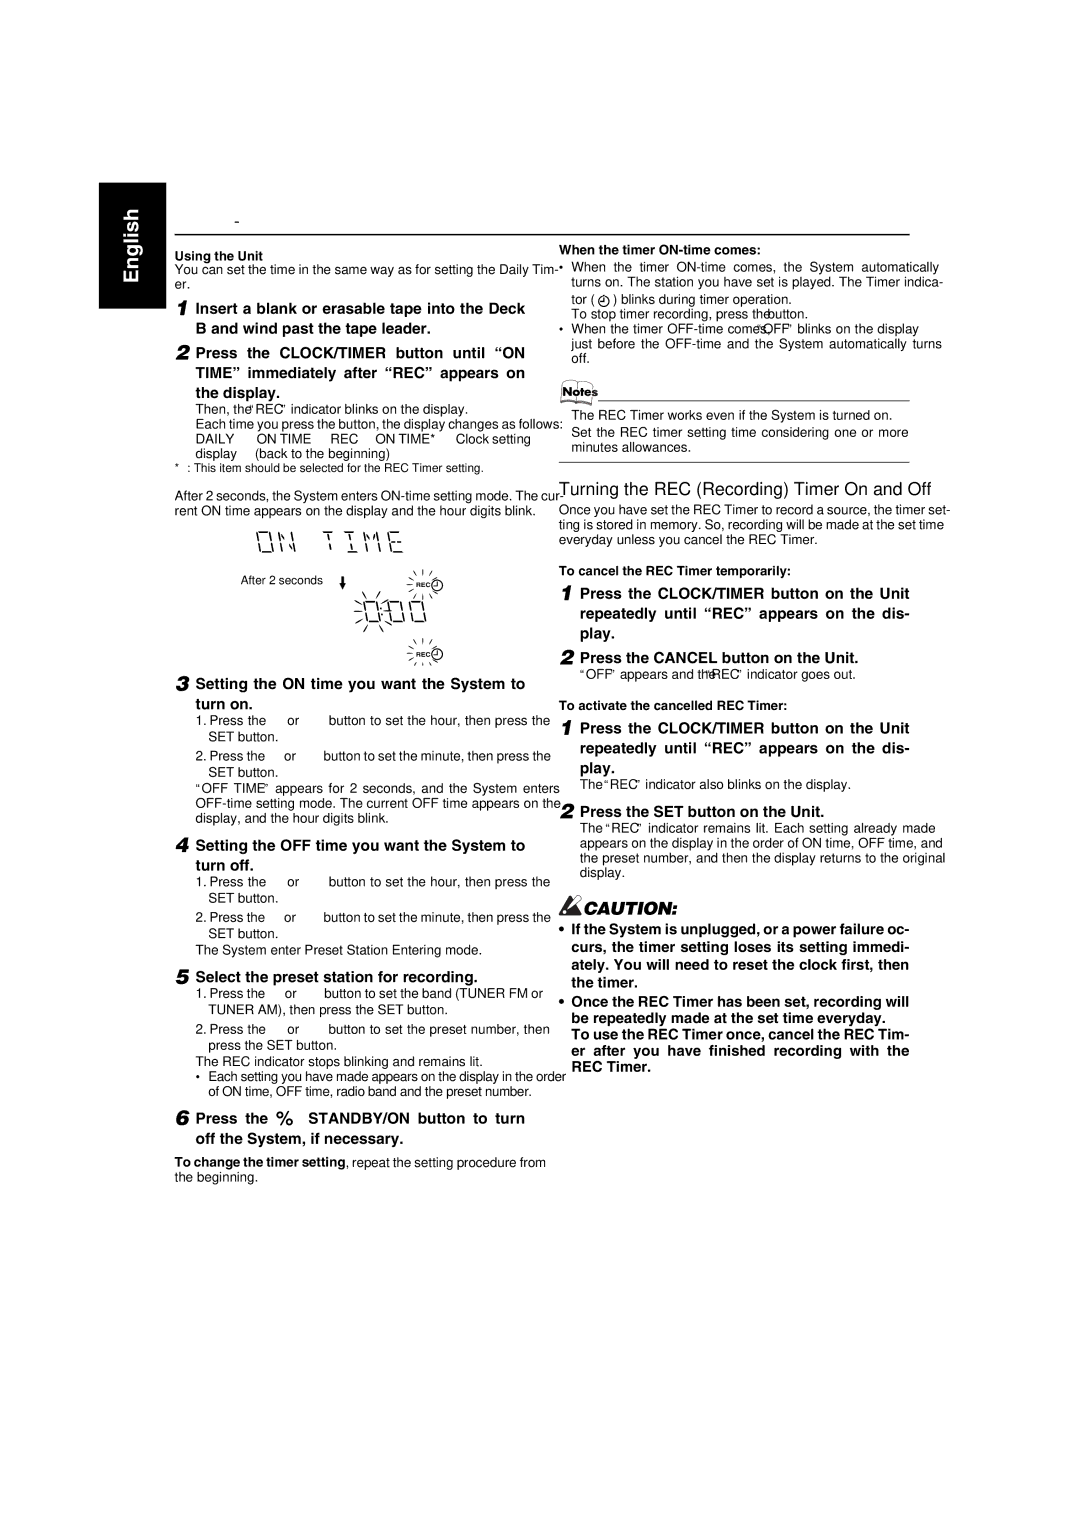
2 Press the CLOCK/TIMER button until “ON TIME” immediately after “REC” appears on the display.

Then, the “REC” indicator blinks on the display.

Each time you press the button, the display changes as follows: DAILY =ON TIME =REC =ON TIME* =Clock setting display = (back to the beginning)

* : This item should be selected for the REC Timer setting.

When the timer ON-time comes:

When the timer ON-time comes, the System automatically turns on. The station you have set is played. The Timer indica-

tor ( ) blinks during timer operation.

To stop timer recording, press the 7 button.

When the timer OFF-time comes, “OFF” blinks on the display just before the OFF-time and the System automatically turns off.

The REC Timer works even if the System is turned on.

Set the REC timer setting time considering one or more minutes allowances.

After 2 seconds, the System enters ON-time setting mode. The cur- rent ON time appears on the display and the hour digits blink.

After 2 seconds

REC


REC

3 Setting the ON time you want the System to turn on.

1.Press the 4 or ¢ button to set the hour, then press the SET button.

2.Press the 4or ¢button to set the minute, then press the

SET button.

“OFF TIME” appears for 2 seconds, and the System enters OFF-time setting mode. The current OFF time appears on the display, and the hour digits blink.

4 Setting the OFF time you want the System to turn off.

1.Press the 4 or ¢ button to set the hour, then press the SET button.

2.Press the 4or ¢button to set the minute, then press the SET button.

The System enter Preset Station Entering mode.

5 Select the preset station for recording.

1.Press the 4 or ¢ button to set the band (TUNER FM or TUNER AM), then press the SET button.

2.Press the 4 or ¢ button to set the preset number, then press the SET button.

The REC indicator stops blinking and remains lit.

Each setting you have made appears on the display in the order of ON time, OFF time, radio band and the preset number.

Turning the REC (Recording) Timer On and Off

Once you have set the REC Timer to record a source, the timer set- ting is stored in memory. So, recording will be made at the set time everyday unless you cancel the REC Timer.

To cancel the REC Timer temporarily:

1 Press the CLOCK/TIMER button on the Unit repeatedly until “REC” appears on the dis- play.

2 Press the CANCEL button on the Unit.

“OFF” appears and the “REC” indicator goes out.

To activate the cancelled REC Timer:

1 Press the CLOCK/TIMER button on the Unit repeatedly until “REC” appears on the dis- play.

The “REC” indicator also blinks on the display.

2 Press the SET button on the Unit.

The “REC” indicator remains lit. Each setting already made appears on the display in the order of ON time, OFF time, and the preset number, and then the display returns to the original display.

CAUTION:

If the System is unplugged, or a power failure oc- curs, the timer setting loses its setting immedi- ately. You will need to reset the clock first, then the timer.

Once the REC Timer has been set, recording will be repeatedly made at the set time everyday. To use the REC Timer once, cancel the REC Tim- er after you have finished recording with the REC Timer.

6 Press the % STANDBY/ON button to turn off the System, if necessary.

To change the timer setting, repeat the setting procedure from the beginning.

27

Page 30
Image 30
JVC SP-MXGA3V, MX-GA3V manual Turning the REC Recording Timer On and Off, Setting the on time you want the System to turn on

CA-MXGA3V, SP-MXGA3V, LVT1091-001A, MX-GA3V specifications

The JVC LVT1091-001A is a versatile audio component that forms the core of the JVC CA-MXGA3V, MX-GA3V, and SP-MXGA3V systems, delivering an impressive array of features and technologies designed for music enthusiasts. At its heart, the JVC LVT1091-001A boasts advanced sound processing capabilities, enabling high-quality audio playback across various media formats.

One of the standout features of the JVC LVT1091-001A is its powerful amplifier, which ensures robust audio performance with dynamic range and clarity. This model is designed to support a range of input sources, including CD players, USB devices, and FM/AM radio, providing users with flexibility in how they enjoy their music. Additionally, the inclusion of Bluetooth connectivity allows for seamless streaming from smartphones and tablets, blending traditional audio setups with modern wireless convenience.

The system incorporates a digital signal processor (DSP) that enhances sound quality through various audio modes, allowing users to tailor the listening experience to their preferences. With presets for genres such as rock, pop, and classical, the JVC LVT1091-001A optimizes the sound output to ensure that every note is delivered with precision.

In terms of design, the JVC CA-MXGA3V, MX-GA3V, and SP-MXGA3V feature a compact form factor, making them suitable for a variety of spaces, from living rooms to dorms. The aesthetic appeal of these systems is complemented by user-friendly controls and an intuitive interface, enhancing the overall user experience.

Moreover, the JVC LVT1091-001A supports high-resolution audio playback, allowing users to enjoy their favorite tracks in enhanced quality. This model ensures that listeners can experience the full depth and richness of their audio library.

Furthermore, the surround sound technology included in these systems elevates the listening experience, creating an immersive atmosphere that engages all the senses. The ability to use external speakers adds versatility, enabling users to expand their audio setup according to their needs.

In summary, the JVC LVT1091-001A, CA-MXGA3V, MX-GA3V, and SP-MXGA3V embody a blend of cutting-edge technology and thoughtful design, catering to audiophiles and casual listeners alike. With its impressive features, including Bluetooth connectivity, DSP capabilities, and high-resolution audio support, this system represents a rich auditory experience suitable for a wide range of music preferences.