
MX-GT700 specifications
The JVC MX-GT700 is a compact yet powerful mini component system that has gained recognition for its impressive audio quality and stylish design. Launched as part of JVC's lineup of music systems, the MX-GT700 is equipped with various features and technologies that cater to both casual listeners and serious audiophiles.One of the standout features of the MX-GT700 is its high-power output, allowing users to enjoy rich and immersive sound. The system is designed with dual speakers that deliver a dynamic range, ensuring that bass, mids, and treble are well represented across a variety of music genres. This capability makes the MX-GT700 ideal for parties, gatherings, or simply for personal enjoyment in any setting.
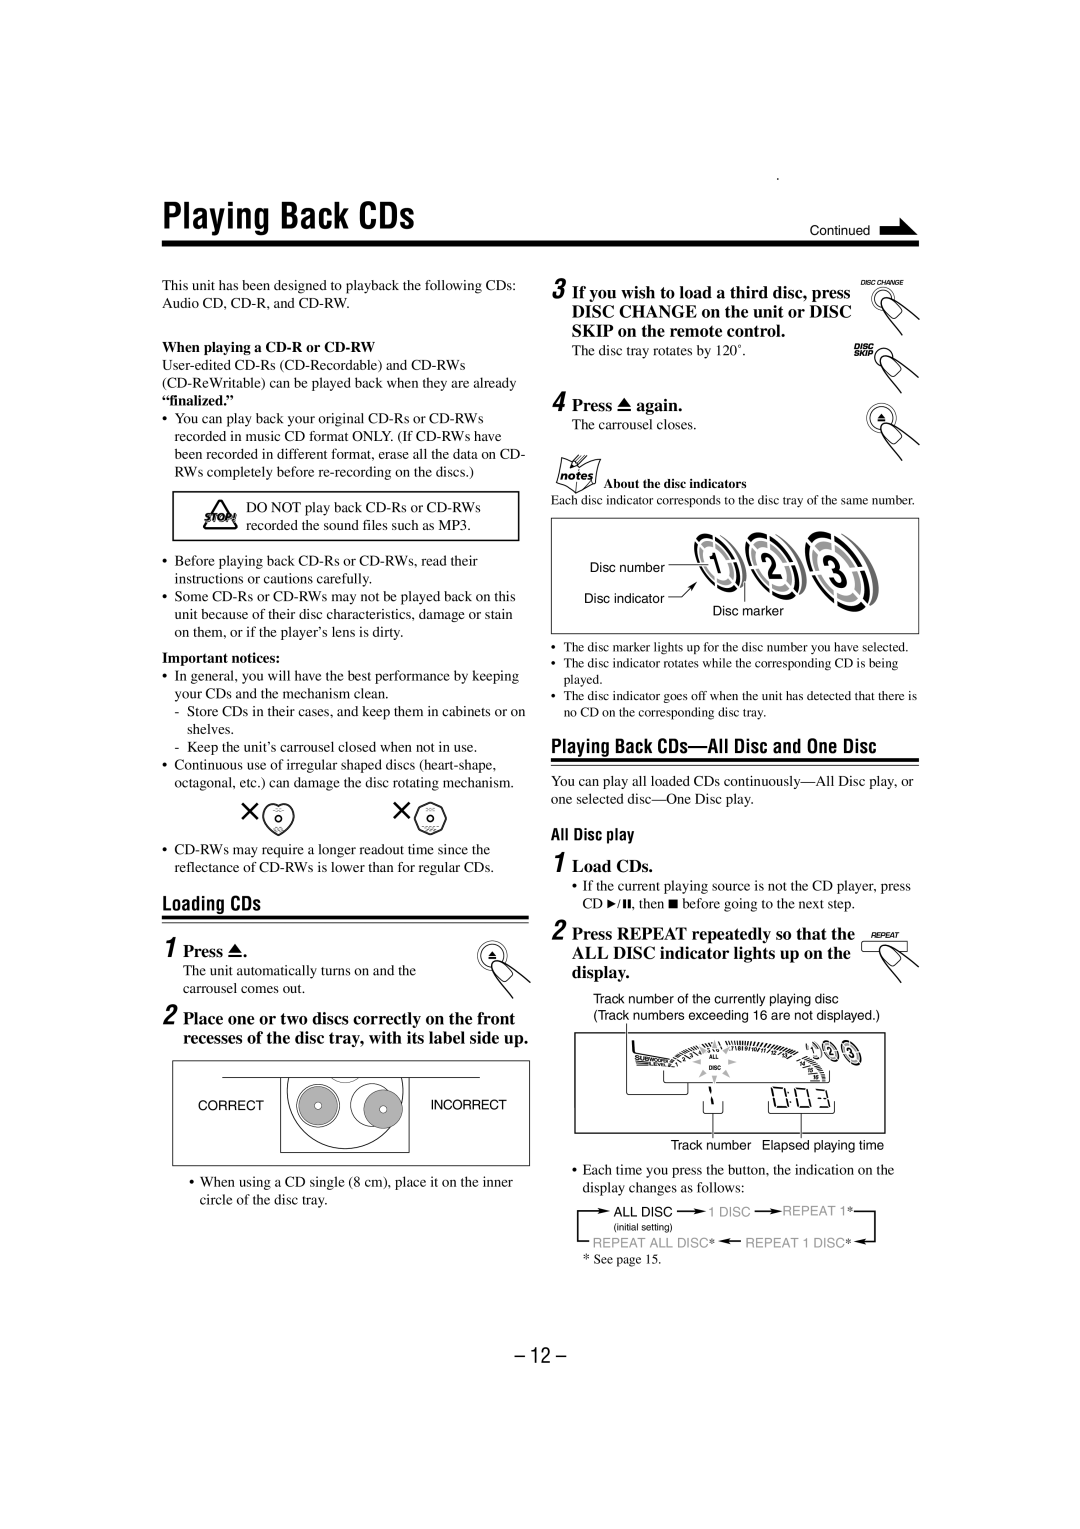
The system includes a built-in CD player, which provides compatibility with various disc formats, allowing users to listen to their favorite albums without the need for additional devices. Additionally, the MX-GT700 supports MP3 playback, making it easy to enjoy music stored on various media forms. The presence of USB ports enables users to connect their devices directly, providing flexibility in how music can be sourced and enjoyed.
Another notable characteristic of the MX-GT700 is its FM/AM radio tuner. This feature allows users to access a wide range of radio stations, providing popular music, talk shows, and news broadcasts. The tuner is equipped with presets, making it convenient for users to save and access their favorite stations quickly.
User convenience is further enhanced with the inclusion of a remote control, allowing easy operation from a distance. The system features a user-friendly interface with clear controls for adjusting volume, switching tracks, and navigating through different sources.
The design of the MX-GT700 is both sleek and modern, ensuring it can fit seamlessly into various home decor styles. With its compact size, it can easily be placed on shelves, desktops, or entertainment centers, making it an excellent choice for smaller living spaces.
Overall, the JVC MX-GT700 mini component system is a versatile audio solution that delivers substantial sound quality and a range of features. Its combination of impressive audio performance, user-friendly functionality, and stylish design makes it a popular choice among music enthusiasts seeking a compact and reliable music system.