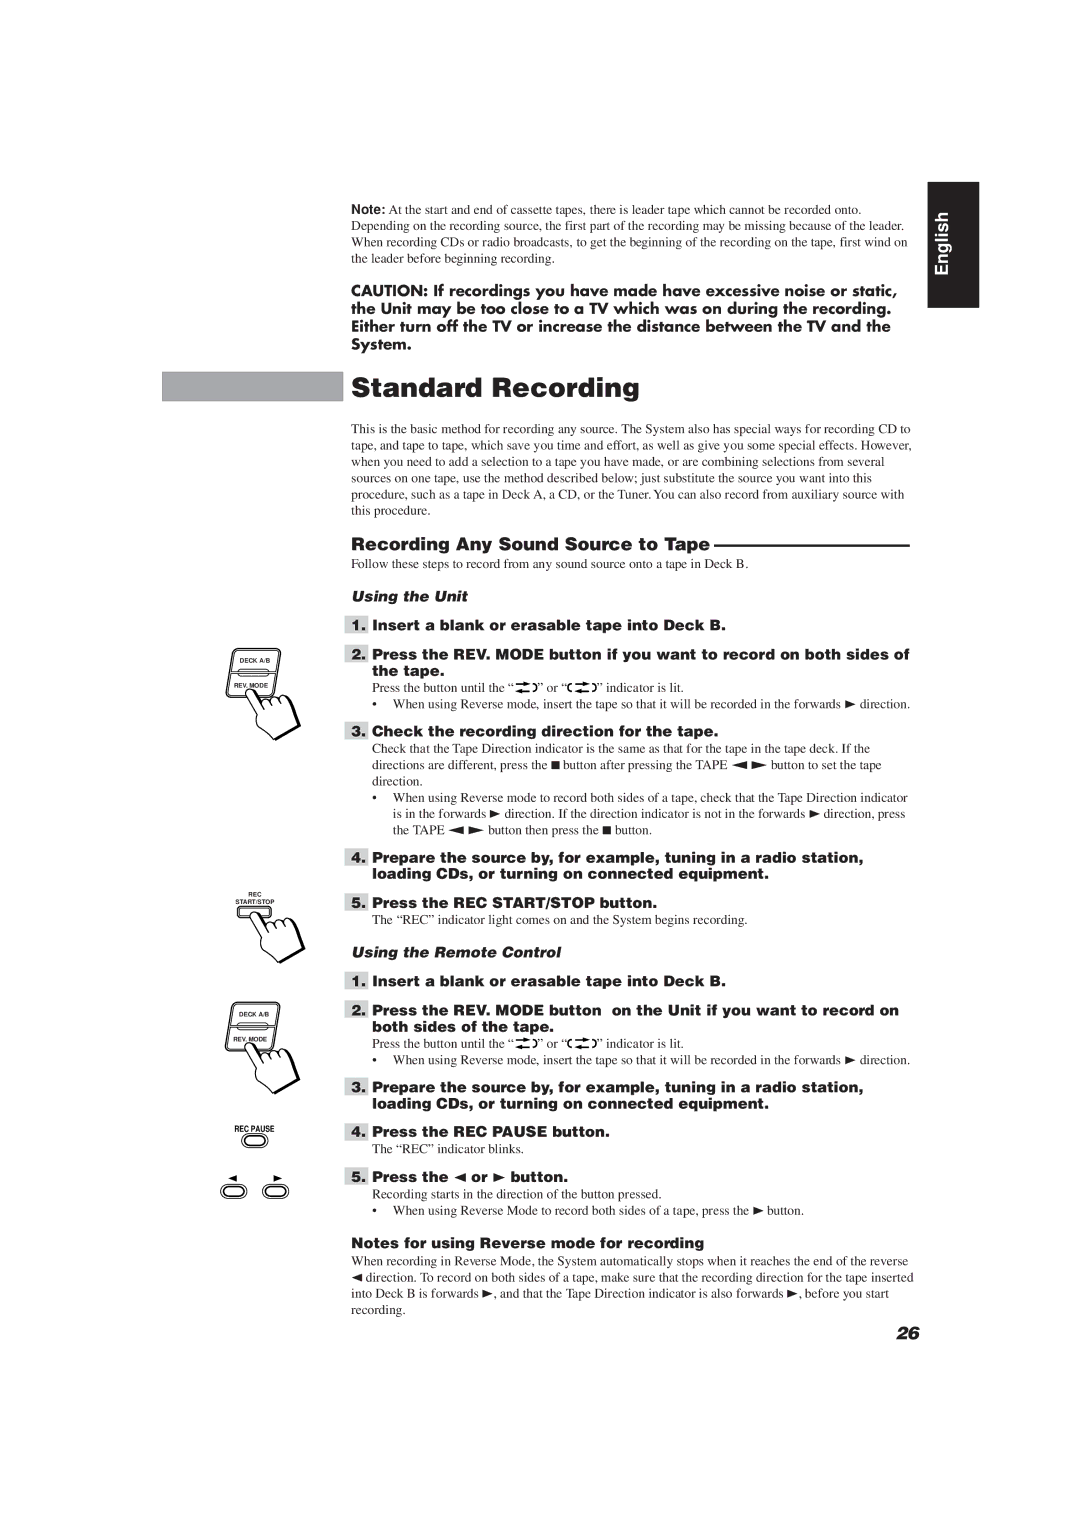
DECK A/B
REV. MODE
REC
START/STOP
DECK A/B
REV. MODE
REC PAUSE
Note: At the start and end of cassette tapes, there is leader tape which cannot be recorded onto. Depending on the recording source, the first part of the recording may be missing because of the leader. When recording CDs or radio broadcasts, to get the beginning of the recording on the tape, first wind on the leader before beginning recording.
CAUTION: If recordings you have made have excessive noise or static, the Unit may be too close to a TV which was on during the recording. Either turn off the TV or increase the distance between the TV and the System.
Standard Recording
This is the basic method for recording any source. The System also has special ways for recording CD to tape, and tape to tape, which save you time and effort, as well as give you some special effects. However, when you need to add a selection to a tape you have made, or are combining selections from several sources on one tape, use the method described below; just substitute the source you want into this procedure, such as a tape in Deck A, a CD, or the Tuner. You can also record from auxiliary source with this procedure.
Recording Any Sound Source to Tape ———————————
Follow these steps to record from any sound source onto a tape in Deck B.
Using the Unit
1.Insert a blank or erasable tape into Deck B.
2.Press the REV. MODE button if you want to record on both sides of the tape.
Press the button until the “ |
|
|
| ” or “ |
|
|
| ” indicator is lit. |
•When using Reverse mode, insert the tape so that it will be recorded in the forwards 3 direction.
3.Check the recording direction for the tape.
Check that the Tape Direction indicator is the same as that for the tape in the tape deck. If the directions are different, press the 7button after pressing the TAPE “£button to set the tape direction.
•When using Reverse mode to record both sides of a tape, check that the Tape Direction indicator is in the forwards 3 direction. If the direction indicator is not in the forwards 3direction, press the TAPE “£ button then press the 7 button.
4.Prepare the source by, for example, tuning in a radio station, loading CDs, or turning on connected equipment.
5.Press the REC START/STOP button.
The “REC” indicator light comes on and the System begins recording.
Using the Remote Control
1.Insert a blank or erasable tape into Deck B.
2.Press the REV. MODE button on the Unit if you want to record on both sides of the tape.
Press the button until the “ |
|
|
| ” or “ |
|
|
| ” indicator is lit. |
•When using Reverse mode, insert the tape so that it will be recorded in the forwards 3 direction.
3.Prepare the source by, for example, tuning in a radio station, loading CDs, or turning on connected equipment.
4.Press the REC PAUSE button.
The “REC” indicator blinks.
5.Press the 2 or 3 button.
Recording starts in the direction of the button pressed.
•When using Reverse Mode to record both sides of a tape, press the 3button.
Notes for using Reverse mode for recording
When recording in Reverse Mode, the System automatically stops when it reaches the end of the reverse
2direction. To record on both sides of a tape, make sure that the recording direction for the tape inserted into Deck B is forwards 3, and that the Tape Direction indicator is also forwards 3, before you start recording.
English
26
