4 | Set the | – PRESET + | |
|
| ||
| to turn on. |
|
|
|
|
| |
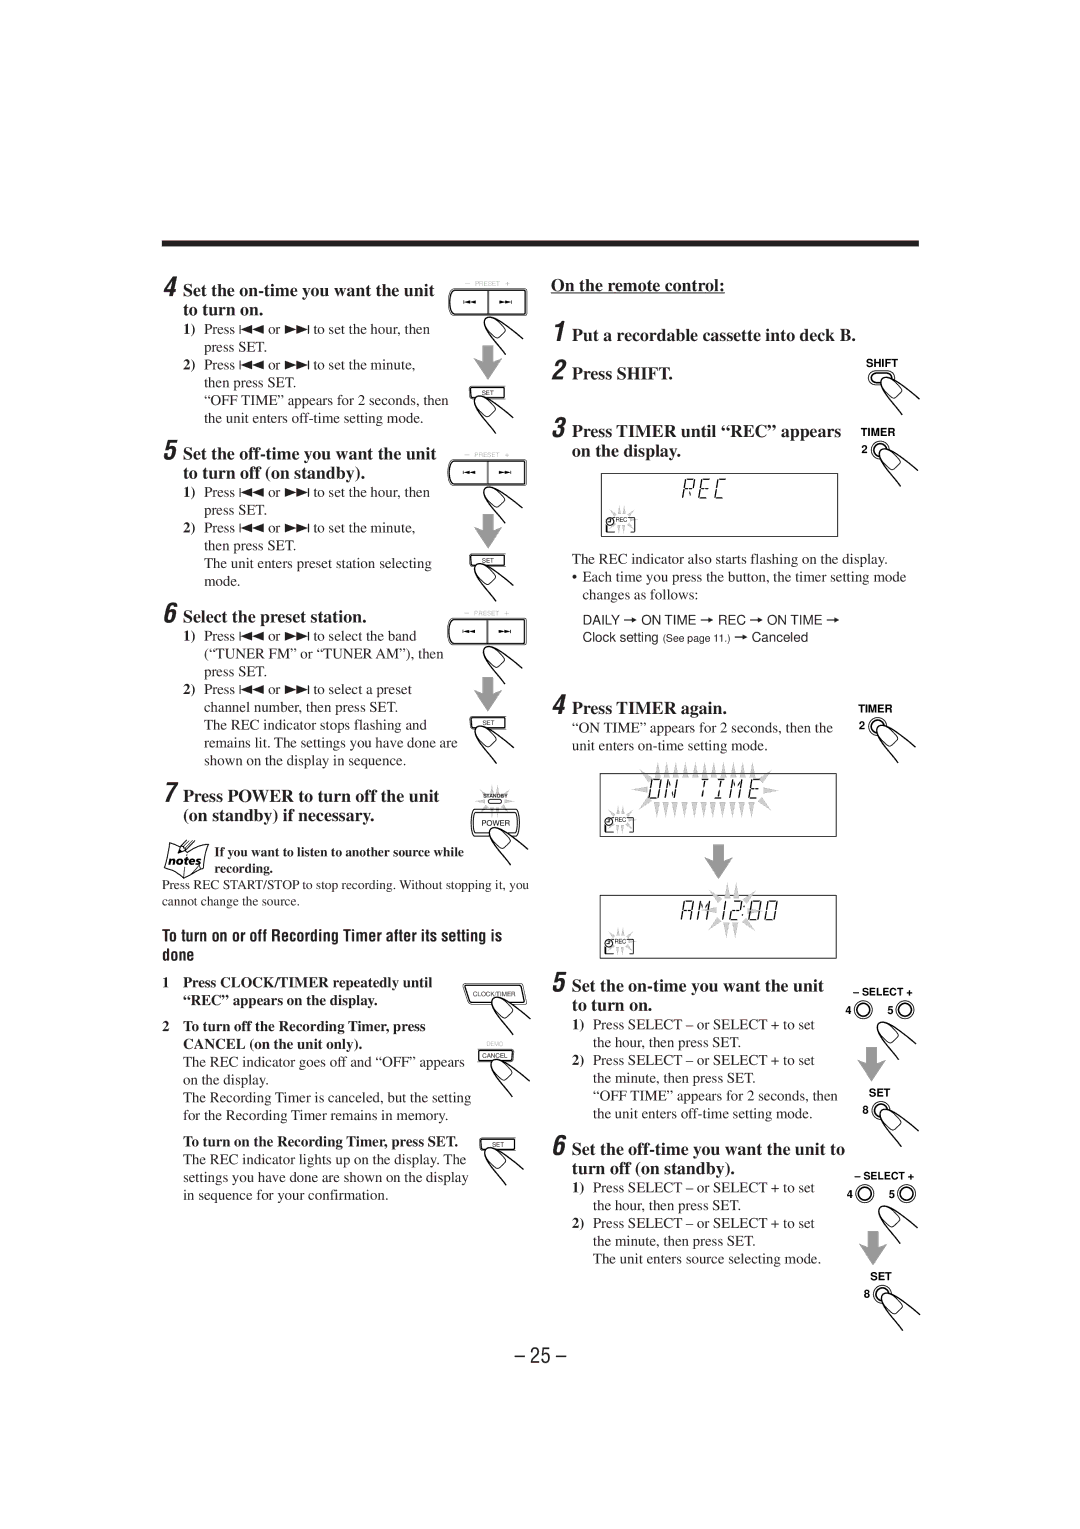
On the remote control: |
1) Press 4or ¢ to set the hour, then press SET.
2)Press 4or ¢ to set the minute, then press SET.
“OFF TIME” appears for 2 seconds, then the unit enters
SET
1 | Put a recordable cassette into deck B. |
|
2 | Press SHIFT. | SHIFT |
| ||
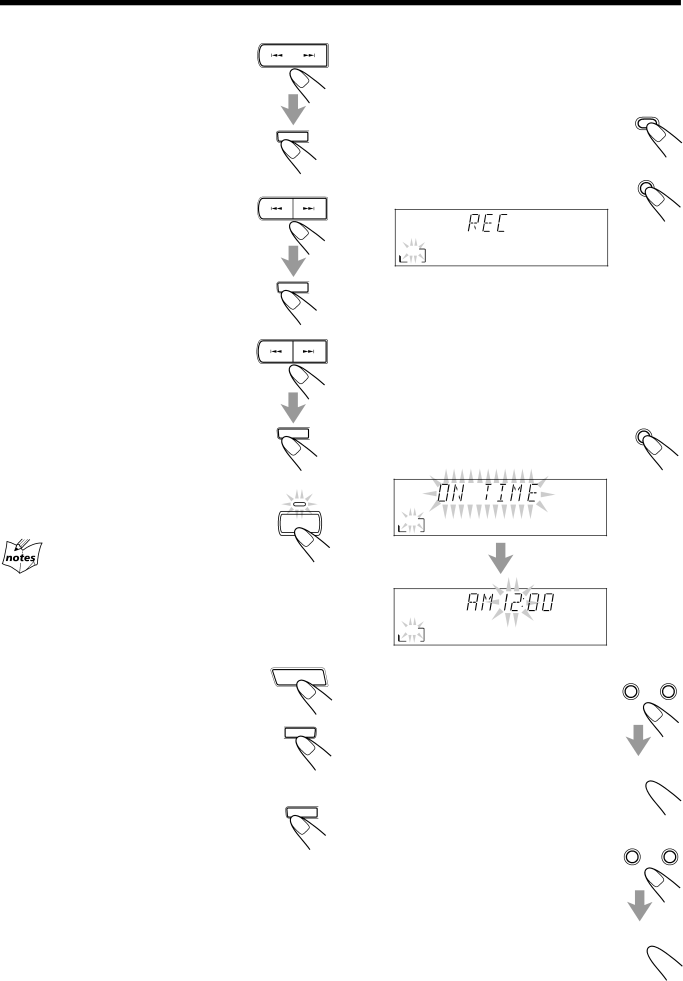
3 | Press TIMER until “REC” appears | TIMER |
5 Set the off-time you want the unit to turn off (on standby).
1)Press 4or ¢ to set the hour, then press SET.
2)Press 4or ¢ to set the minute, then press SET.
The unit enters preset station selecting mode.
–PRESET +
SET
on the display. | 2 |
![]() REC
REC ![]()
The REC indicator also starts flashing on the display.
•Each time you press the button, the timer setting mode changes as follows:
6 Select the preset station. | – PRESET + |
DAILY = ON TIME = REC = ON TIME =
1) Press 4or ¢ to select the band (“TUNER FM” or “TUNER AM”), then press SET.
2)Press 4or ¢ to select a preset channel number, then press SET. The REC indicator stops flashing and remains lit. The settings you have done are shown on the display in sequence.
7 Press POWER to turn off the unit (on standby) if necessary.
If you want to listen to another source while recording.
SET
STANDBY
POWER
Clock setting (See page 11.) = Canceled
4 Press TIMER again. | TIMER |
“ON TIME” appears for 2 seconds, then the | 2 |
unit enters |
|
![]() REC
REC ![]()
Press REC START/STOP to stop recording. Without stopping it, you cannot change the source.
To turn on or off Recording Timer after its setting is done
![]() REC
REC ![]()
1 | Press CLOCK/TIMER repeatedly until |
| “REC” appears on the display. |
2 | To turn off the Recording Timer, press |
| CANCEL (on the unit only). |
| The REC indicator goes off and “OFF” appears |
| on the display. |
| The Recording Timer is canceled, but the setting |
| for the Recording Timer remains in memory. |
CLOCK/TIMER
DEMO
CANCEL
5 Set the
1)Press SELECT – or SELECT + to set the hour, then press SET.
2)Press SELECT – or SELECT + to set the minute, then press SET.
“OFF TIME” appears for 2 seconds, then the unit enters
– SELECT +
4 | 5 |
SET
8 ![]()
To turn on the Recording Timer, press SET. |
The REC indicator lights up on the display. The |
settings you have done are shown on the display |
in sequence for your confirmation. |
SET
6 Set the off-time you want the unit to turn off (on standby).
1)Press SELECT – or SELECT + to set the hour, then press SET.
2)Press SELECT – or SELECT + to set the minute, then press SET.
The unit enters source selecting mode.
– SELECT +
4 | 5 |
SET
8 ![]()
– 25 –