Manuals
/
Brands
/
TV and Video
/
Flat Panel Television
/
JVC
/
TV and Video
/
Flat Panel Television
JVC
PD-42X795
- page 84
1
84
92
92
Download
92 pages, 2.5 Mb
84
OSD Information
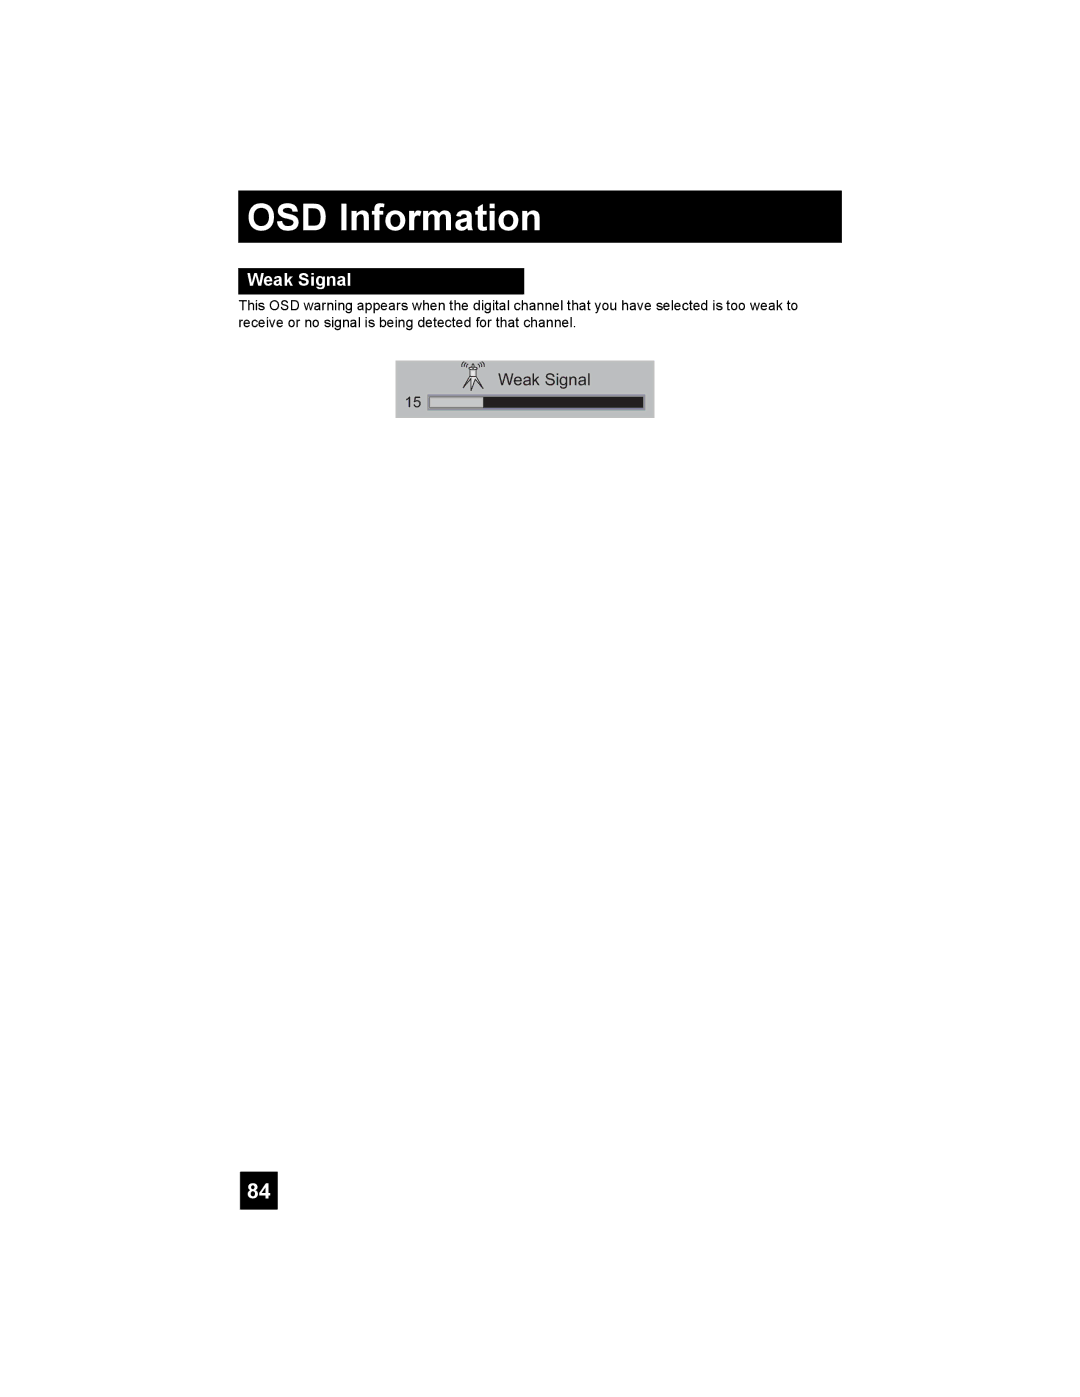
This OSD warning appears when the digital channel that you have selected is too weak to
receive or no signal is being detected for that channel.
Weak Signal
Weak Signal
15
PD-42\50X795 English 84
10/12/04, 9:25:25 AM
Contents
Main
Important Safety Precautions
WARNING:
CAUTION:
RISK OF ELECTRIC SHOCK DO NOT OPEN
CAUTION
IMPORTANT SAFETY INSTRUCTIONS
Page
Warnings
Screen Burn-in
Warnings
Caring for the Cabinet
Caring for the Screen
Table of Contents
Quick Setup . . . . . . . . . . . 9
Picture Adjust . . . . . . . . . 58 Warnings . . . . . . . . . . . . 5
Important Safety Precautions . 2
Table of Contents (Continued...)
Digital Button Functions . . . 78
Cable Card Information . . . . 85
Appendices . . . . . . . . . . 86
Digital Setup . . . . . . . . . 75
Quick Setup Unpacking your TV
Quick Setup Attaching the stand to the TV
Quick Setup TV/Receiver
Display Front
Receiver Front
CH CH
VOL VOL OK
Quick Setup TV Remote Control
RM-C14G
PD-42\50X795 English 12 10/12/04, 9:24:52 AM
Getting Started
Step 1 Set up your TV
Connecting the TV and Receiver
Disconnecting the system cable
Connecting the power cord to the AC outlet
Step 2 The Remote Control
Key Feature Buttons
Basic Operation
POWER
Page
Step 3 Connecting Your Devices
Coaxial Cable (Attachment)
S-Video Cable
Receiver Rear Panel
No VCR Connection
OR
Y P
P
VCR Connection
Note: If this connection setup does not work for you, try the connection setup on page 19.
Diagram #1
Diagram #2
OR
Y P P
Connecting to Monitor/Recording Output Terminal
OR
Connecting to JVC AV Compu Link
AV CompuLink Cable
Connecting to a Camcorder
Connecting to an External Amplifier
Connecting to the Surround Amplifier
Connecting to an amplifier using your optical output
Connecting to the computer
Looking at the images from a computer
Table of signals for each type of computer
When a picture is not displayed
Connecting to a Digital TV Receiver
Connecting to an HDMI Compatible Device
Connecting to an AV Receiver using your television's V1 Smart Input
Receiver Rear Panel AV Receiver
Connecting an i.LINK compatible device to the back of your television
Receiver Rear Panel i.LINK Compatible Device
Step 4 The Interactive Plug In Menu
Language
(To be continued...)
Manual Clock Set
(To be continued...)
Auto Clock Set
The Quick Setup is complete
STOP
Auto Tuner Setup
48
NOW PROGRAMMING !
Now Programming...
Setting the CATV, VCR and DVD Codes Cable Box or Satellite Codes
PD-42\50X795 English 34 10/12/04, 9:25:00 AM
VCR Codes
DVD Codes
Cable/Satellite Search Codes Function
VCR/DVD Search Codes Function
Search Codes
Using the Guide
The Onscreen Menu System
Press the MENU button
PD-42\50X795 English 39 10/12/04, 9:25:02 AM
TO INITIAL SETUP 04
INITIAL SETUP 05
INITIAL SETUP 03
Auto Tuner Setup
Channel Summary
Page
Channel Guard Message
V-Chip
Directions to Block Unrated Programs
Unrated Programs
US V-Chip Ratings
Directions to set US V-Chip Ratings
Setting US V-Chip Ratings
Movies Ratings
Directions to set Movie (MPAA) Ratings
Set Lock Code
Auto Demo
Image Shift
Language
Closed Caption
Analog Setting
Digital Auto Setting
Digital Manual Setting
Auto Shut Off
XDS ID
Noise Muting
Front Panel Lock
V1 Smart Input
To VIDEO INPUT LABEL
PD-42\50X795 English 54 10/12/04, 9:25:10 AM
To enter
Video Input Label
Power Indicator
Position Adjustment
Video-1 Monitor Out
Digital-In
Audio Out
TV Speaker
Center CH Input
Digital-In Audio
Picture Settings
Adjust the Picture Settings
Color Temperature
Digital Noise Clear
Color Management
Dynamic Gamma
Burn-in Image Reducer
Reset
Sound Adjust
Sound Settings
Adjust the Sound Settings
Reset
Clock/Timers
Set Clock
Clock/Timers
On/Off Timer
Multi Screen Function
Twin
Index
Freeze
Select
Swap
Power
Number Buttons - 10Key Pad
Input
Tune
TheaterPro D6500K
Return +/TV
Sound
Muting
Video Status
Natural Cinema
Sleep Timer
0 15 30 45 60 75 90 105 120 135 150 165 180
ML/MTS
MTS STEREO SAP MONO
Display
Display Time Channel Off
C.C. (Closed Caption)
Channel +/
Volume +/
Favorite
Register the favorite channel
Delete the favorite channel
Aspect Aspect Ratios
Aspect Ratios (Continued)
Menu
Back
OK
TV/CATV Slide Switch VCR/DVD Slide Switch
VCR Buttons
DVD Buttons
Light
Antenna Level
Exit
Back
Digital Setup
Aspect Ratio
Digital Sound
Software Update
i.LINK Auto Play
Cable Card Application
Sub Channel
Digital CH D/A (Digital/Analog)
i.LINK Menu
Controller
D-VHS1 Device
STOP 00:00:00
Device
Timer
R V
Reservation
Timer Edit
Timer Edition
Timer Deletion
Guide
Cancel the timer recording
Page
Cable Card Information
Cable Card Connection
Troubleshooting
PROBLEMS CHECK
Troubleshooting
The following are not malfunctions.
Page
Page
Model
PD-42X795 PD-50X795
Specifications
PD-42\50X795 English 90 10/12/04, 9:25:26 AM