
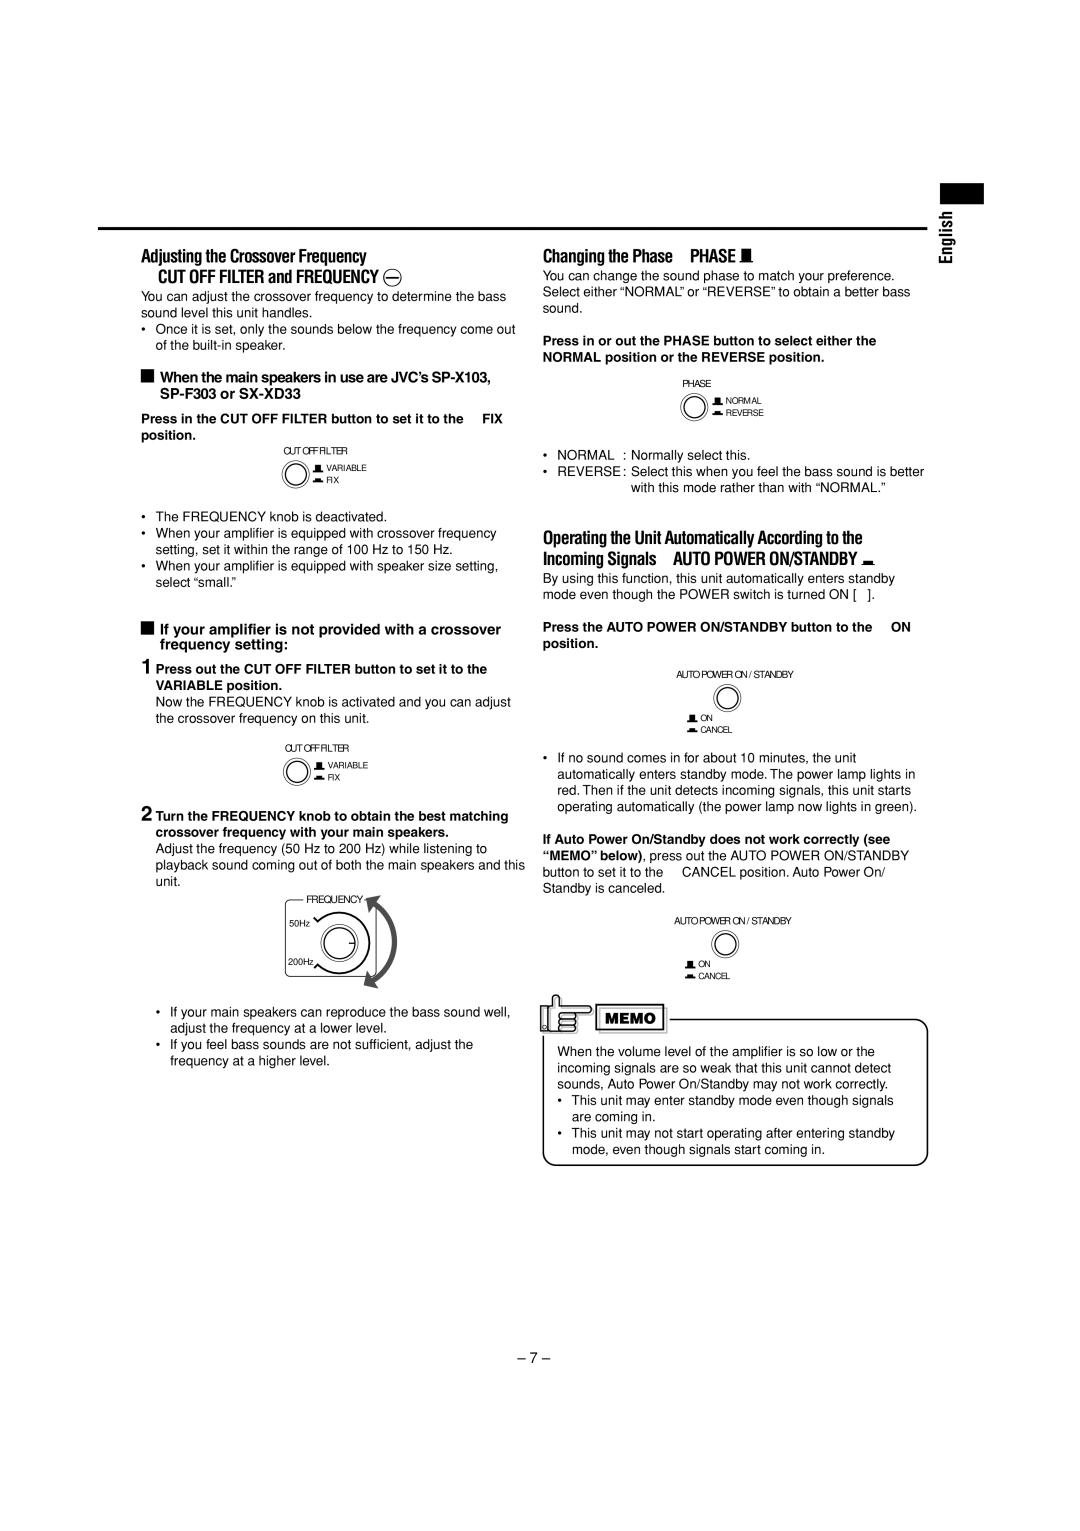
SP-DW103 specifications
The JVC SP-DW103 is a high-performance subwoofer designed to enhance the home audio experience, particularly for those who enjoy deep bass reproduction. This model is part of JVC's commitment to delivering high-quality sound solutions, making it an ideal choice for both music enthusiasts and home theater aficionados.One of the standout features of the SP-DW103 is its powerful 10-inch cone driver, which allows it to produce deep, resonant bass frequencies with remarkable clarity. This driver is specifically engineered to minimize distortion, ensuring that every note and beat can be felt as well as heard. The frequency response range is impressive, allowing users to experience low frequencies down to 28 Hz, making it perfect for various musical genres and movie soundtracks that require robust bass.
JVC has incorporated advanced technologies into the SP-DW103, including a built-in Class D amplifier. This type of amplifier is known for its efficiency and low heat production, translating to longer operational life and reduced energy consumption. The 100-watt RMS power output ensures that the subwoofer can fill even larger rooms with rich sound without compromising audio quality.
The design of the SP-DW103 is both stylish and functional, featuring a sleek cabinet that fits seamlessly into a variety of home decors. Its solid construction minimizes unwanted vibrations, which contributes to clearer sound reproduction. The subwoofer is equipped with a front-firing port that enhances low-frequency output and provides flexibility in placement, allowing users to position it optimally within their listening environment.
Connectivity is another critical aspect of the SP-DW103, featuring RCA and speaker level inputs. This versatility allows users to integrate the subwoofer easily with various audio systems, whether it's a home theater setup or a standalone audio system.
In conclusion, the JVC SP-DW103 subwoofer is a remarkable audio accessory that combines powerful performance with modern technologies and elegant design. With its impressive driver, efficient amplifier, and flexible connectivity options, it is well-suited for anyone looking to elevate their audio experience. Whether it’s for enjoying music or enhancing movie nights, the SP-DW103 promises to deliver a rich and immersive sound experience.