NAVIGATION ON HDD/DVD DECK EN 43

Add scenes

1Perform steps 1 5 of AEdit ScenesB (A pg. 42) before continuing.

2Press selection keys to select ASEL. TITLEB, then press

ENTER.

3Perform steps 4 11 of ACreate Play ListB (A pg. 42).

Move Scenes

1Perform steps 1 5 of AEdit ScenesB (A pg. 42) before continuing.

2Press selection keys to select AMOVEB, then press ENTER.

3Press selection keys to select a scene to move, then press

ENTER.

4Press selection keys to select another scene to which the scene is to be moved, then press ENTER.

To cancel the move, press selection keys to select ARETRYB, then press ENTER.

5Perform steps 9 11 of ACreate Play ListB (A pg. 42).

Delete Scenes

1Perform steps 1 5 of AEdit ScenesB (A pg. 42) before continuing.

2Press selection keys to select ADELETEB, then press ENTER.

3Press selection keys to select a scene to delete, then press

ENTER.

4Perform steps 9 11 of ACreate Play ListB (A pg. 42).

Play Back Play List

1Press NAVIGATION. The Library Database Navigation screen appears.

2Press selection keys to select APLAY LISTB, then press

ENTER.

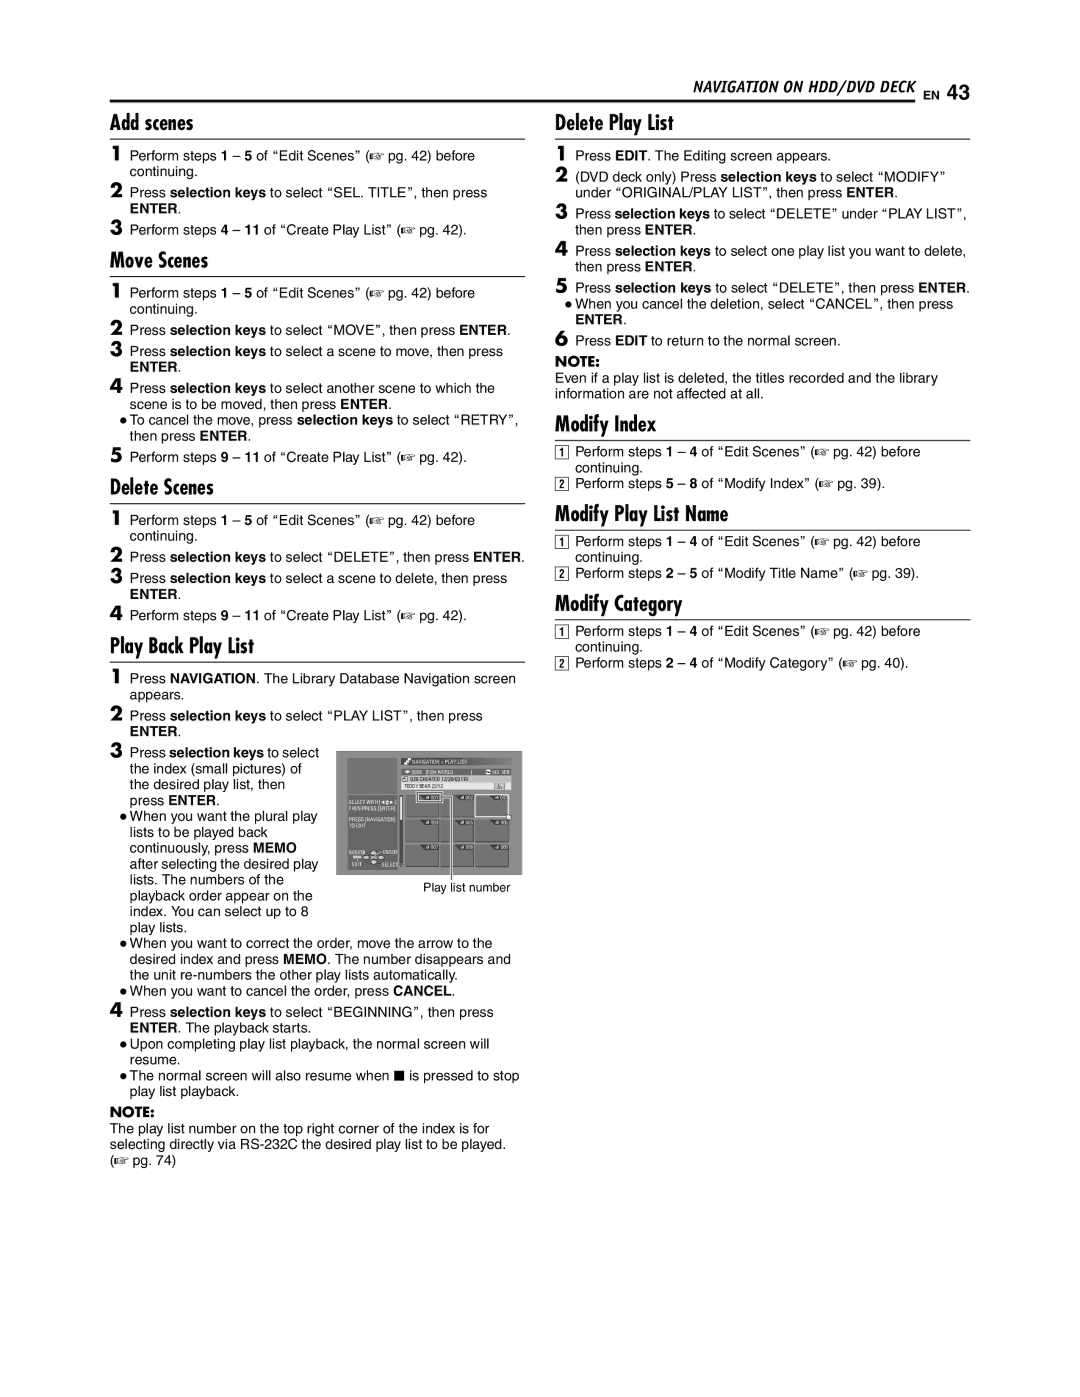
3Press selection keys to select

the index (small pictures) of


NAVIGATION > PLAY LIST


0026

[FISH WORLD

]

143 MIN

the desired play list, then


026 CREATED 12/26/03 FRI


TEDDY BEAR 25/12


press ENTER.

SELECT WITH @

001

002

003


THEN PRESS [ENTER]


When you want the plural play


PRESS [NAVIGATION]

004

005

006

lists to be played back

TO EXIT


continuously, press MEMO

NAVIGATION

ENTER

007

008

009


after selecting the desired play

EXIT

SELECT


lists. The numbers of the

Play list number

playback order appear on the index. You can select up to 8 play lists.

When you want to correct the order, move the arrow to the desired index and press MEMO. The number disappears and the unit re-numbers the other play lists automatically.

When you want to cancel the order, press CANCEL.

Delete Play List

1Press EDIT. The Editing screen appears.

2(DVD deck only) Press selection keys to select AMODIFYB under AORIGINAL/PLAY LISTB, then press ENTER.

3Press selection keys to select ADELETEB under APLAY LISTB, then press ENTER.

4Press selection keys to select one play list you want to delete, then press ENTER.

5Press selection keys to select ADELETEB, then press ENTER.

When you cancel the deletion, select ACANCELB, then press

ENTER.

6Press EDIT to return to the normal screen.

NOTE:

Even if a play list is deleted, the titles recorded and the library information are not affected at all.

Modify Index

APerform steps 1 4 of AEdit ScenesB (A pg. 42) before continuing.

BPerform steps 5 8 of AModify IndexB (A pg. 39).

Modify Play List Name

APerform steps 1 4 of AEdit ScenesB (A pg. 42) before continuing.

BPerform steps 2 5 of AModify Title NameB (A pg. 39).

Modify Category

APerform steps 1 4 of AEdit ScenesB (A pg. 42) before continuing.

BPerform steps 2 4 of AModify CategoryB (A pg. 40).

4Press selection keys to select ABEGINNINGB, then press ENTER. The playback starts.

Upon completing play list playback, the normal screen will resume.

The normal screen will also resume when o is pressed to stop play list playback.

NOTE:

The play list number on the top right corner of the index is for selecting directly via RS-232C the desired play list to be played. (A pg. 74)

Page 43
Image 43
JVC SR-DVM700U manual Add scenes, Move Scenes, Delete Scenes, Play Back Play List, Delete Play List, Modify Play List Name

SR-DVM700U specifications

The JVC SR-DVM700U is a versatile and high-performance digital video recorder that caters to both professional and consumer needs. It is designed to handle a variety of video formats, making it a convenient and reliable choice for video production, archiving, and playback tasks.

One of the standout features of the SR-DVM700U is its ability to support both digital and analog formats. It can play and record from MiniDV, DVCAM, and DVCPRO tapes, while also offering the capability to handle various VHS formats. This dual functionality provides users with an excellent solution for converting older tapes to digital formats while maintaining high-quality output.

In terms of connectivity, the SR-DVM700U is equipped with a range of inputs and outputs. It features FireWire (IEEE 1394) connectivity, enabling fast and efficient transfer of digital video to and from computers and other devices. Additionally, it has multiple composite video and audio connections, making it easy to interface with various equipment in the production setup. The S-Video and component outputs enhance the video quality, ensuring professional-grade performance.

The device leverages advanced digital processing technologies to ensure high-quality audio and video recordings. It includes a built-in up-converter that improves the resolution and sharpness of analog signals when converting to digital formats, enhancing the overall viewing experience.

The JVC SR-DVM700U also incorporates features like playback time code and edit search functions, which are essential for video editing workflows. This technology allows users to efficiently navigate through their footage, making it easier to locate specific scenes or segments during the editing process.

Moreover, the unit is designed with a user-friendly interface, featuring a clear LCD screen and easy-to-use controls, which facilitate seamless operation. The compact and robust design ensures durability, making it suitable for both studio environments and on-location shoots.

In summary, the JVC SR-DVM700U digital video recorder is a powerful tool that combines multiple recording formats, advanced processing technologies, and versatile connectivity options. Its ability to bridge the gap between analog and digital media, coupled with its professional features, makes it an invaluable asset for videographers and multimedia professionals looking to preserve and transform their video content.