unit to set the reverse mode on.
The auto reverse lamp lights orange on the front panel.
4 Press REC PAUSE button on the cassette deck unit.
5 Repeat the steps 4 to 5 of “Manual Recording onto a Tape” mentioned in the left column.

English

Continued

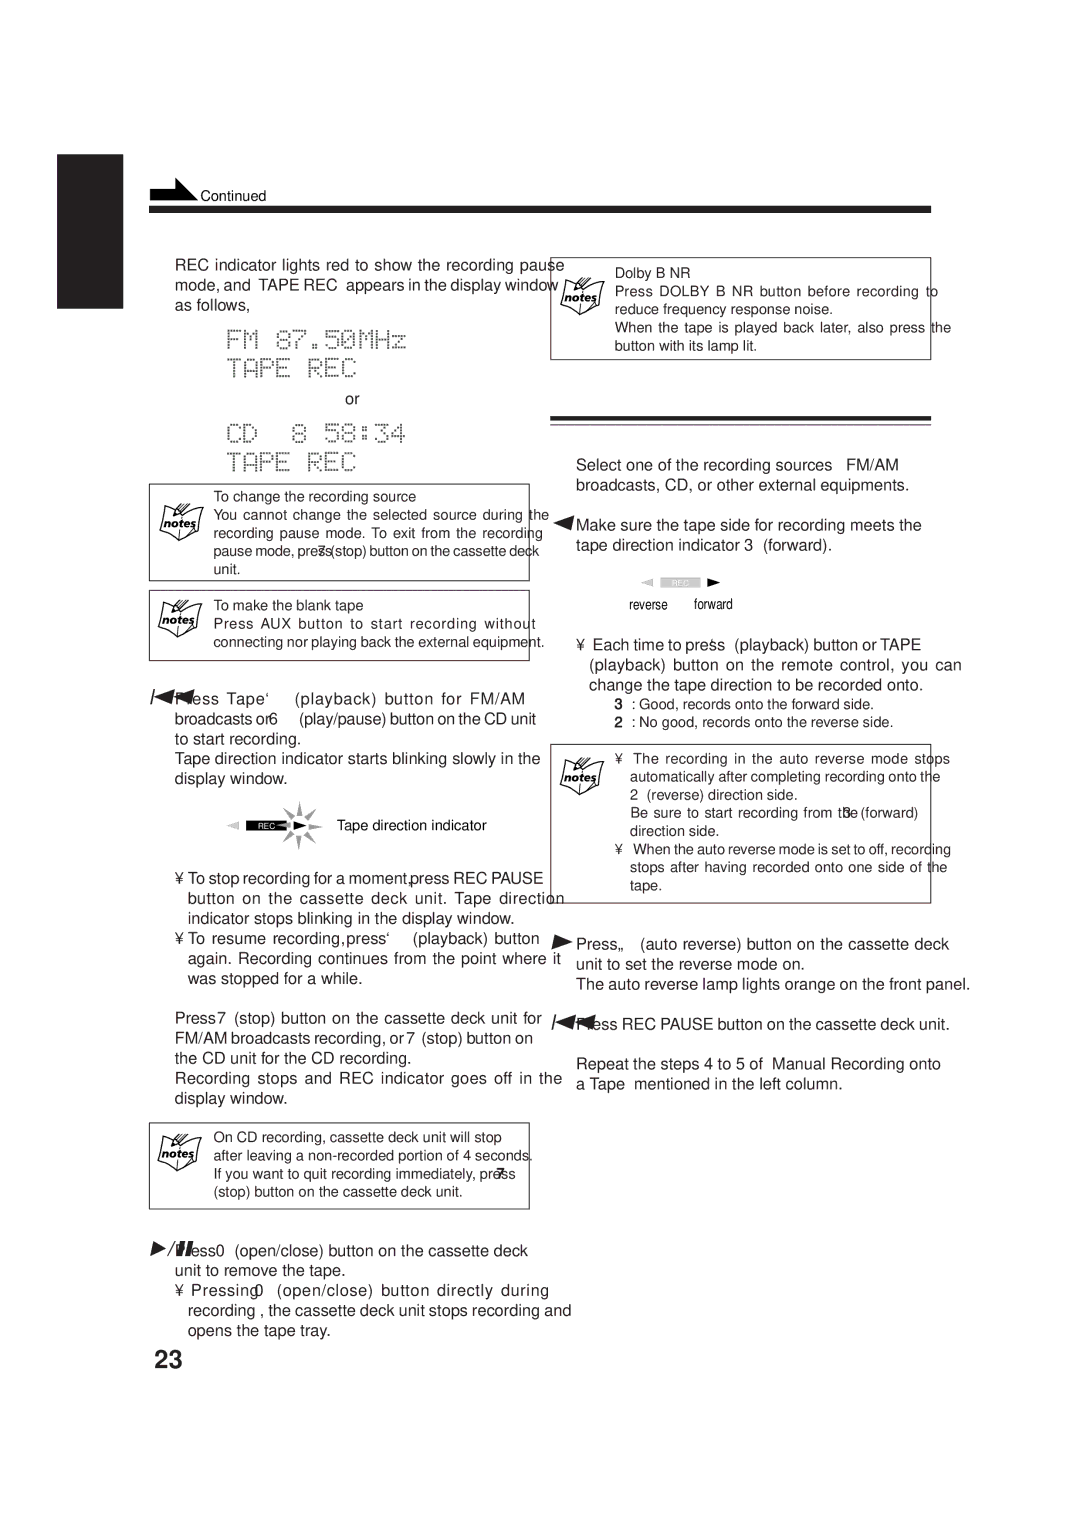
REC indicator lights red to show the recording pause

Dolby B NR

mode, and “TAPE REC” appears in the display window

Press DOLBY B NR button before recording to

as follows,

reduce frequency response noise.


When the tape is played back later, also press the


button with its lamp lit.


or

Recording in Auto Reverse


To change the recording source

You cannot change the selected source during the recording pause mode. To exit from the recording pause mode, press 7(stop) button on the cassette deck unit.

To make the blank tape

Press AUX button to start recording without connecting nor playing back the external equipment.

4 Press Tape ` (playback) button for FM/AM broadcasts or 6(play/pause) button on the CD unit to start recording.

Tape direction indicator starts blinking slowly in the display window.

REC

Tape direction indicator

To stop recording for a moment, press REC PAUSE button on the cassette deck unit. Tape direction indicator stops blinking in the display window.

To resume recording, press ` (playback) button again. Recording continues from the point where it was stopped for a while.

5 Press 7 (stop) button on the cassette deck unit for FM/AM broadcasts recording, or 7(stop) button on the CD unit for the CD recording.

Recording stops and REC indicator goes off in the display window.

On CD recording, cassette deck unit will stop after leaving a non-recorded portion of 4 seconds.

If you want to quit recording immediately, press 7 (stop) button on the cassette deck unit.

1 Select one of the recording sources — FM/AM broadcasts, CD, or other external equipments.

2 Make sure the tape side for recording meets the tape direction indicator 3(forward).

REC

reverse forward

Each time to press`(playback) button or TAPE ` (playback) button on the remote control, you can change the tape direction to be recorded onto.

3 : Good, records onto the forward side.

2: No good, records onto the reverse side.

• The recording in the auto reverse mode stops automatically after completing recording onto the

2(reverse) direction side.

Be sure to start recording from the 3 (forward) direction side.

When the auto reverse mode is set to off, recording stops after having recorded onto one side of the tape.

3 Press ¹ (auto reverse) button on the cassette deck

6 Press 0(open/close) button on the cassette deck unit to remove the tape.

Pressing 0 (open/close) button directly during recording , the cassette deck unit stops recording and opens the tape tray.

23

Page 28
Image 28
JVC TD-UXG66, SP-UXG66 manual Recording in Auto Reverse, Dolby B NR, To change the recording source, To make the blank tape

AX-UXG66, XT-UXG66, SP-UXG66, TD-UXG66 specifications

The JVC SP-UXG66, AX-UXG66, XT-UXG66, and TD-UXG66 series represents a versatile range of audio systems that blend performance, design, and technology to meet the needs of modern music enthusiasts. These models, part of JVC's reputation for quality audio, are designed to deliver exceptional sound quality while also being user-friendly and aesthetically pleasing.

One of the standout features of the JVC UXG66 series is its robust sound performance. Equipped with powerful amplifiers and high-quality speakers, these systems provide clear, rich audio across a wide range of frequencies. Whether you're listening to music, watching movies, or playing games, the audio output remains immersive and vibrant, ensuring an engaging experience.

In addition to excellent sound quality, the UXG66 series showcases advanced connectivity options. Bluetooth technology allows users to stream music wirelessly from smartphones, tablets, or laptops, adding convenience for those who prefer a cable-free experience. Additionally, USB ports and AUX inputs make it easy to connect various devices, giving users the flexibility to choose their preferred source of audio.

The design of the JVC UXG66 series is also noteworthy. Each model features a sleek, modern aesthetic that can complement any home decor. With illuminated controls and an intuitive interface, users can easily navigate through their music collections or adjust settings without hassle. Moreover, the compact size of these systems makes them easy to integrate into any space, whether it's a living room, bedroom, or office.

Another important aspect of the UXG66 series is its versatility. Many models in this series come with CD players, FM radios, and support for various audio formats, catering to all types of listeners. Whether you're a fan of classic CDs or digital playlists, you can enjoy your favorite tunes with ease.

Lastly, JVC's commitment to durability and reliability is evident in the UXG66 series. Built with high-quality materials, these systems are designed to stand the test of time. Overall, the JVC SP-UXG66, AX-UXG66, XT-UXG66, and TD-UXG66 models combine exceptional audio performance, modern design, and user-friendly features, making them a compelling choice for anyone looking to enhance their audio experience at home or on the go.