
UX-M5 specifications
The JVC UX-M5 is a remarkable compact audio system designed for music enthusiasts seeking high-quality sound in a user-friendly package. This system embodies JVC’s commitment to audio excellence, blending innovative technology with practical features that cater to a wide range of listening preferences.One of the standout features of the UX-M5 is its impressive output power, delivering clear and dynamic audio that fills the room. The system is equipped with a dual speaker setup, which enhances soundstage depth, providing an immersive listening experience. The design of the speakers optimizes their acoustic performance, ensuring that bass frequencies are punchy while maintaining the clarity of midrange and high frequencies.
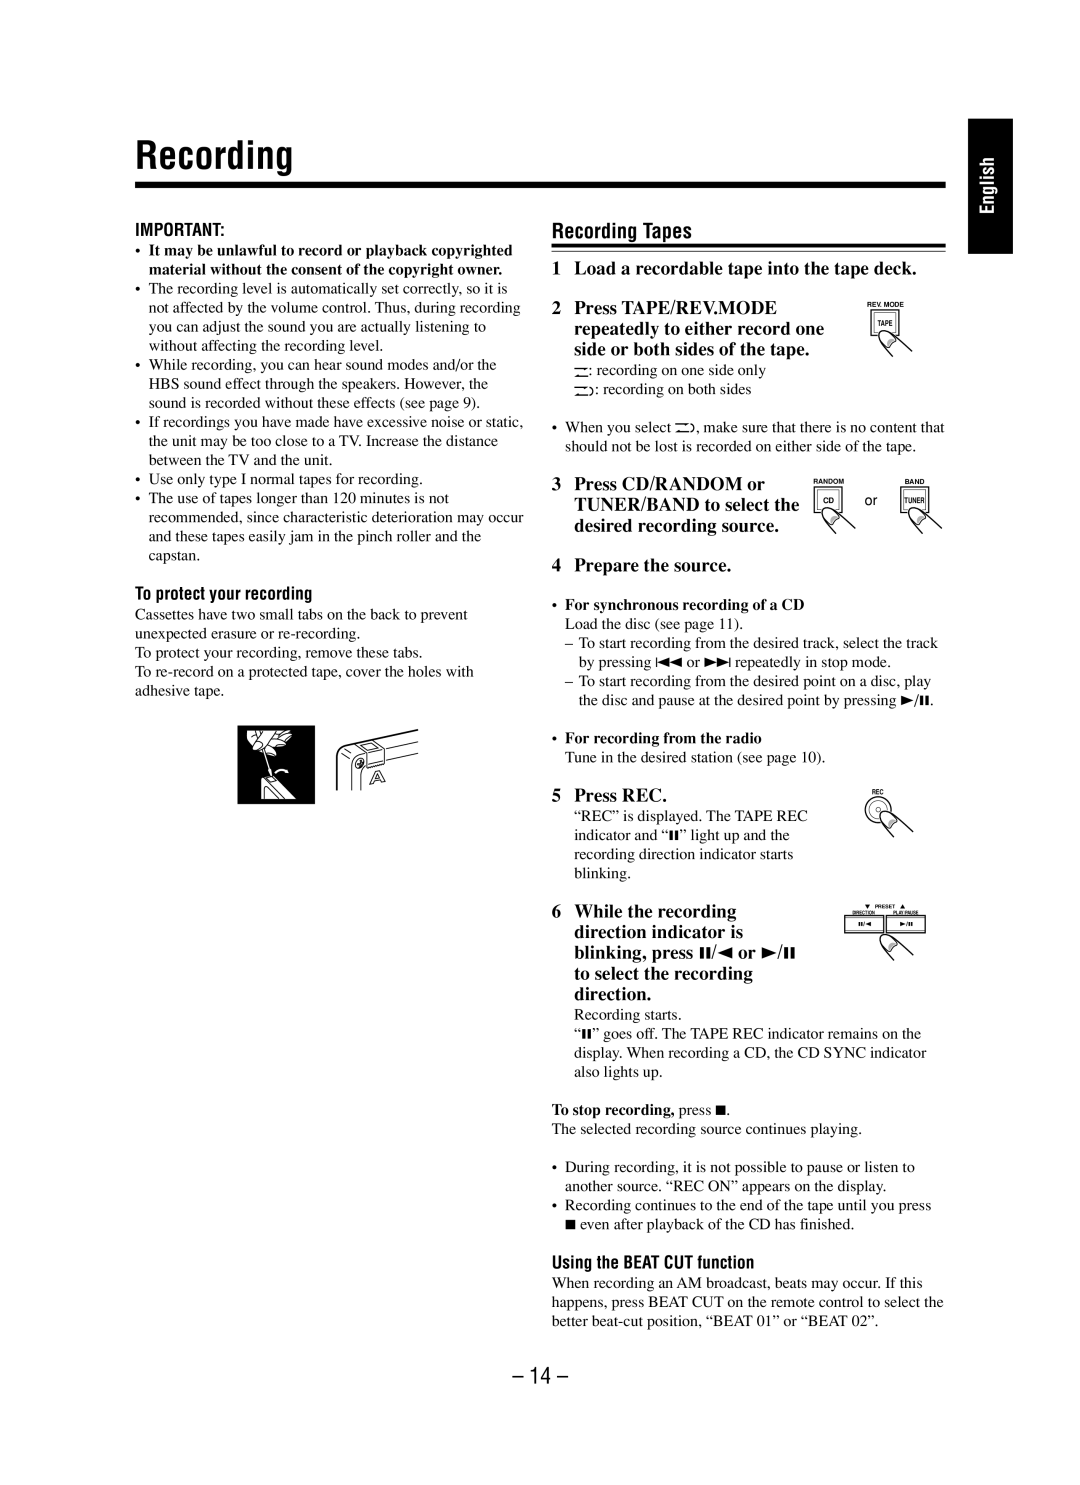
The UX-M5 incorporates a built-in CD player that supports various disc formats, allowing users to enjoy their favorite albums without the need for additional equipment. Additionally, it features a digital AM/FM tuner, granting listeners access to numerous radio stations and enhancing the versatility of the system. The station memory function allows for easy navigation to favorite channels, ensuring a user-friendly experience.
In terms of connectivity, the UX-M5 excels with its range of input options. It includes USB ports for direct playback from flash drives, as well as auxiliary inputs for connecting smartphones and other external devices. This connectivity flexibility allows users to enjoy a variety of audio sources, including digital music libraries and streaming services, making it compatible with modern listening habits.
JVC’s proprietary sound enhancement technologies are integrated into the UX-M5, delivering superior audio performance. The system includes features like Bass Boost and various equalizer presets, which allow users to customize their listening experience according to their preferences. Whether you prefer the subtle nuance of acoustic tracks or the intensity of electronic dance music, the UX-M5 can adapt to suit your needs.
The UX-M5 is designed with a sleek and modern aesthetic, featuring a compact footprint that fits easily into any space, from living rooms to bedrooms. Its user-friendly interface, complete with a clear LCD display and intuitive controls, makes operation simple and straightforward.
Overall, the JVC UX-M5 is a versatile and powerful compact audio system that caters to diverse audio needs, making it an excellent choice for listeners who appreciate quality sound and functional design.