Basic Operation
Transferring the music files into the Digital Audio Player
In this instruction, the
CAUTION:
For copyright protection, the Digital Audio Player has a limitation on music file operations. Once stored, the MP3, WMA, and
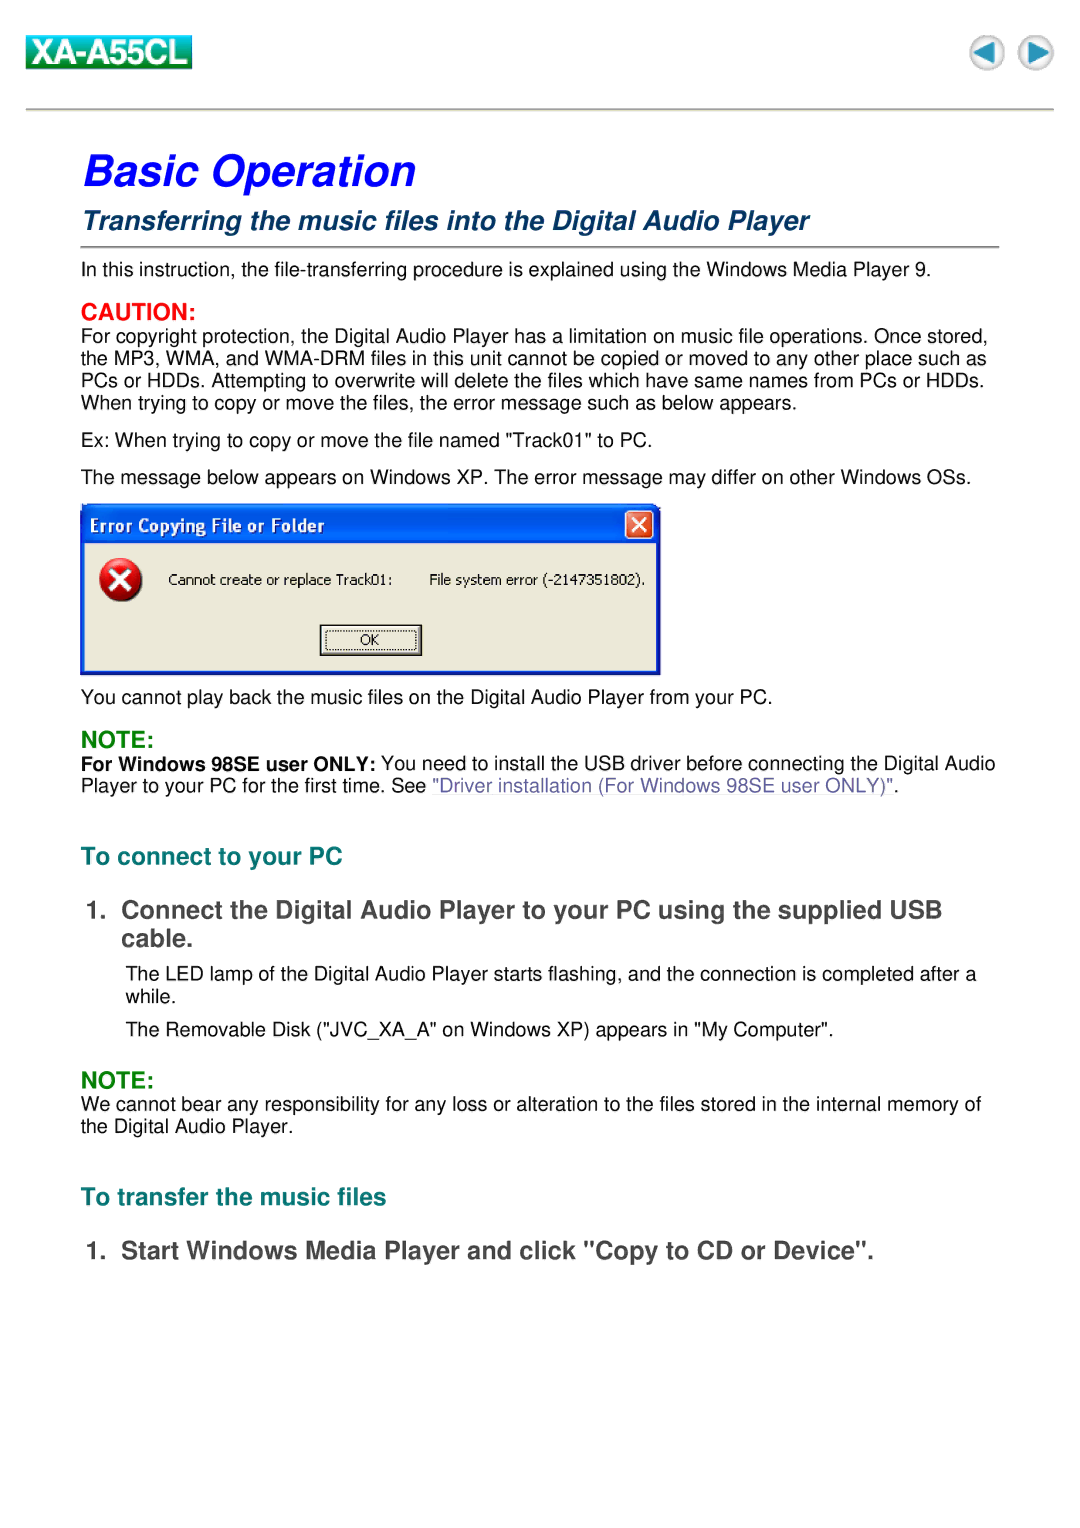
Ex: When trying to copy or move the file named "Track01" to PC.
The message below appears on Windows XP. The error message may differ on other Windows OSs.
You cannot play back the music files on the Digital Audio Player from your PC.
NOTE:
For Windows 98SE user ONLY: You need to install the USB driver before connecting the Digital Audio Player to your PC for the first time. See "Driver installation (For Windows 98SE user ONLY)".
To connect to your PC
1.Connect the Digital Audio Player to your PC using the supplied USB cable.
The LED lamp of the Digital Audio Player starts flashing, and the connection is completed after a while.
The Removable Disk ("JVC_XA_A" on Windows XP) appears in "My Computer".
NOTE:
We cannot bear any responsibility for any loss or alteration to the files stored in the internal memory of the Digital Audio Player.