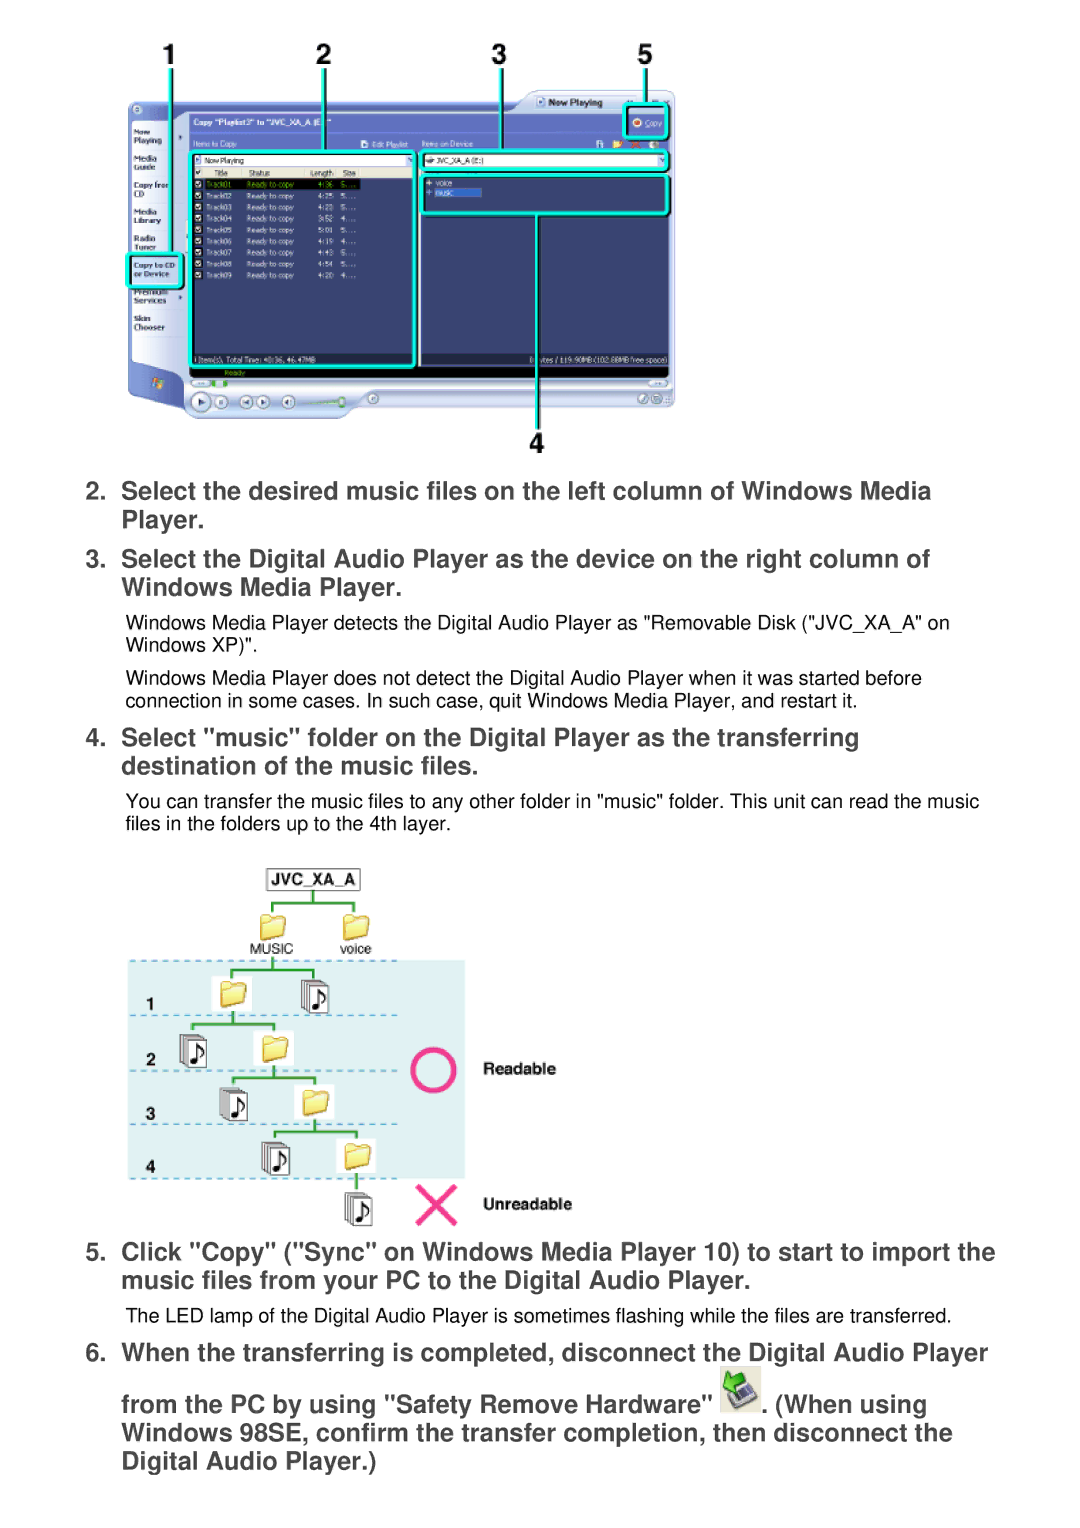
2.Select the desired music files on the left column of Windows Media Player.
3.Select the Digital Audio Player as the device on the right column of Windows Media Player.
Windows Media Player detects the Digital Audio Player as "Removable Disk ("JVC_XA_A" on Windows XP)".
Windows Media Player does not detect the Digital Audio Player when it was started before connection in some cases. In such case, quit Windows Media Player, and restart it.
4.Select "music" folder on the Digital Player as the transferring destination of the music files.
You can transfer the music files to any other folder in "music" folder. This unit can read the music files in the folders up to the 4th layer.
5.Click "Copy" ("Sync" on Windows Media Player 10) to start to import the music files from your PC to the Digital Audio Player.
The LED lamp of the Digital Audio Player is sometimes flashing while the files are transferred.
6.When the transferring is completed, disconnect the Digital Audio Player from the PC by using "Safety Remove Hardware" ![]() . (When using Windows 98SE, confirm the transfer completion, then disconnect the Digital Audio Player.)
. (When using Windows 98SE, confirm the transfer completion, then disconnect the Digital Audio Player.)