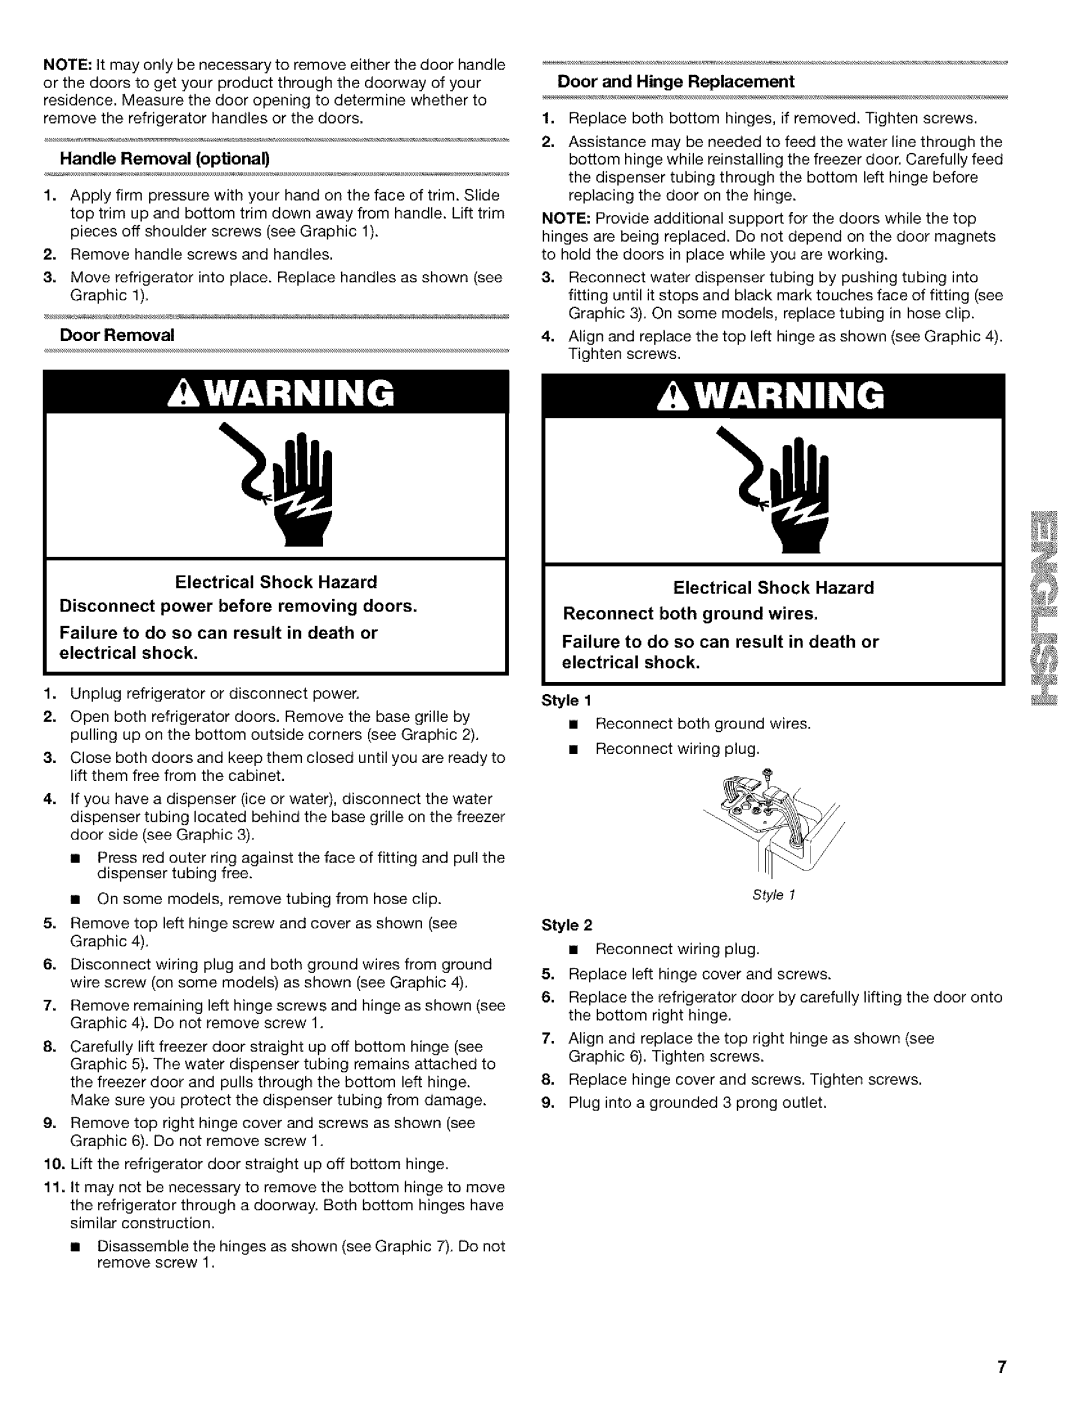
NOTE: It may only be necessary to remove either the door handle or the doors to get your product through the doorway of your residence. Measure the door opening to determine whether to remove the refrigerator handles or the doors.

Handle Removal (optional)

1.Apply firm pressure with your hand on the face of trim. Slide top trim up and bottom trim down away from handle. Lift trim pieces off shoulder screws (see Graphic 1).

2.Remove handle screws and handles.

3.Move refrigerator into place. Replace handles as shown (see Graphic 1).

Door Removal

Door and Hinge Replacement

1.Replace both bottom hinges, if removed. Tighten screws.

2.Assistance may be needed to feed the water line through the bottom hinge while reinstalling the freezer door. Carefully feed the dispenser tubing through the bottom left hinge before replacing the door on the hinge.

NOTE: Provide additional support for the doors while the top hinges are being replaced. Do not depend on the door magnets to hold the doors in place while you are working.

3.Reconnect water dispenser tubing by pushing tubing into fitting until it stops and black mark touches face of fitting (see Graphic 3). On some models, replace tubing in hose clip.

4.Align and replace the top left hinge as shown (see Graphic 4). Tighten screws.

Electrical Shock Hazard

Disconnect power before removing doors.

Failure to do so can result in death or electrical shock.

1.Unplug refrigerator or disconnect power.

2.Open both refrigerator doors. Remove the base grille by pulling up on the bottom outside corners (see Graphic 2).

3.Close both doors and keep them closed until you are ready to lift them free from the cabinet.

4.If you have a dispenser (ice or water), disconnect the water dispenser tubing located behind the base grille on the freezer door side (see Graphic 3).

Press red outer ring against the face of fitting and pull the dispenser tubing free.

On some models, remove tubing from hose clip.

5.Remove top left hinge screw and cover as shown (see Graphic 4).

6.Disconnect wiring plug and both ground wires from ground wire screw (on some models) as shown (see Graphic 4).

7.Remove remaining left hinge screws and hinge as shown (see Graphic 4). Do not remove screw 1.

8.Carefully lift freezer door straight up off bottom hinge (see Graphic 5). The water dispenser tubing remains attached to the freezer door and pulls through the bottom le_ hinge. Make sure you protect the dispenser tubing from damage.

9.Remove top right hinge cover and screws as shown (see Graphic 6). Do not remove screw 1.

10.Lift the refrigerator door straight up off bottom hinge.

11.It may not be necessary to remove the bottom hinge to move the refrigerator through a doorway. Both bottom hinges have similar construction.

Disassemble the hinges as shown (see Graphic 7). Do not remove screw 1.

Electrical Shock Hazard

Reconnect both ground wires.

Failure to do so can result in death or electrical shock.

Style 1

Reconnect both ground wires.

Reconnect wiring plug.

Style 1

Style 2

Reconnect wiring plug.

5.Replace left hinge cover and screws.

6.Replace the refrigerator door by carefully lifting the door onto the bottom right hinge.

7.Align and replace the top right hinge as shown (see Graphic 6). Tighten screws.

8.Replace hinge cover and screws. Tighten screws.

9.Plug into a grounded 3 prong outlet.

Page 7
Image 7
Kenmore 10653562201, 10653272301, 10653272300 manual Handle Removal optional, Door Removal Door and Hinge Replacement, Style

10652762100, 10652769101, 10652764100, 10653259201, 10653262202 specifications

The Kenmore 10653272301, 10653272300, 2220694, 10653562200, and 10653769202 models are popular refrigerator options recognized for their dependable performance, innovative technologies, and user-friendly features. These refrigerators represent a range of styles and configurations, making them suitable for various kitchen designs and household needs.

One of the main features across these Kenmore models is their energy efficiency. Designed to minimize electricity consumption, they help families save on utility bills while reducing their carbon footprint. Many of these refrigerators are Energy Star certified, underscoring their commitment to sustainability.

An important characteristic of these models is their spacious interiors, which include adjustable shelves and spacious crisper drawers. This customizable storage allows users to organize food items conveniently and optimally, accommodating everything from tall bottles to fresh produce. The clear crisper bins also help maintain freshness, while dedicated compartments can store items such as deli meats and cheeses.

Another significant aspect is the advanced cooling technology employed in these refrigerators. They utilize multi-air flow systems to distribute cold air evenly throughout the refrigerator and freezer compartments, preventing temperature fluctuations and preserving food longer. In addition, some models feature whirlpool compressors equipped with quieter operation, making them an excellent option for open floor plans.

Many of the Kenmore appliances also include ice and water dispensers conveniently located on the front, ensuring easy access to hydration and ice without opening the refrigerator. These dispensers often come with filters, ensuring that water quality remains high.

The designs of the Kenmore 10653272301 series and its counterparts offer sleek, modern aesthetics in stainless steel or white finishes, fitting seamlessly into contemporary and traditional kitchen environments.

Ease of use is enhanced with features like LED interior lighting, which provides clear visibility of contents while being energy-efficient. Models also come with a user-friendly control panel, simplifying temperature adjustments and settings.

Overall, the Kenmore 10653272301, 10653272300, 2220694, 10653562200, and 10653769202 are solid choices for anyone seeking a reliable, stylish, and efficient refrigeration solution for their home, combining modern conveniences with practical functionality.