•Ifcodespermitandaseparategroundwireisused,itis recommendedthataqualifiedelectriciandeterminethatthe groundpathisadequate.
•Donotgroundtoagaspipe.
•Checkwithaqualifiedelectricianifyouarenotsurethe washerisproperlygrounded.
•Donothaveafuseintheneutralorgroundcircuit.
GROUNDING INSTRUCTIONS
For a grounded,
This washer must be grounded. In the event of a malfunction or breakdown, grounding will reduce the risk of electrical shock by providing a path of least resistance for electric current. This washer is equipped with a cord having an
WARNING: Improper connection of the equipment- grounding conductor can result in a risk of electric shock. Check with s qualified electrician or serviceman if you are in doubt as to whether the appliance is properly grounded.
Do not modify the plug provided with the appliance - if it wili not fit the outlet, have a proper outlet installed by a qualified electrician.
For a permanently connected washer:
This washer must be connected to a grounded metal, permanent wiring system, or an equipment grounding conductor must be run with the circuit conductors and connected to the
Before you install your washer, remove all shipping material.
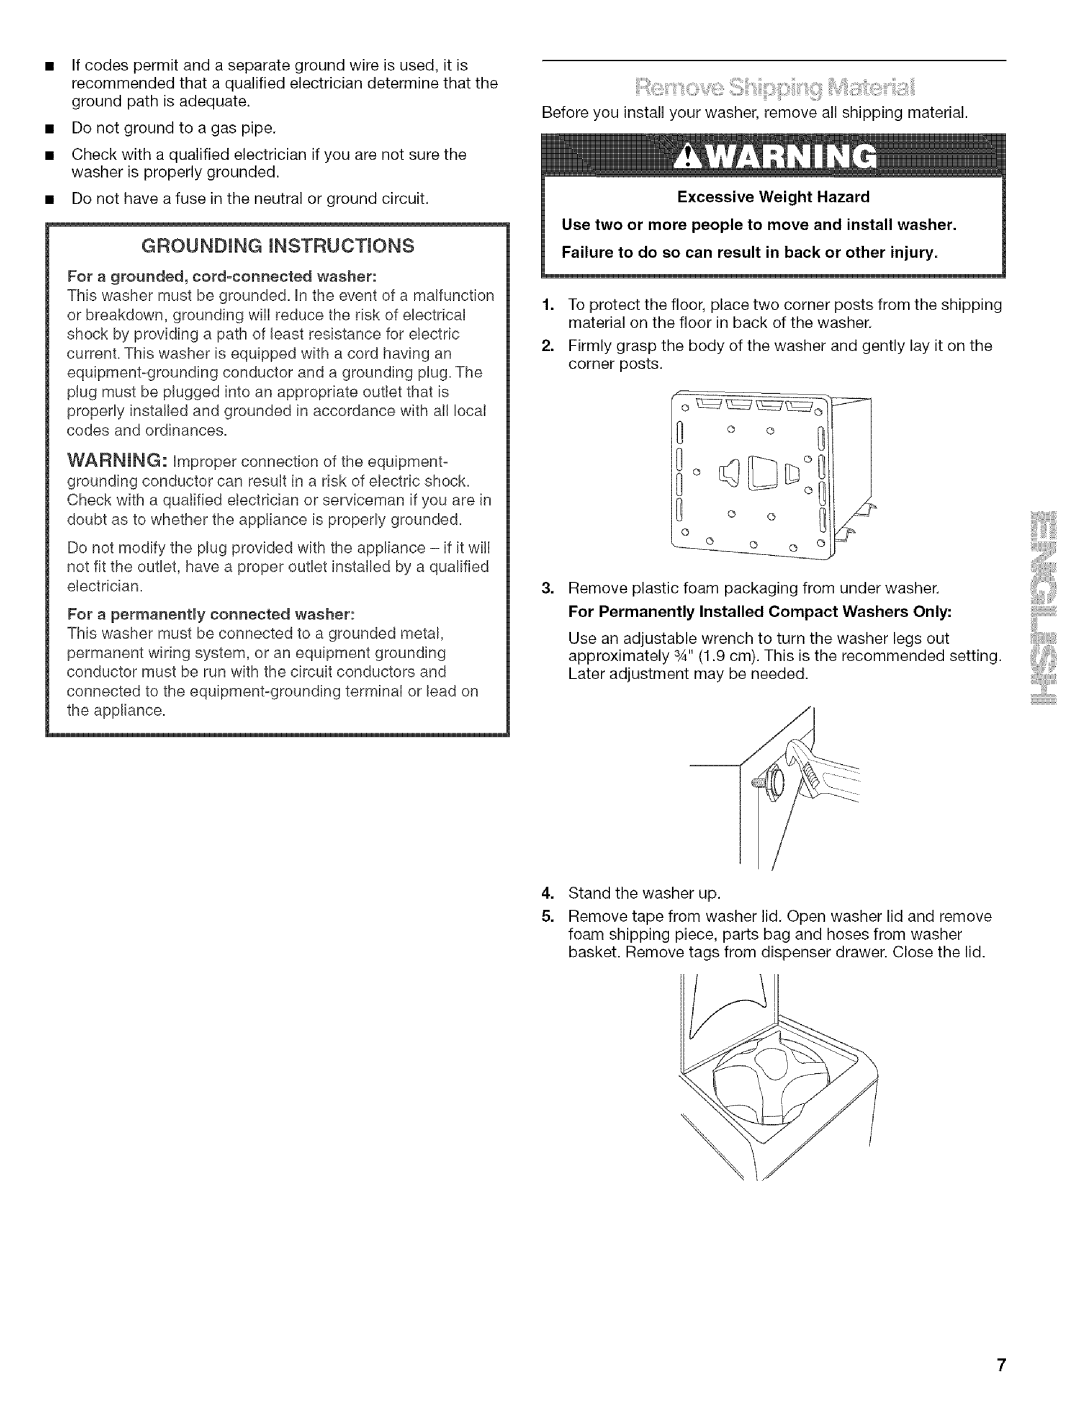
1.To protect the floor, place two corner posts from the shipping material on the floor in back of the washer.
2.Firmly grasp the body of the washer and gently lay it on the corner posts.
o
Remove plastic foam packaging from under washer.
For Permanently Installed Compact Washers Only:
Use an adjustable wrench to turn the washer legs out approximately 3A" (1.9 cm). This is the recommended setting. Later adjustment may be needed.
4.Stand the washer up.
5.Remove tape from washer lid. Open washer lid and remove foam shipping piece, parts bag and hoses from washer basket. Remove tags from dispenser drawer. Close the lid.
