Installation
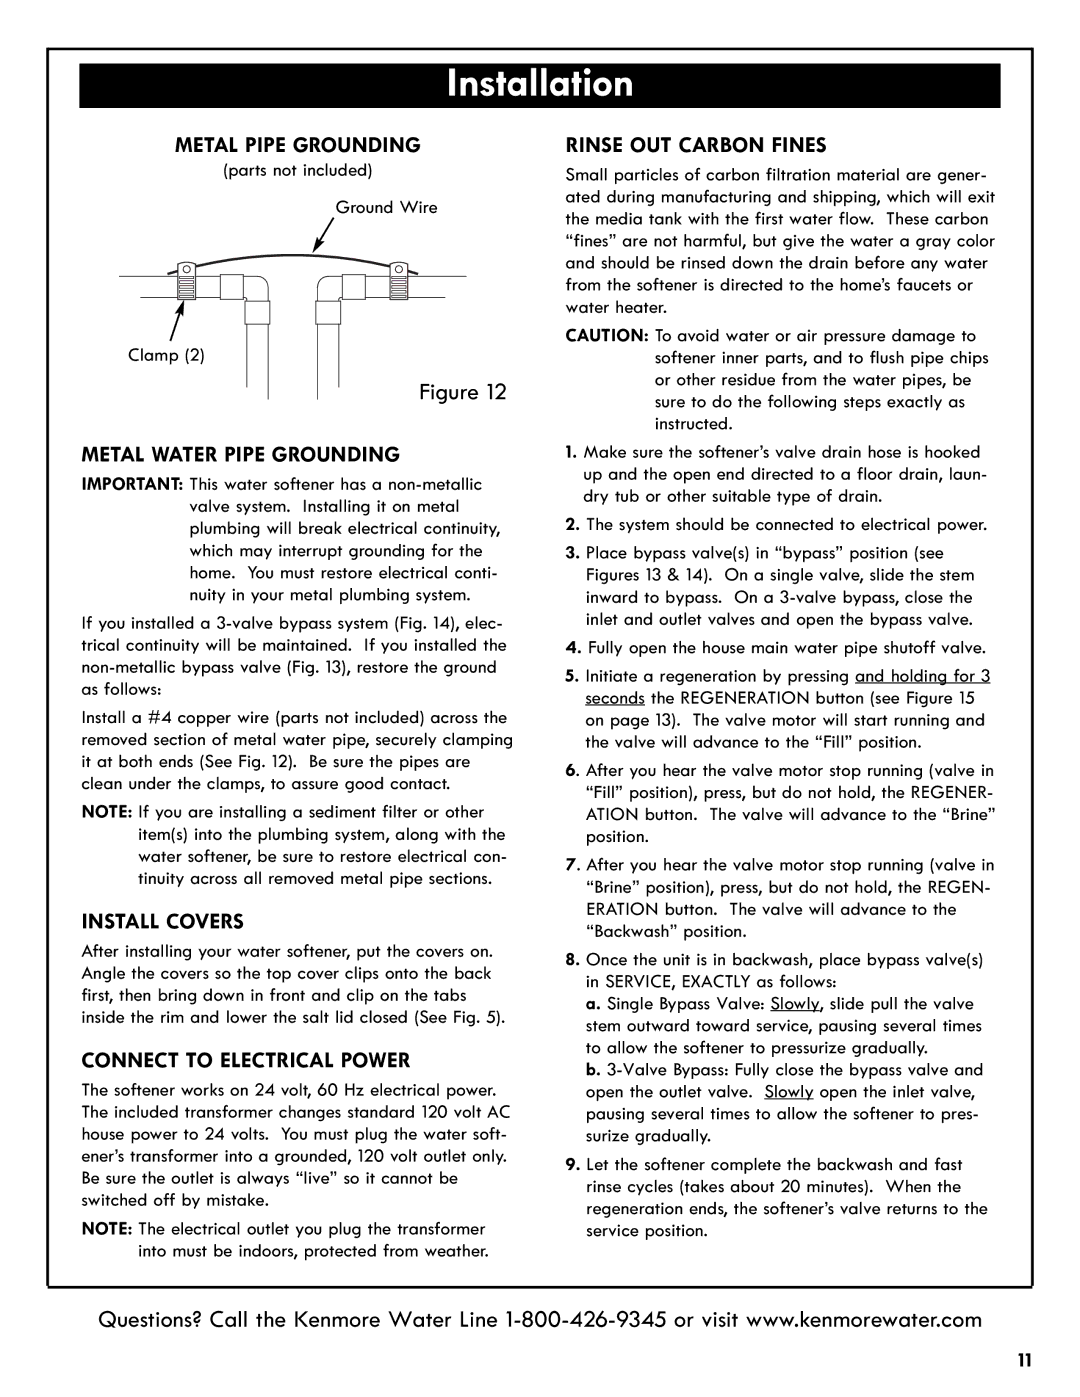
METAL PIPE GROUNDING
(parts not included) Ground Wire
Clamp (2)
Figure 12
METAL WATER PIPE GROUNDING IMPORTANT: This water softener has a
valve system. Installing it on metal plumbing will break electrical continuity, which may interrupt grounding for the home. You must restore electrical conti- nuity in your metal plumbing system.
If you installed a
Install a #4 copper wire (parts not included) across the removed section of metal water pipe, securely clamping it at both ends (See Fig. 12). Be sure the pipes are clean under the clamps, to assure good contact. NOTE: If you are installing a sediment filter or other
item(s) into the plumbing system, along with the water softener, be sure to restore electrical con- tinuity across all removed metal pipe sections.
INSTALL COVERS
After installing your water softener, put the covers on. Angle the covers so the top cover clips onto the back first, then bring down in front and clip on the tabs inside the rim and lower the salt lid closed (See Fig. 5).
CONNECT TO ELECTRICAL POWER
The softener works on 24 volt, 60 Hz electrical power. The included transformer changes standard 120 volt AC house power to 24 volts. You must plug the water soft- ener’s transformer into a grounded, 120 volt outlet only. Be sure the outlet is always “live” so it cannot be switched off by mistake.
NOTE: The electrical outlet you plug the transformer into must be indoors, protected from weather.
RINSE OUT CARBON FINES
Small particles of carbon filtration material are gener- ated during manufacturing and shipping, which will exit the media tank with the first water flow. These carbon “fines” are not harmful, but give the water a gray color and should be rinsed down the drain before any water from the softener is directed to the home’s faucets or water heater.
CAUTION: To avoid water or air pressure damage to softener inner parts, and to flush pipe chips or other residue from the water pipes, be sure to do the following steps exactly as instructed.
1. Make sure the softener’s valve drain hose is hooked up and the open end directed to a floor drain, laun- dry tub or other suitable type of drain.
2. The system should be connected to electrical power.
3. Place bypass valve(s) in “bypass” position (see Figures 13 & 14). On a single valve, slide the stem inward to bypass. On a
4. Fully open the house main water pipe shutoff valve. 5. Initiate a regeneration by pressing and holding for 3 seconds the REGENERATION button (see Figure 15 on page 13). The valve motor will start running and
the valve will advance to the “Fill” position.
6. After you hear the valve motor stop running (valve in “Fill” position), press, but do not hold, the REGENER- ATION button. The valve will advance to the “Brine” position.
7. After you hear the valve motor stop running (valve in “Brine” position), press, but do not hold, the REGEN- ERATION button. The valve will advance to the “Backwash” position.
8. Once the unit is in backwash, place bypass valve(s) in SERVICE, EXACTLY as follows:
a. Single Bypass Valve: Slowly, slide pull the valve stem outward toward service, pausing several times to allow the softener to pressurize gradually.
b.
9. Let the softener complete the backwash and fast rinse cycles (takes about 20 minutes). When the regeneration ends, the softener’s valve returns to the service position.
Questions? Call the Kenmore Water Line
11