Setting Warmer Drawer Controls (cont'd)

Warmer Drawer Recommended

Food Settings Table

Food item

Setting

Bacon

HI

Hamburger Patties

HI

Poultry

HI

Pork Chops

HI

Fried Foods

HI

Pizza

HI

Gravies

MED

Casseroles

MED

Eggs

MED

Roasts (Beef, Pork, Lamb)

MED

Vegetables

MED

Biscuits

MED

Rolls, hard

MED

Pastries

MED

Rolls (soft)

LO

Empty Dinner Plates

LO

Left Glide

To Set the Warmer (Warm & Ready TM) Drawer Thermostat Control (some models)

The thermostat control is used to select the temperature of the warmer drawer. It is located on the control panel (See Fig. 3 on previous page). To set the thermostat, push in and turn the knob to the desired setting. The temperatures are approximate, and are designated by HI, MED and LO.

1.Turn the knob to select the desired temperature setting.

2.For best results, preheat the drawer before adding food. An empty drawer will preheat in approximately 15 minutes.

3.Turn the thermostat control to OFF after use.

Warmer (Warm & Ready TM) Drawer Temperature Selection

(some models)

Refer to the table in the side column for recommended settings. If a particular

food is not listed, start with the medium setting. If more crispness is desired, remove the lid or aluminum foil.

Most foods can be kept at serving temperatures by using the medium setting.

When a combination of foods are to be kept warm (for instance, a meat with 2 vegetables and rolls), use the high setting.

Refrain from opening the warmer drawer while in use to eliminate loss of heat from the drawer.

Warmer (Warm & Ready TM) Drawer Indicator Light (some models)

The indicator light is located above the Warmer Drawer thermostat control. It turns on when the control is set, and stays on until the control is turned OFF. The warmer drawer is inoperable during the Self-Clean cycle. The indicator light will not come on during the Self-Clean cycle.

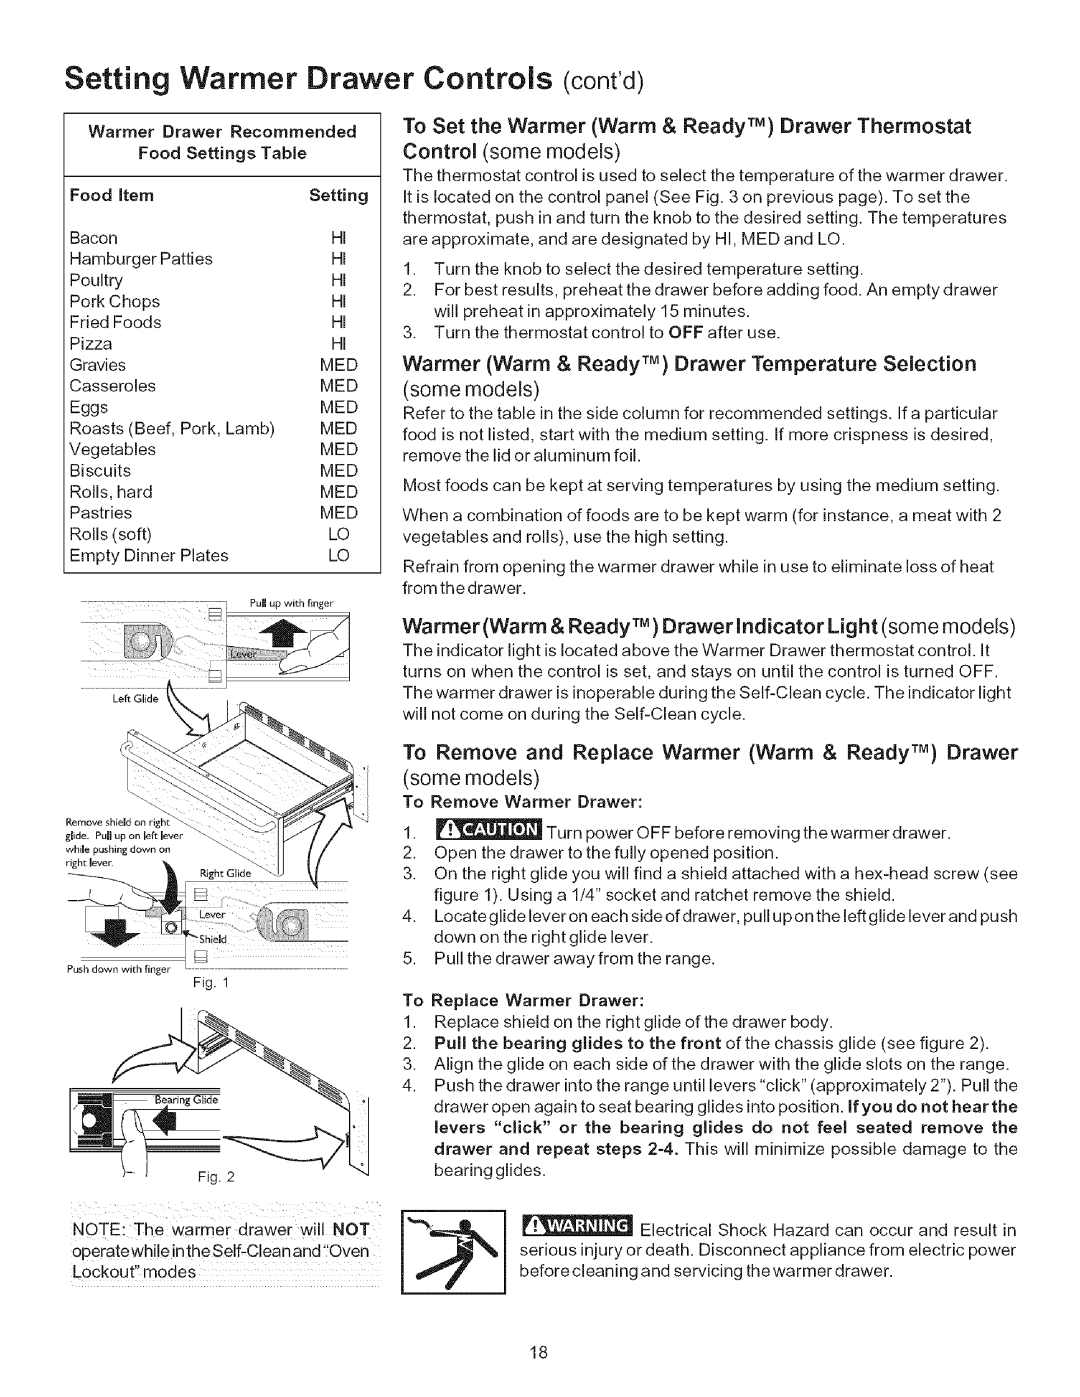
To Remove and Replace Warmer (Warm & Ready TM) Drawer (some models)

To Remove Warmer Drawer:

Remove shield on righ glide. Pull up on left lever while pushing down on right lever.

Fig. 1

1. _

Turn power OFF before removing the warmer drawer.

2.Open the drawer to the fully opened position.

3.On the right glide you will find a shield attached with a hex-head screw (see figure 1). Using a 1/4" socket and ratchet remove the shield.

4.Locateglide lever on each side of drawer, pull upon the left glide lever and push down on the right glide lever.

5.Pull the drawer away from the range.

Fig. 2

eperatewhile inthe Self-Clean and oven NOTE:Lockout,ThemodesWarmer drawer Will NOT

To Replace Warmer Drawer:

1.Replace shield on the right glide of the drawer body.

2.Pull the bearing gJides to the front of the chassis glide (see figure 2).

3.Align the glide on each side of the drawer with the glide slots on the range.

4.Push the drawer into the range until levers"click" (approximately 2"). Pull the drawer open again to seat bearing glides into position. If you do not hear the levers "click" or the bearing glides do not feel seated remove the drawer and repeat steps 2-4. This will minimize possible damage to the bearing glides.


Electrical Shock Hazard

can occur and result in

["_

serious injury or death. Disconnect appliance from electric power

before cleaning and servicing the warmer

drawer.

18

Page 18
Image 18
Kenmore 790.9433, 790.9613 Setting Warmer Drawer Controls contd, Warmer Warm & Ready TM Drawer Indicator Light some models

790.9434, 790.9433, 790.9611, 790.9612, 790.9613 specifications

The Kenmore 790 series, specifically the models 790.9613, 790.9612, 790.9611, 790.9433, and 790.9434, represents a fine selection of well-engineered gas ranges designed to enhance kitchen cooking experiences. Each model brings a suite of features and technologies that cater to both amateur cooks and seasoned chefs.

One of the standout characteristics of these models is their powerful cooking capabilities, with each range featuring multiple burners that offer varying BTU outputs. This allows for precise temperature control, making it easy to boil, simmer, or sauté with confidence. The introduction of a high-BTU burner facilitates rapid heating while the lower BTU burners provide gentle heat for delicate tasks like melting chocolate or simmering sauces.

The Kenmore 790 series is equipped with an oven that features true convection cooking, which significantly optimizes heat distribution for uniform baking. This technology circulates hot air throughout the oven, eliminating cold spots and ensuring evenly baked goods, whether it's a batch of cookies or a roast. Users can also look forward to the self-cleaning feature, which simplifies oven maintenance, using high temperatures to burn off food residues and spills.

All models in this series boast a sleek and modern design, highlighting stainless steel finishes that not only provide aesthetic appeal but are also durable and easy to clean. The spacious interior allows for larger dishes and multiple rack configurations, enhancing cooking versatility.

The intuitive digital control panel is another noteworthy feature of the Kenmore 790 series. It provides simple navigation for setting timers, adjusting temperatures, and selecting cooking modes. Additionally, some models come with a smart oven integration that allows remote monitoring and control via a smartphone app, making it convenient for users to manage their cooking from anywhere.

Safety is a priority with these ranges, which feature integrated ignition systems, ensuring a reliable startup for burners and ovens. Some models also include features like a safety lock for the oven door, offering peace of mind to users.

In summary, the Kenmore 790.9613, 790.9612, 790.9611, 790.9433, and 790.9434 embody a blend of innovation, functionality, and safety. Their robust cooking performance, ease of use, and modern design make these gas ranges an excellent choice for anyone looking to enhance their culinary capabilities in the kitchen.