
TH78E, TH-78A specifications
The Kenwood TH-78A and TH-78E are dual-band handheld transceivers that have earned a reputation for their advanced features and reliable performance in the amateur radio community. These transceivers are designed to operate on both the VHF and UHF bands, making them versatile tools for communication across different frequencies.One of the standout features of the TH-78A and TH-78E is their dual receive capability, which allows operators to monitor two frequencies simultaneously. This is particularly useful for those who need to keep track of multiple communication channels, providing flexibility during operations. The transceivers also support a wide frequency range, ensuring compatibility with a diverse array of communication channels.
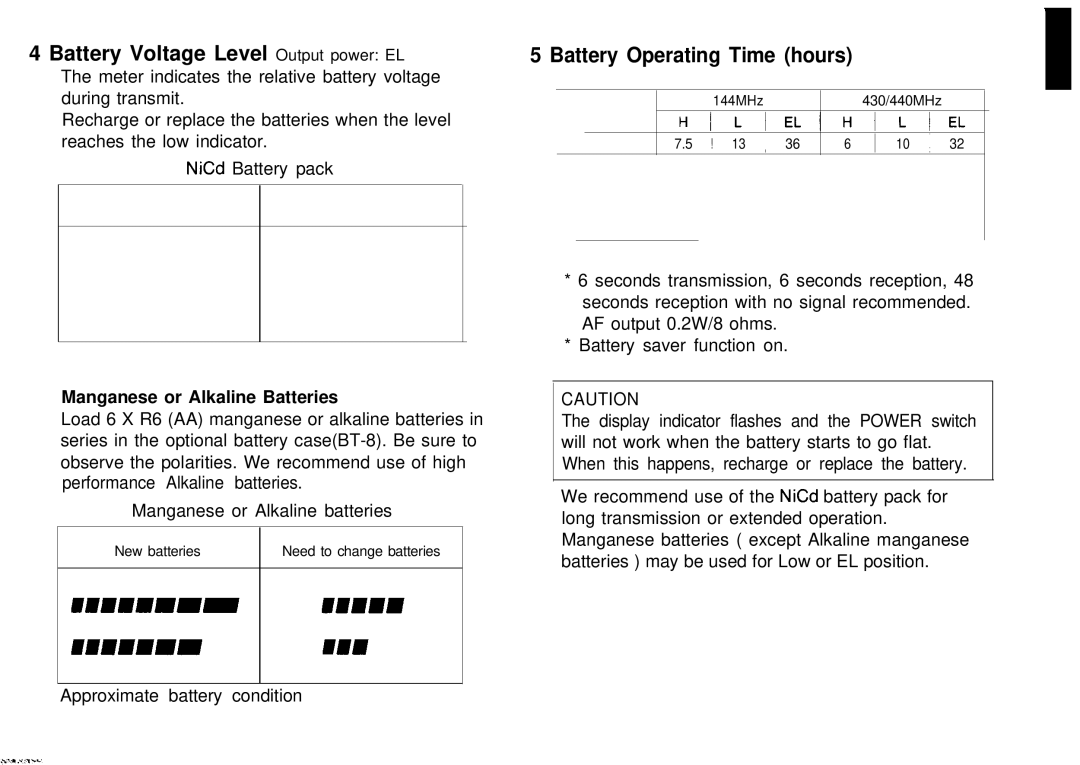
Both models are equipped with a large, easy-to-read display that enhances readability even in low-light conditions. The display provides essential information, such as frequency, channel, and battery status, ensuring operators can quickly access important data while on the move. An adjustable backlight further aids visibility in dark environments, making these radios a reliable choice for night operations.
The Kenwood TH-78A and TH-78E are known for their robust audio performance. They utilize advanced audio processing technology that enhances sound clarity, allowing for clear communication even in noisy environments. Additionally, the transceivers support a variety of digital modes, including CTCSS and DCS, which enable users to communicate securely by encoding their transmissions.
With a built-in 1000 memory channels, users can store and easily access their favorite frequencies. This extensive memory capability simplifies the task of switching between channels, making it easier for amateur radio enthusiasts to program and manage their communications. Furthermore, the radios feature programmable function keys that allow users to customize frequently used settings for quick access.
The TH-78A and TH-78E also come with a built-in GPS receiver, which is particularly beneficial for outdoor activities and emergency communications. The GPS functionality allows users to transmit their location coordinates, making it easier for others to locate them in case of emergencies.
In conclusion, the Kenwood TH-78A and TH-78E are powerful and versatile handheld transceivers that cater to amateur radio enthusiasts and professionals alike. Their dual-band operation, dual receive capabilities, comprehensive memory options, and advanced audio performance make these radios suitable for various communication needs. Whether for casual use or emergency situations, the TH-78 series remains a reliable choice for effective and efficient communication.