Once the group you want to adjust is selected you will be able to choose from the following items (depending on LINK setting).
»GAIN »EQ »LO-PASS »HI-PASS »PHASE »MUTE »LIMITER
»GAIN RANGE »NOISE GEN
| ADJUSTMENT | Use the and keys to scroll through the selections above and press the key to |
| select. |
| |
| | GAIN MENU - Here is where you adjust the selected group’s gain controls. All amplifiers in the |
| | group will be adjusted up or down when you adjust the gain control. If each amplifier has different gain |
| GROUP | settings, the WXRC will display the gain level of the highest amplifier in the group . It also monitors and |
| maintains any differences between channels or individual amplifiers that you may have set separately.If |
| |
| | you can not adjust a group up or down, then it means the channel differences are being maintained and |
| | there is no where to go. You will need to adjust each amplifier individually or set each amplifier’s gain to |
| | a similar setting. |
| | Here is an example: |
| | Group-01 has two amplifiers in it, amp 1 has both channels gain set at12.0 while amp 2 is at 0.0. |
| | When you select this group to adjust the gain you will see12.0 in the display, the highest gain setting |
| | of the group. |
| | When you try to increase or decrease the gain setting of this group, nothing will happen. Since the gain |
| | range is 12 dB (0.0 dB to 12.0 dB) there is no way to increase or decrease the gain and maintain 12 dB |
| | of difference between the amplifiers. The WXRC is maintaining the differences you set between the |
| | amplifiers. |
| | EQ MENU - Here is where you adjust the selected group’s EQ controls. All amplifiers in the group |
| | will be adjusted. |
| | Use the and keys to scroll through frequency, boost and bandwidth and then |
| | press the key to select. |
| | FREQUENCY selects the center frequency of the equalizer and can be set at any 1/12th octave spaced |
| | frequency from 20 Hz - 200Hz. (20 Hz to 200 Hz) |
| | Use the and keys to select your frequency. Press the key to save your setting |
| | and return to the frequency, boost, and bandwidth options menu. You can now select another |
| | equalizer option to adjust on this group if desired. |
| | bandwidth (better known as Q) can be set from .5 to 10 in .5 increments. In simple terms, lower Q |
| | effects more frequencies around the center frequency while higher Q effects fewer frequencies around |
| | the center frequency. |
Use the and keys to select your bandwidth (Q) value and press the to save your setting and return to the frequency, boost, bandwidth options menu. You can now select another equalizer option to
adjust in this group if desired.
18WXRCREMOTECONTROL
Boost is where you boost or cut the equalizer and has a range of 0 dB to +18 db in .5 dB steps. Keep in mind that for every 3 dB of boost you are requiring the amplifier to use twice as much power in that equalized area. The default setting from KICKER is FLAT (No boost or cut).
Use the and keys to adjust your boost or cut and press the key to save your setting and return to the frequency,boost, bandwidth options menu. You can now select another equalizer option to
adjust in this group if desired.
When you are done adjusting the equalizer in this group press the key while in the frequency, boost, bandwidth options menu to return to the
GROUP ADJ menu and choose another function to adjust.
NOTE: While you are in the EQ menu the EQ indicator on the ISIS display is lit. This indicates you are making adjustments in the EQ menu.
lo-passMENU - Here is where you adjust the selected group’s low pass crossover controls. All amplifiers in the group will be adjusted.
Use the and keys to scroll through frequency and slope and then press the key to select.
FREQUENCY selects the crossover point and can be set at 20 Hz to 200 Hz in 1 Hz steps.
Use the and keys to select your frequency. Press the
key to save your setting and return to the frequency and slope options menu. 

 You can now select another low pass crossover option to adjust in this group if


desired.
SLOPE selects the roll-off of the crossover and can be set from 6 to 48 dB/OCT in 6 dB steps.
| Use the and keys to select your low pass crossover slope. Press | GROUP |
| the key to save your setting and return to the frequency and slope | |
| options menu. You can now select another low pass crossover option to adjust in | ADJUSTMENT |
| this group if desired. |
| |
When you are done adjusting the low pass crossover in this group press the key while in the frequency and slope options menu to return to the GROUP
ADJ menu and choose another function to adjust.
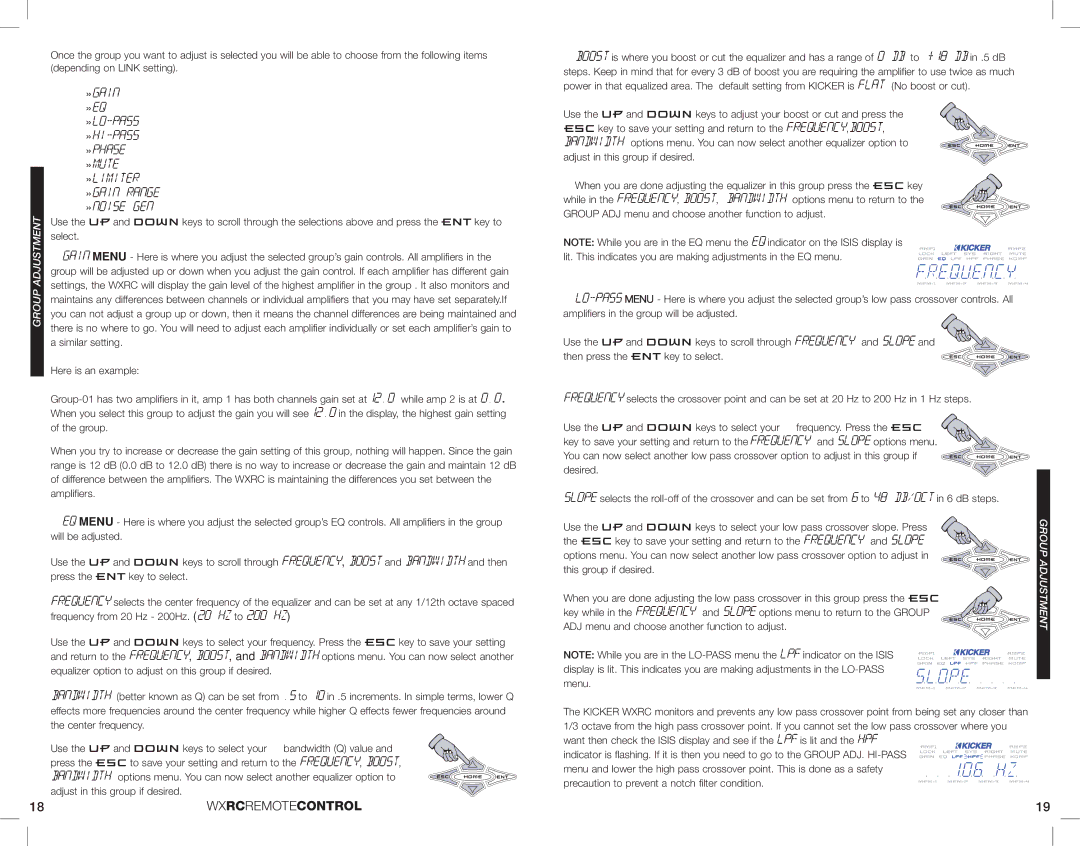
NOTE: While you are in the LO-PASS menu the LPF indicator on the ISIS display is lit. This indicates you are making adjustments in the LO-PASS menu.
The KICKER WXRC monitors and prevents any low pass crossover point from being set any closer than 1/3 octave from the high pass crossover point. If you cannot set the low pass crossover where you want then check the ISIS display and see if the LPF is lit and the HPF
indicator is flashing. If it is then you need to go to the GROUP ADJ. HI-PASS menu and lower the high pass crossover point. This is done as a safety precaution to prevent a notch filter condition.
19