Connecting the Drain


Remove Door

After ensuring that the drain system is adequate, follow these steps to properly place the ice maker:

WARNING

Electrical Shock Hazard

Plug into a grounded 3 prong outlet.

Do not remove ground prong.

Do not use an adapter.

Do not use an extension cord.

Failure to follow these instructions can result in death, fire, or electrical shock.

1.Plug ice maker into a grounded 3 prong outlet.

WARNING

Excessive Weight Hazard

Use two or more people to move and install ice maker. Failure to do so can result in back or other injury.

2.Style 1 - For gravity drain system, push the ice maker into position so that the ice maker drain tube is positioned over the PVC drain reducer. See “Gravity Drain System” earlier in this section. Style 2 - For drain pump system connect the drain pump outlet hose to the drain. See “Drain Pump System” earlier in this section.

3.Recheck the ice maker to be sure that it is level. See “Leveling.”

4.If it is required by your local sanitation code, seal the cabinet to the floor with an approved caulking compound after all water and electrical connections have been made.

Ice Maker Doors

TOOLS NEEDED:

Gather the required tools and parts before starting installation.

⁵⁄₁₆" wrench

Flat putty knife

¹⁄₄" wrench

Phillips screwdriver

1.Unplug ice maker or disconnect power.

2.Remove the handle screws and handle (on some models). Keep the parts together and set them aside.

3.Remove the hinge pin from the top hinge.

4.Remove the door from the hinges and screw the top hinge pin back into the top hinge.

5.Reverse the door end caps as follows:

Remove both the screws and end caps (top and bottom).

Move the top end cap diagonally to the opposite side's bottom corner, keeping the straight side of the end cap facing the front of the ice maker.

Move the bottom end cap diagonally to the opposite side's top corner, keeping the straight side of the end cap facing the front of the ice maker.

6.Set the door aside.

Reverse Hinges

1.Unscrew and remove the top hinge. Replace the screws in the empty hinge holes.

2.Remove the screws from the bottom of the opposite side of the ice maker cabinet. Turn the top hinge upside down so that the hinge pin points up. Place the hinge on the bottom opposite side of the ice maker and tighten screws.

3.Remove the plastic hinge pin sleeve from the “old” bottom hinge and replace it on the new bottom hinge pin.

4.Remove the “old” bottom hinge screws and hinge. Replace the screws in the empty hinge holes.

5.Remove the screws from the top of the opposite side of the ice maker cabinet. Turn the hinge upside down so that the hinge pin points down. Place the hinge on the top opposite side of the ice maker and tighten the screws.

6.Remove the top hinge pin.

Replace Door

1.Place plastic hinge pin sleeve in the top hinge hole on the door. Align the door with the top hinge hole and replace the top hinge pin.

2.Replace the handle and handle screws.

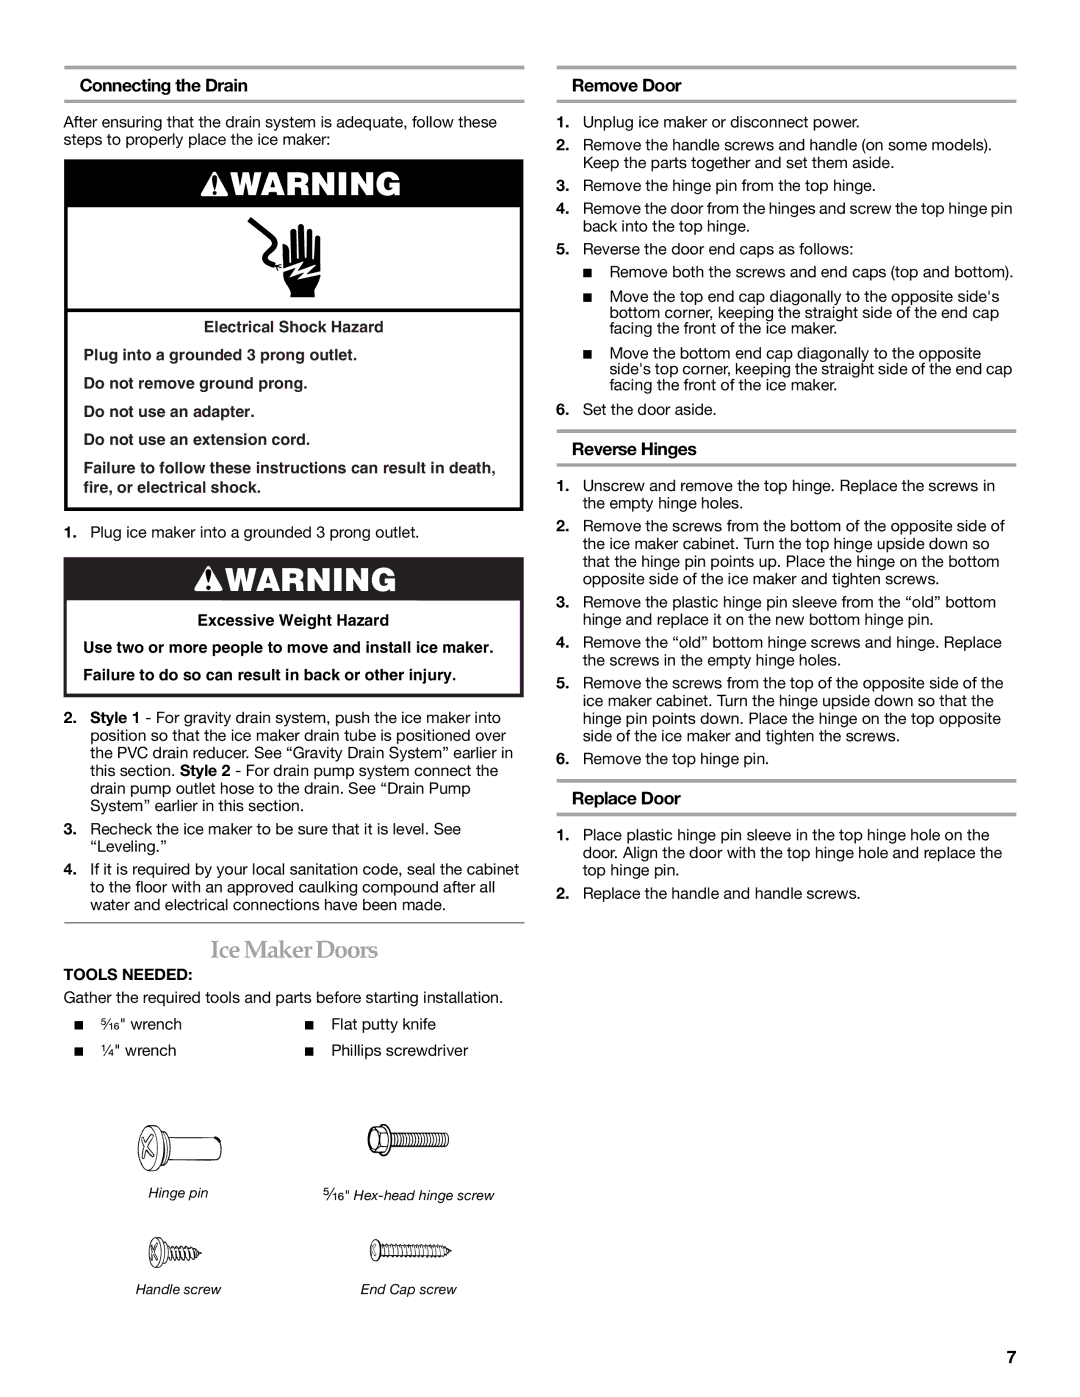
Hinge pin

⁵⁄₁₆" Hex-head hinge screw

Handle screw

End Cap screw

7

Page 7
Image 7
KitchenAid 2313787 manual Ice Maker Doors, Connecting the Drain Remove Door, Reverse Hinges, Replace Door, Tools Needed

2313787 specifications

The KitchenAid 2313787 model stands out as a versatile and efficient food processor designed for both amateur home cooks and seasoned chefs alike. This appliance is part of KitchenAid's long-standing legacy of quality kitchen equipment, bringing innovation and functionality to the forefront.

One of the key features of the KitchenAid 2313787 is its powerful motor, which allows for smooth and efficient processing of various ingredients. With a robust capacity, it can easily handle tough items such as nuts, hard cheeses, and even dense fruits and vegetables. The motor’s ability to maintain speed under load ensures a consistently high performance, making meal prep quicker and easier.

The 2313787 offers multiple blade options and accessories that enhance its versatility. It typically comes with a standard multipurpose blade for chopping and mixing, as well as specialty blades like a slicing disc for evenly sliced vegetables and a shredding disc for finely shredded cheese. These attachments expand the appliance's function, allowing users to tackle a wide range of culinary tasks, from preparing salads to making sauces.

Another notable aspect of the KitchenAid 2313787 is its user-friendly design. The large feed tube provides the convenience of adding whole ingredients with minimal prep work, minimizing the need for extensive chopping before processing. Additionally, the appliance usually features intuitive controls that make operations straightforward—simply select the desired speed and let the processor handle the rest.

Safety is also a priority with this model. It often includes a secure locking mechanism that ensures the lid stays in place while in use, preventing any accidental spills or splashes. The non-slip base helps stabilize the processor during operation, ensuring safety and ease of use even when tackling heavy mixtures.

The aesthetic appeal of the KitchenAid 2313787 cannot be overlooked either. With its sleek design and various color options, it can complement any kitchen decor while also being a functional addition to your countertop.

In summary, the KitchenAid 2313787 food processor brings a combination of power, versatility, user-friendliness, and stylish design, making it an essential tool for anyone looking to elevate their cooking experience. Whether you're making a quick salad or preparing ingredients for a complex dish, this kitchen appliance is built to deliver outstanding results with ease.