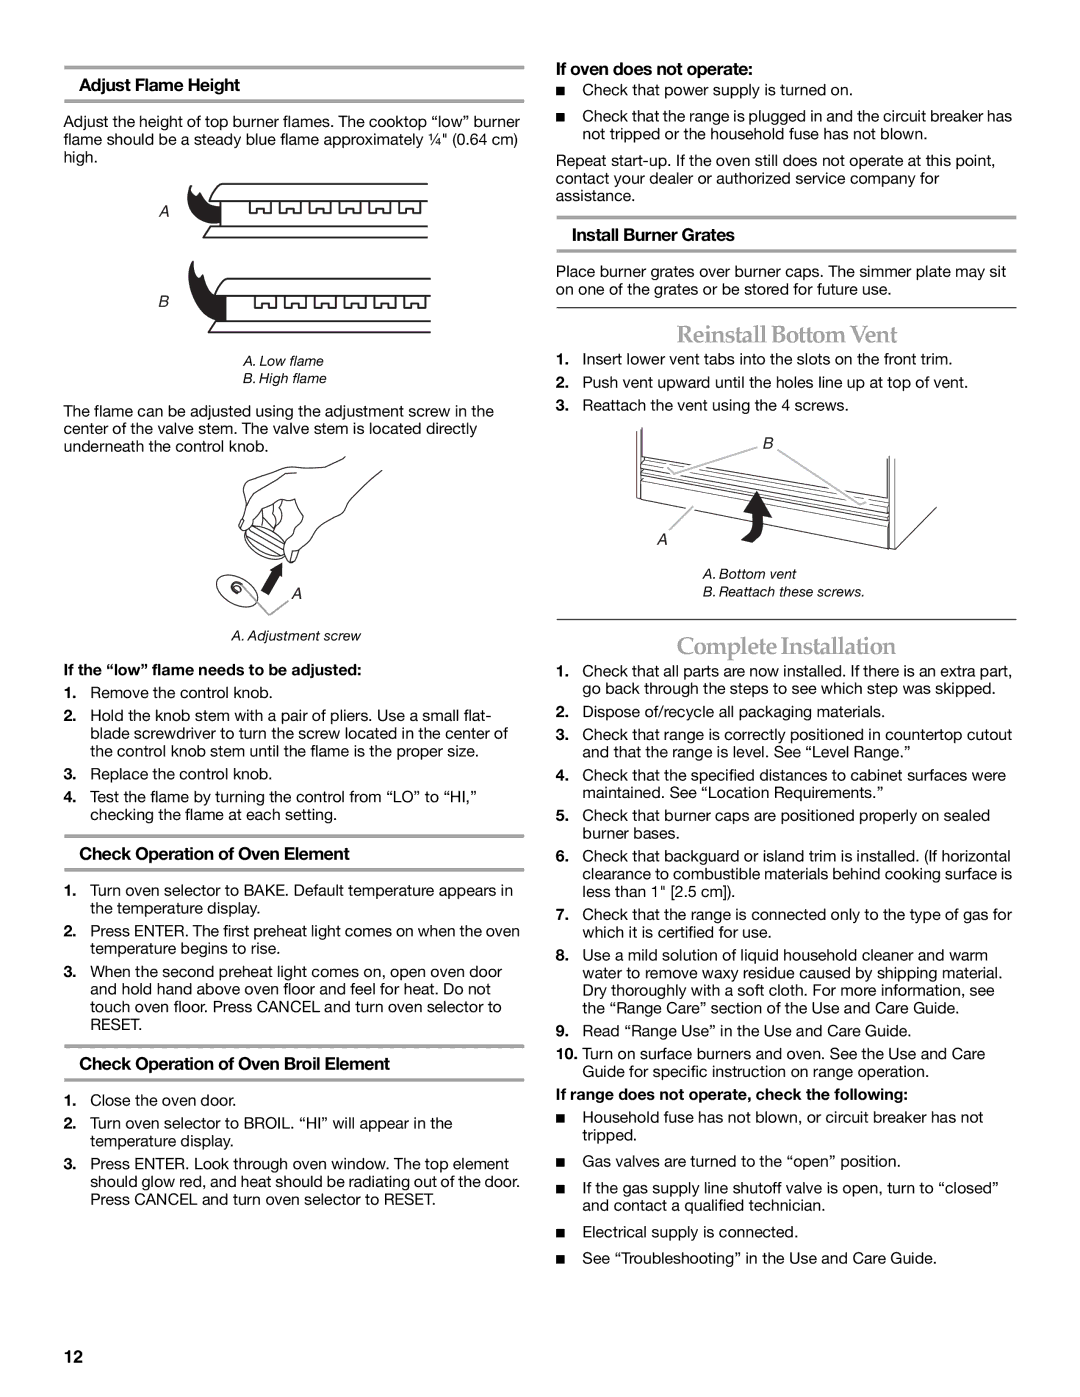
Adjust Flame Height
Adjust the height of top burner flames. The cooktop “low” burner flame should be a steady blue flame approximately ¼" (0.64 cm) high.
A
If oven does not operate:
■Check that power supply is turned on.
■Check that the range is plugged in and the circuit breaker has not tripped or the household fuse has not blown.
Repeat
Install Burner Grates
B![]()
A.Low flame
B.High flame
The flame can be adjusted using the adjustment screw in the center of the valve stem. The valve stem is located directly underneath the control knob.
![]()
![]() A
A
A. Adjustment screw
If the “low” flame needs to be adjusted:
1.Remove the control knob.
2.Hold the knob stem with a pair of pliers. Use a small flat- blade screwdriver to turn the screw located in the center of the control knob stem until the flame is the proper size.
3.Replace the control knob.
4.Test the flame by turning the control from “LO” to “HI,” checking the flame at each setting.
Check Operation of Oven Element
1.Turn oven selector to BAKE. Default temperature appears in the temperature display.
2.Press ENTER. The first preheat light comes on when the oven temperature begins to rise.
3.When the second preheat light comes on, open oven door and hold hand above oven floor and feel for heat. Do not touch oven floor. Press CANCEL and turn oven selector to
RESET.
Check Operation of Oven Broil Element
1.Close the oven door.
2.Turn oven selector to BROIL. “HI” will appear in the temperature display.
3.Press ENTER. Look through oven window. The top element should glow red, and heat should be radiating out of the door. Press CANCEL and turn oven selector to RESET.
Place burner grates over burner caps. The simmer plate may sit on one of the grates or be stored for future use.
Reinstall Bottom Vent
1.Insert lower vent tabs into the slots on the front trim.
2.Push vent upward until the holes line up at top of vent.
3.Reattach the vent using the 4 screws.
B
A![]()
A.Bottom vent
B.Reattach these screws.
Complete Installation
1.Check that all parts are now installed. If there is an extra part, go back through the steps to see which step was skipped.
2.Dispose of/recycle all packaging materials.
3.Check that range is correctly positioned in countertop cutout and that the range is level. See “Level Range.”
4.Check that the specified distances to cabinet surfaces were maintained. See “Location Requirements.”
5.Check that burner caps are positioned properly on sealed burner bases.
6.Check that backguard or island trim is installed. (If horizontal clearance to combustible materials behind cooking surface is less than 1" [2.5 cm]).
7.Check that the range is connected only to the type of gas for which it is certified for use.
8.Use a mild solution of liquid household cleaner and warm water to remove waxy residue caused by shipping material. Dry thoroughly with a soft cloth. For more information, see the “Range Care” section of the Use and Care Guide.
9.Read “Range Use” in the Use and Care Guide.
10.Turn on surface burners and oven. See the Use and Care Guide for specific instruction on range operation.
If range does not operate, check the following:
■Household fuse has not blown, or circuit breaker has not tripped.
■Gas valves are turned to the “open” position.
■If the gas supply line shutoff valve is open, turn to “closed” and contact a qualified technician.
■Electrical supply is connected.
■See “Troubleshooting” in the Use and Care Guide.
12
