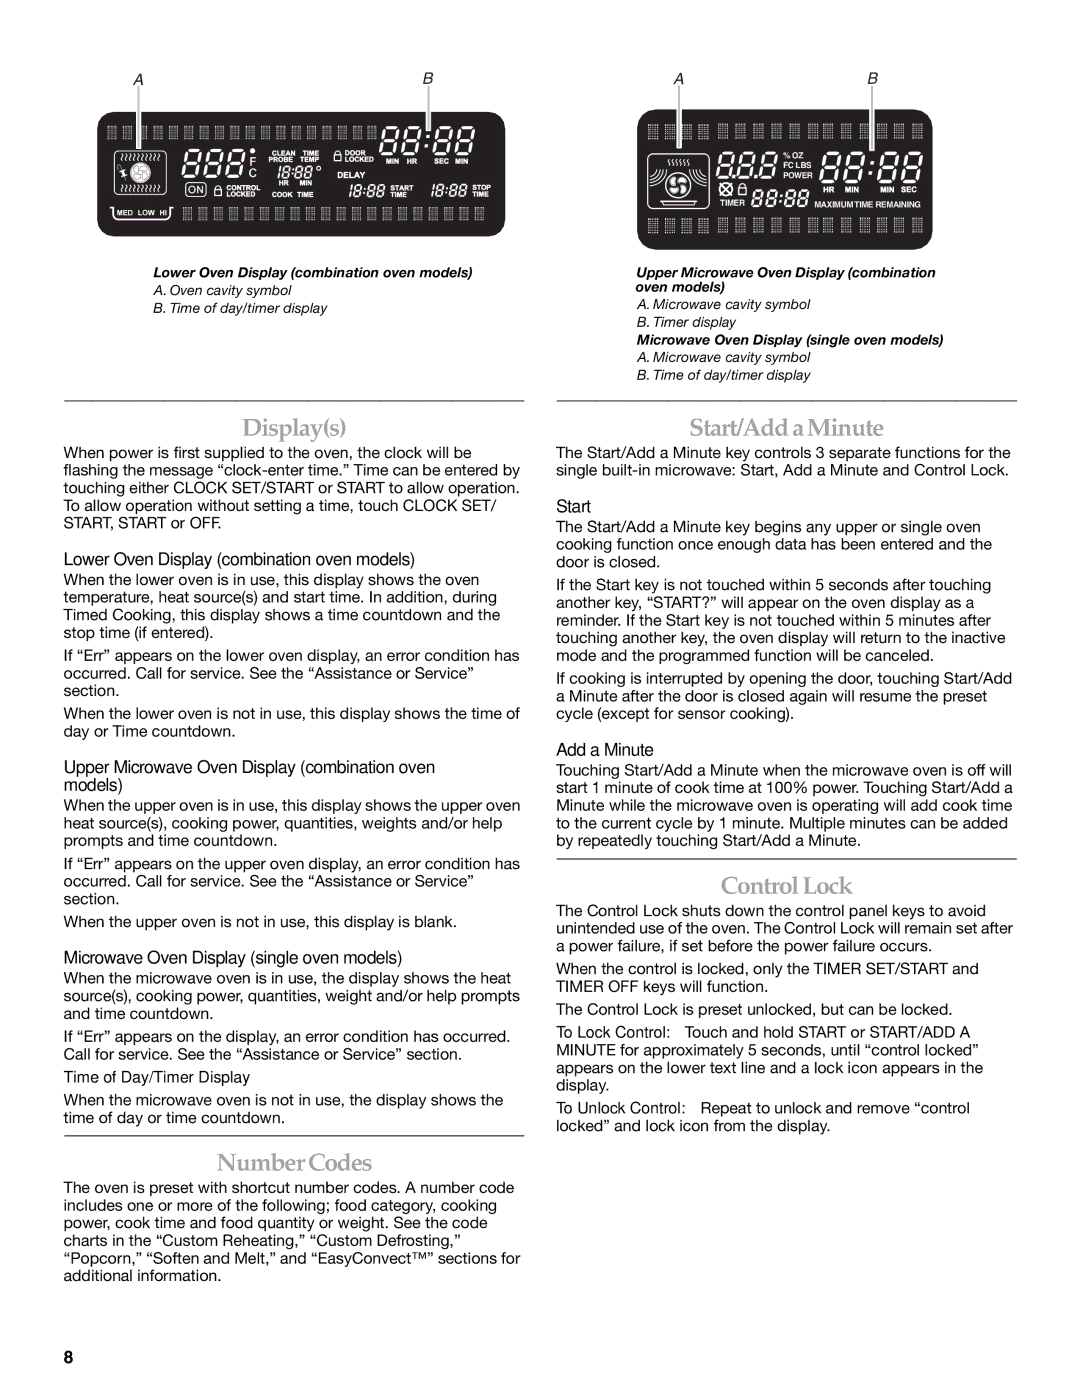
AB
Lower Oven Display (combination oven models)
A. Oven cavity symbol
B. Time of day/timer display
AB
% OZ
FC LBS POWER
| TIMER |
|
|
|
|
|
|
|
|
|
|
|
|
|
|
| MAXIMUM TIME REMAINING | |||||||||||||||||||||||||||
|
|
|
|
|
|
|
|
|
|
|
|
|
|
|
|
|
|
|
|
|
|
|
|
|
|
|
|
|
|
|
|
|
|
|
|
|
|
|
|
|
|
|
|
|
Upper Microwave Oven Display (combination oven models)
A. Microwave cavity symbol
B. Timer display
Microwave Oven Display (single oven models)
A. Microwave cavity symbol
B. Time of day/timer display
Display(s)
When power is first supplied to the oven, the clock will be flashing the message
Lower Oven Display (combination oven models)
When the lower oven is in use, this display shows the oven temperature, heat source(s) and start time. In addition, during Timed Cooking, this display shows a time countdown and the stop time (if entered).
If “Err” appears on the lower oven display, an error condition has occurred. Call for service. See the “Assistance or Service” section.
When the lower oven is not in use, this display shows the time of day or Time countdown.
Upper Microwave Oven Display (combination oven models)
When the upper oven is in use, this display shows the upper oven heat source(s), cooking power, quantities, weights and/or help prompts and time countdown.
If “Err” appears on the upper oven display, an error condition has occurred. Call for service. See the “Assistance or Service” section.
When the upper oven is not in use, this display is blank.
Microwave Oven Display (single oven models)
When the microwave oven is in use, the display shows the heat source(s), cooking power, quantities, weight and/or help prompts and time countdown.
If “Err” appears on the display, an error condition has occurred. Call for service. See the “Assistance or Service” section.
Time of Day/Timer Display
When the microwave oven is not in use, the display shows the time of day or time countdown.
Number Codes
The oven is preset with shortcut number codes. A number code includes one or more of the following; food category, cooking power, cook time and food quantity or weight. See the code charts in the “Custom Reheating,” “Custom Defrosting,” “Popcorn,” “Soften and Melt,” and “EasyConvect™” sections for additional information.
Start/Add a Minute
The Start/Add a Minute key controls 3 separate functions for the single
Start
The Start/Add a Minute key begins any upper or single oven cooking function once enough data has been entered and the door is closed.
If the Start key is not touched within 5 seconds after touching another key, “START?” will appear on the oven display as a reminder. If the Start key is not touched within 5 minutes after touching another key, the oven display will return to the inactive mode and the programmed function will be canceled.
If cooking is interrupted by opening the door, touching Start/Add a Minute after the door is closed again will resume the preset cycle (except for sensor cooking).
Add a Minute
Touching Start/Add a Minute when the microwave oven is off will start 1 minute of cook time at 100% power. Touching Start/Add a Minute while the microwave oven is operating will add cook time to the current cycle by 1 minute. Multiple minutes can be added by repeatedly touching Start/Add a Minute.
ControlLock
The Control Lock shuts down the control panel keys to avoid unintended use of the oven. The Control Lock will remain set after a power failure, if set before the power failure occurs.
When the control is locked, only the TIMER SET/START and TIMER OFF keys will function.
The Control Lock is preset unlocked, but can be locked.
To Lock Control: Touch and hold START or START/ADD A MINUTE for approximately 5 seconds, until “control locked” appears on the lower text line and a lock icon appears in the display.
To Unlock Control: Repeat to unlock and remove “control locked” and lock icon from the display.
8
