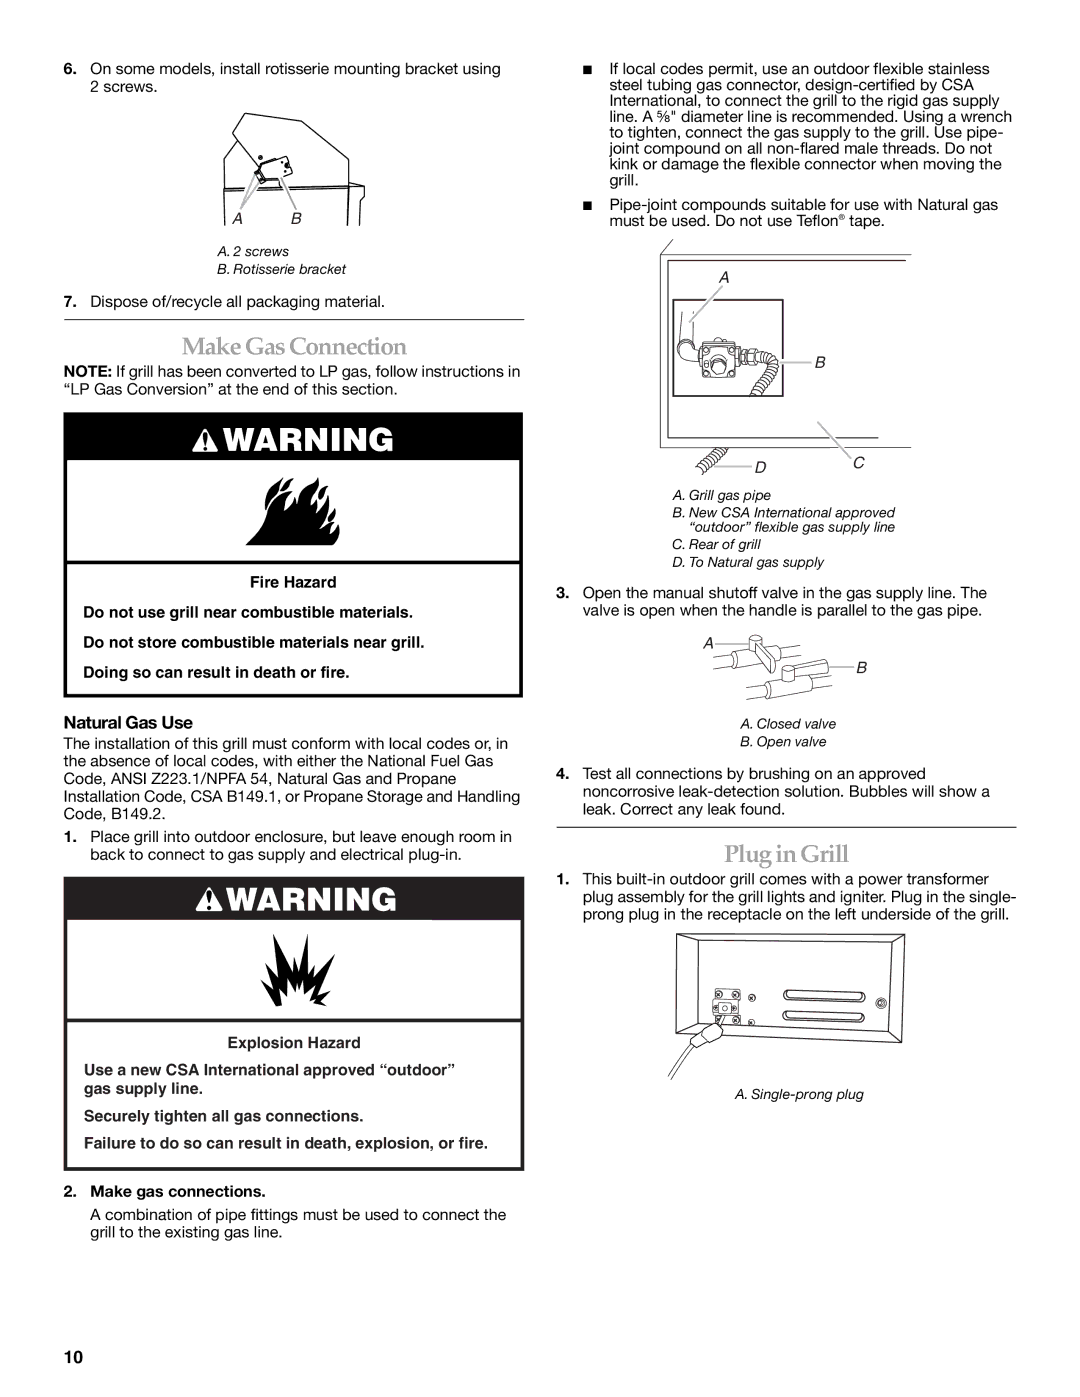
6.On some models, install rotisserie mounting bracket using 2 screws.
AB
A.2 screws
B.Rotisserie bracket
7.Dispose of/recycle all packaging material.
Make Gas Connection
NOTE: If grill has been converted to LP gas, follow instructions in “LP Gas Conversion” at the end of this section.
![]() WARNING
WARNING
Fire Hazard
Do not use grill near combustible materials.
Do not store combustible materials near grill.
Doing so can result in death or fire.
Natural Gas Use
The installation of this grill must conform with local codes or, in the absence of local codes, with either the National Fuel Gas Code, ANSI Z223.1/NPFA 54, Natural Gas and Propane Installation Code, CSA B149.1, or Propane Storage and Handling Code, B149.2.
1.Place grill into outdoor enclosure, but leave enough room in back to connect to gas supply and electrical
![]() WARNING
WARNING
Explosion Hazard
Use a new CSA International approved “outdoor” gas supply line.
Securely tighten all gas connections.
Failure to do so can result in death, explosion, or fire.
2.Make gas connections.
A combination of pipe fittings must be used to connect the grill to the existing gas line.
■If local codes permit, use an outdoor flexible stainless steel tubing gas connector,
■
A |
|
| B |
D | C |
|
A. Grill gas pipe
B. New CSA International approved “outdoor” flexible gas supply line
C. Rear of grill
D. To Natural gas supply
3.Open the manual shutoff valve in the gas supply line. The valve is open when the handle is parallel to the gas pipe.
A
B
A. Closed valve
B. Open valve
4.Test all connections by brushing on an approved noncorrosive
Plug in Grill
1.This
A.
10