7.Press the CLEAN button. See “Using the Controls.” The light will blink, indicating that the cleaning cycle is in process. When the indicator light turns green (approximately

70 minutes), the cleaning cycle is complete. During the cleaning cycle, the system will both clean and rinse itself.

8.After the cleaning cycle is complete, remove the drain cap from the water pan. Look for any cleaning solution left in the water pan. If cleaning solution drains from the water pan, you should run the clean cycle again. Be sure to replace the drain cap securely on the water pan. If the drain cap is loose, water will empty from the water pan and you will have either thin ice or no ice.

NOTE: Severe scale buildup may require repeated cleaning with a fresh quantity of cleaning solution.

9.Push the selector switch to ON to resume ice production.

Condenser

A dirty or clogged condenser:

Obstructs proper airflow.

Reduces ice making capacity.

Causes higher than recommended operating temperatures which may lead to component failure.

WARNING

Electrical Shock Hazard

Disconnect power before cleaning.

Replace all parts and panels before operating.

Failure to do so can result in death or electrical shock.

1.Unplug ice maker or disconnect power.

2.Remove the two screws in the lower access panel and the two screws from the base grille area of the front panel support.

3.Pull the bottom forward and then pull down to remove the lower access panel.

A

A

B

B

A. Lower access panel screws

B. Base grille screws

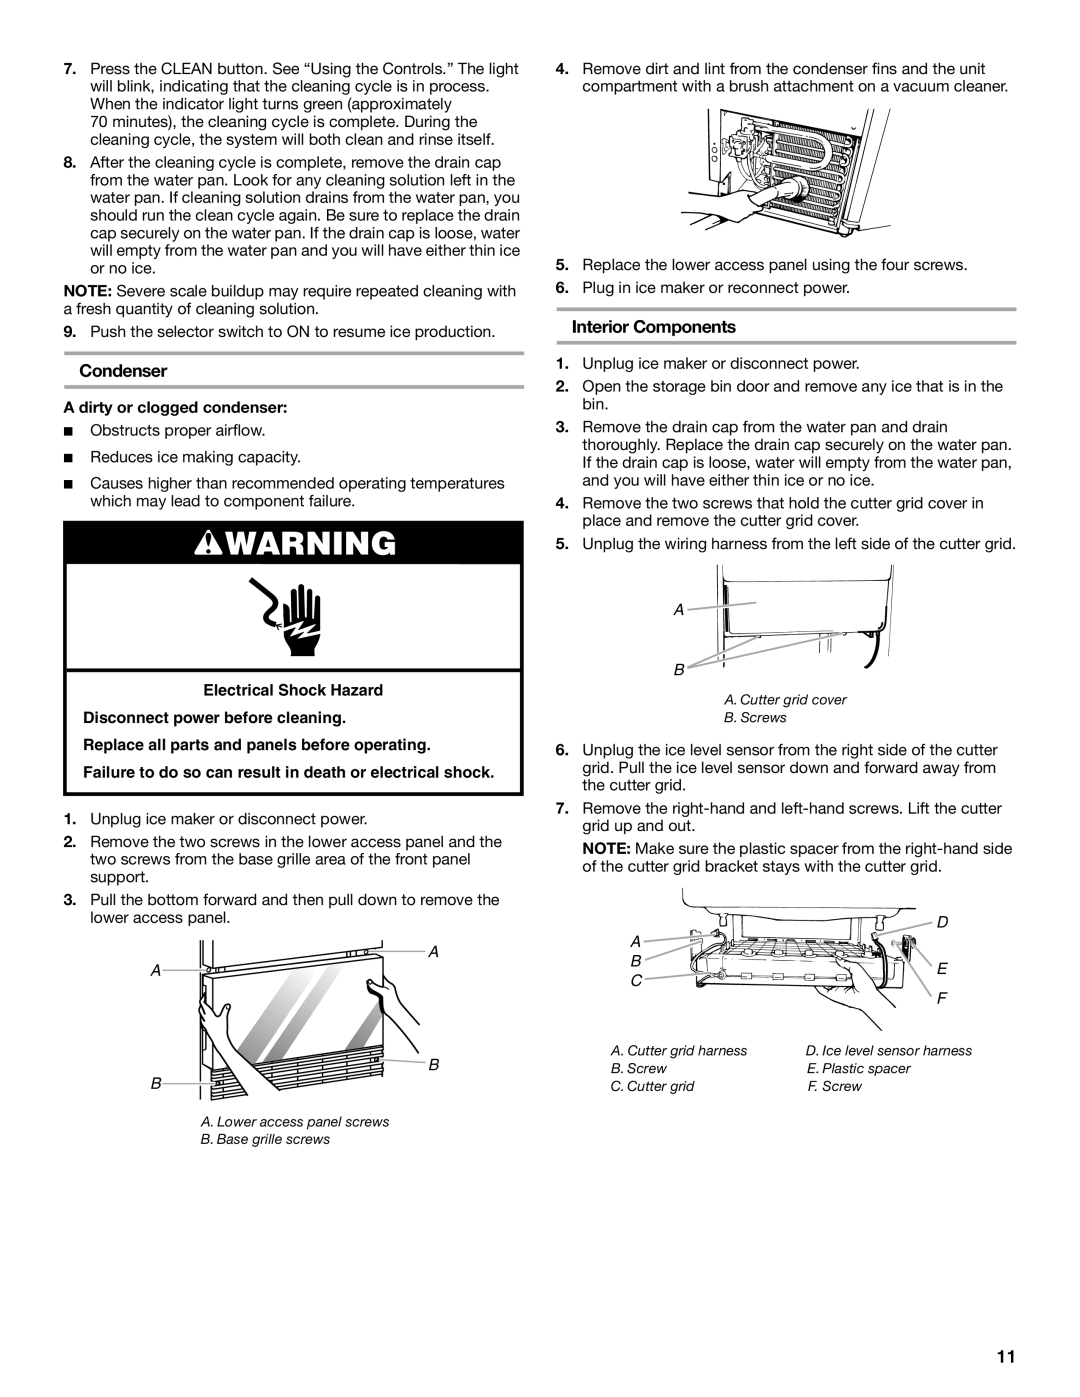
4.Remove dirt and lint from the condenser fins and the unit compartment with a brush attachment on a vacuum cleaner.

5.Replace the lower access panel using the four screws.

6.Plug in ice maker or reconnect power.

Interior Components

1.Unplug ice maker or disconnect power.

2.Open the storage bin door and remove any ice that is in the bin.

3.Remove the drain cap from the water pan and drain thoroughly. Replace the drain cap securely on the water pan. If the drain cap is loose, water will empty from the water pan, and you will have either thin ice or no ice.

4.Remove the two screws that hold the cutter grid cover in place and remove the cutter grid cover.

5.Unplug the wiring harness from the left side of the cutter grid.

A

B

A. Cutter grid cover

B.Screws

6.Unplug the ice level sensor from the right side of the cutter grid. Pull the ice level sensor down and forward away from the cutter grid.

7.Remove the right-hand and left-hand screws. Lift the cutter grid up and out.

NOTE: Make sure the plastic spacer from the right-hand side of the cutter grid bracket stays with the cutter grid.

D

A


B

E

C

F


A. Cutter grid harness

D. Ice level sensor harness

B. Screw

E. Plastic spacer

C. Cutter grid

F. Screw

11

Page 11
Image 11
KitchenAid W10136912C manual Condenser, Interior Components, Dirty or clogged condenser

W10136912C specifications

The KitchenAid W10136912C is a high-performance kitchen appliance designed to enhance food preparation and cooking efficiency. This versatile product stands out with its combination of innovative technologies and user-friendly features, making it an essential tool for both home cooks and culinary enthusiasts.

One of the main features of the W10136912C is its powerful motor, which ensures consistent performance during various tasks, from mixing to whipping and kneading. The appliance is equipped with multiple speed settings, allowing users to tailor the mixing speed to their specific needs. This versatility is particularly beneficial for recipes that require precise mixing, whether it's a delicate cake batter or a thick dough.

The design of the KitchenAid W10136912C is both functional and stylish. The robust construction guarantees durability, while the sleek finish adds a modern touch to any kitchen decor. The appliance also features a large capacity bowl, accommodating batches of dough or mixtures up to several quarts. This generous size is ideal for those who frequently entertain guests or prepare large meals.

In terms of technology, the W10136912C incorporates a planetary mixing action, which ensures that all ingredients are thoroughly mixed. This feature allows the beater to reach every corner of the bowl, resulting in a uniform mixture without the need for manual scraping. Additionally, the inclusion of various attachments – such as a dough hook, flat beater, and wire whip – provides users with the flexibility to tackle a wide range of recipes.

The ease of cleaning is another significant aspect of the KitchenAid W10136912C. Most attachments are dishwasher-safe, making post-cooking cleanup a breeze. The smooth surfaces of the appliance also allow for quick wipe-downs, ensuring that maintenance is minimal.

Safety features are also integrated into the design, including a locking mechanism that secures the mixing bowl in place during operation. This ensures that users can mix with confidence without worrying about spills or accidents.

Overall, the KitchenAid W10136912C is a multifunctional appliance that brings convenience and efficiency to the kitchen. Its combination of powerful performance, thoughtful design, and innovative technology makes it a reliable choice for anyone looking to elevate their cooking experience. Whether you are whipping up a simple recipe or tackling an elaborate culinary project, this appliance is engineered to meet the demands of modern cooking.