Using the Controls

The refrigerator and freezer controls are located on the dispenser panel.

IMPORTANT: The display screen on the dispenser control panel will turn off automatically and enter “sleep” mode when the control buttons and dispenser levers have not been used for

2 minutes or more. While in “sleep” mode, the first press of a control button will only reactivate the display screen, without changing any settings. After reactivation, changes to any settings can then be made. If no changes are made within 2 minutes, the display will re-enter “sleep” mode.

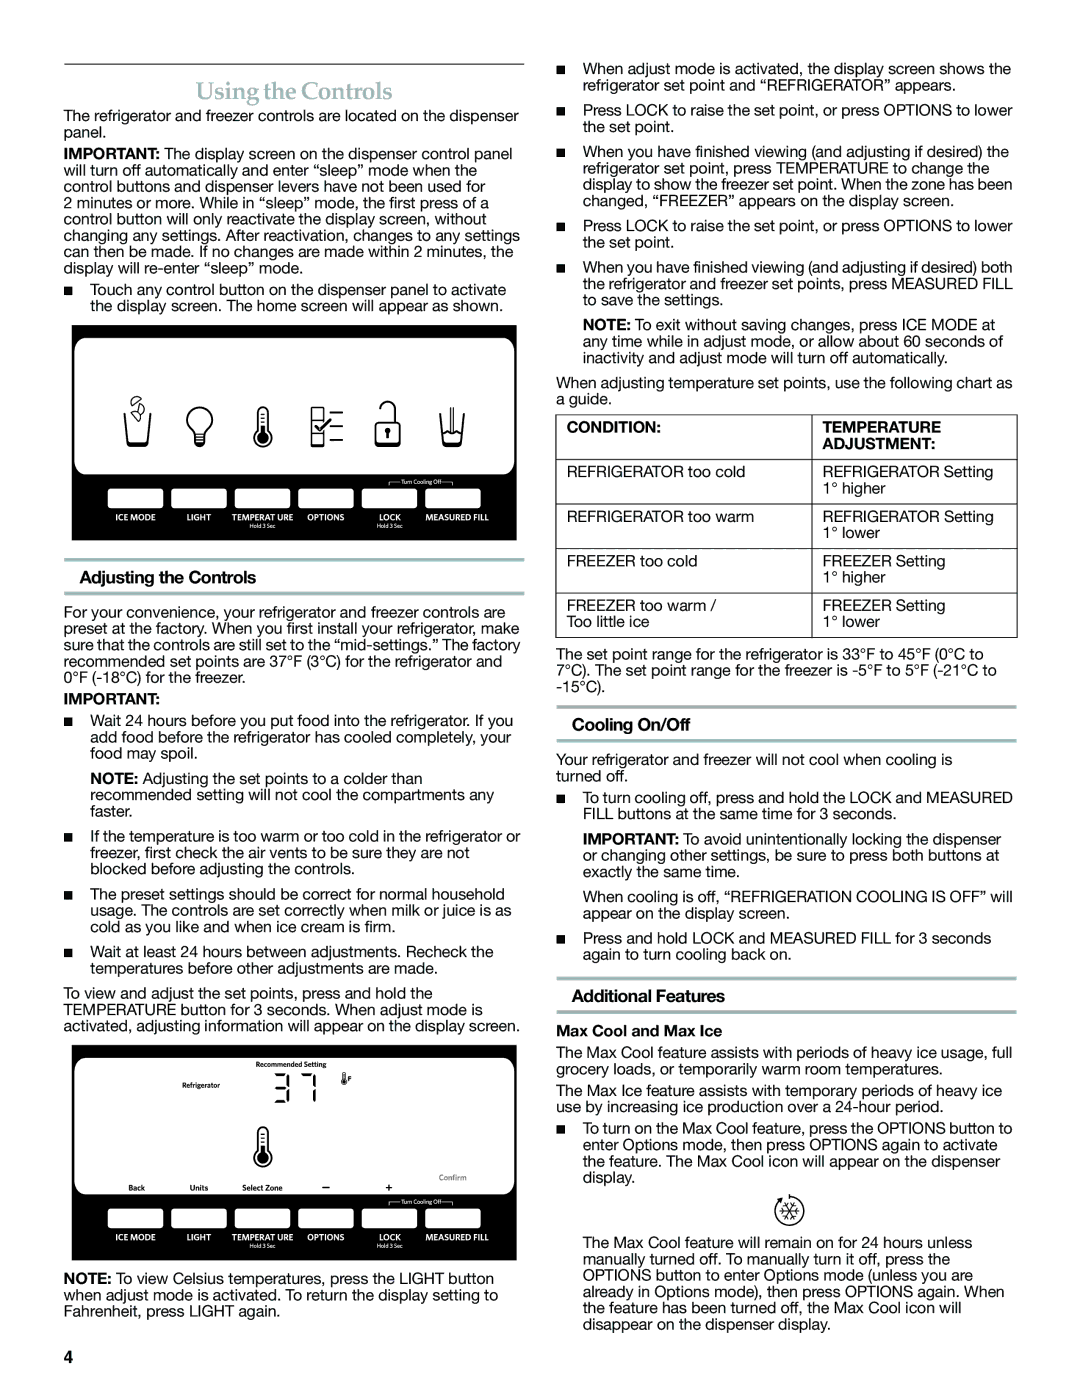
Touch any control button on the dispenser panel to activate the display screen. The home screen will appear as shown.

Adjusting the Controls

For your convenience, your refrigerator and freezer controls are preset at the factory. When you first install your refrigerator, make sure that the controls are still set to the “mid-settings.” The factory recommended set points are 37°F (3°C) for the refrigerator and 0°F (-18°C) for the freezer.

IMPORTANT:

Wait 24 hours before you put food into the refrigerator. If you add food before the refrigerator has cooled completely, your food may spoil.

NOTE: Adjusting the set points to a colder than recommended setting will not cool the compartments any faster.

If the temperature is too warm or too cold in the refrigerator or freezer, first check the air vents to be sure they are not blocked before adjusting the controls.

The preset settings should be correct for normal household usage. The controls are set correctly when milk or juice is as cold as you like and when ice cream is firm.

Wait at least 24 hours between adjustments. Recheck the temperatures before other adjustments are made.

To view and adjust the set points, press and hold the TEMPERATURE button for 3 seconds. When adjust mode is activated, adjusting information will appear on the display screen.

NOTE: To view Celsius temperatures, press the LIGHT button when adjust mode is activated. To return the display setting to Fahrenheit, press LIGHT again.

When adjust mode is activated, the display screen shows the refrigerator set point and “REFRIGERATOR” appears.

Press LOCK to raise the set point, or press OPTIONS to lower the set point.

When you have finished viewing (and adjusting if desired) the refrigerator set point, press TEMPERATURE to change the display to show the freezer set point. When the zone has been changed, “FREEZER” appears on the display screen.

Press LOCK to raise the set point, or press OPTIONS to lower the set point.

When you have finished viewing (and adjusting if desired) both the refrigerator and freezer set points, press MEASURED FILL to save the settings.

NOTE: To exit without saving changes, press ICE MODE at any time while in adjust mode, or allow about 60 seconds of inactivity and adjust mode will turn off automatically.

When adjusting temperature set points, use the following chart as a guide.

CONDITION:

TEMPERATURE


ADJUSTMENT:


REFRIGERATOR too cold

REFRIGERATOR Setting


1° higher


REFRIGERATOR too warm

REFRIGERATOR Setting


1° lower


FREEZER too cold

FREEZER Setting


1° higher


FREEZER too warm /

FREEZER Setting

Too little ice

1° lower


The set point range for the refrigerator is 33°F to 45°F (0°C to 7°C). The set point range for the freezer is -5°F to 5°F (-21°C to -15°C).

Cooling On/Off

Your refrigerator and freezer will not cool when cooling is turned off.

To turn cooling off, press and hold the LOCK and MEASURED FILL buttons at the same time for 3 seconds.

IMPORTANT: To avoid unintentionally locking the dispenser or changing other settings, be sure to press both buttons at exactly the same time.

When cooling is off, “REFRIGERATION COOLING IS OFF” will appear on the display screen.

Press and hold LOCK and MEASURED FILL for 3 seconds again to turn cooling back on.

Additional Features

Max Cool and Max Ice

The Max Cool feature assists with periods of heavy ice usage, full grocery loads, or temporarily warm room temperatures.

The Max Ice feature assists with temporary periods of heavy ice use by increasing ice production over a 24-hour period.

To turn on the Max Cool feature, press the OPTIONS button to enter Options mode, then press OPTIONS again to activate the feature. The Max Cool icon will appear on the dispenser display.

The Max Cool feature will remain on for 24 hours unless manually turned off. To manually turn it off, press the OPTIONS button to enter Options mode (unless you are already in Options mode), then press OPTIONS again. When the feature has been turned off, the Max Cool icon will disappear on the dispenser display.

4

Page 4
Image 4
KitchenAid W10168322A warranty Using the Controls, Adjusting the Controls, Cooling On/Off, Additional Features

W10168322A specifications

The KitchenAid W10168322A is a versatile and durable kitchen appliance designed to enhance the cooking experience for home chefs. This model is primarily known as a replacement part in various KitchenAid appliances, including dishwashers, making it a crucial component in maintaining the functionality of these kitchen essentials.

One of the standout features of the W10168322A is its robust construction. Made with high-quality materials, it promises longevity and reliability in the kitchen environment. The component is designed to withstand the consistent wear and tear of regular use, ensuring that your KitchenAid appliance remains in excellent working condition.

The W10168322A incorporates advanced technologies that make it user-friendly and efficient. Its design ensures that it fits seamlessly into compatible models, making installation straightforward. Homeowners can easily replace worn or malfunctioning parts without needing professional assistance, which saves both time and money. The appliance part is engineered to deliver optimal performance, which contributes to the efficient functioning of your dishwasher.

This KitchenAid model features a smooth operation that minimizes noise, allowing you to maintain a peaceful cooking environment. The appliance part is designed to provide excellent water drainage, preventing any leaks and ensuring that your dishes come out spotless after every wash. Additionally, the durability of the components guarantees that they can handle high water temperatures and aggressive detergents without degrading.

Another characteristic that sets the W10168322A apart is its compatibility with a range of KitchenAid dishwasher models. This broad compatibility allows users to replace parts with confidence, knowing that they are selecting a solution specifically designed for their appliance needs.

In summary, the KitchenAid W10168322A is an essential component for anyone looking to keep their KitchenAid dishwasher running smoothly. With its quality construction, easy installation, advanced technologies, and compatibility with various models, this part ensures that home chefs can continue to enjoy the convenience of a reliable kitchen appliance. Investing in the W10168322A means investing in quality, efficiency, and peace of mind in your cooking space.