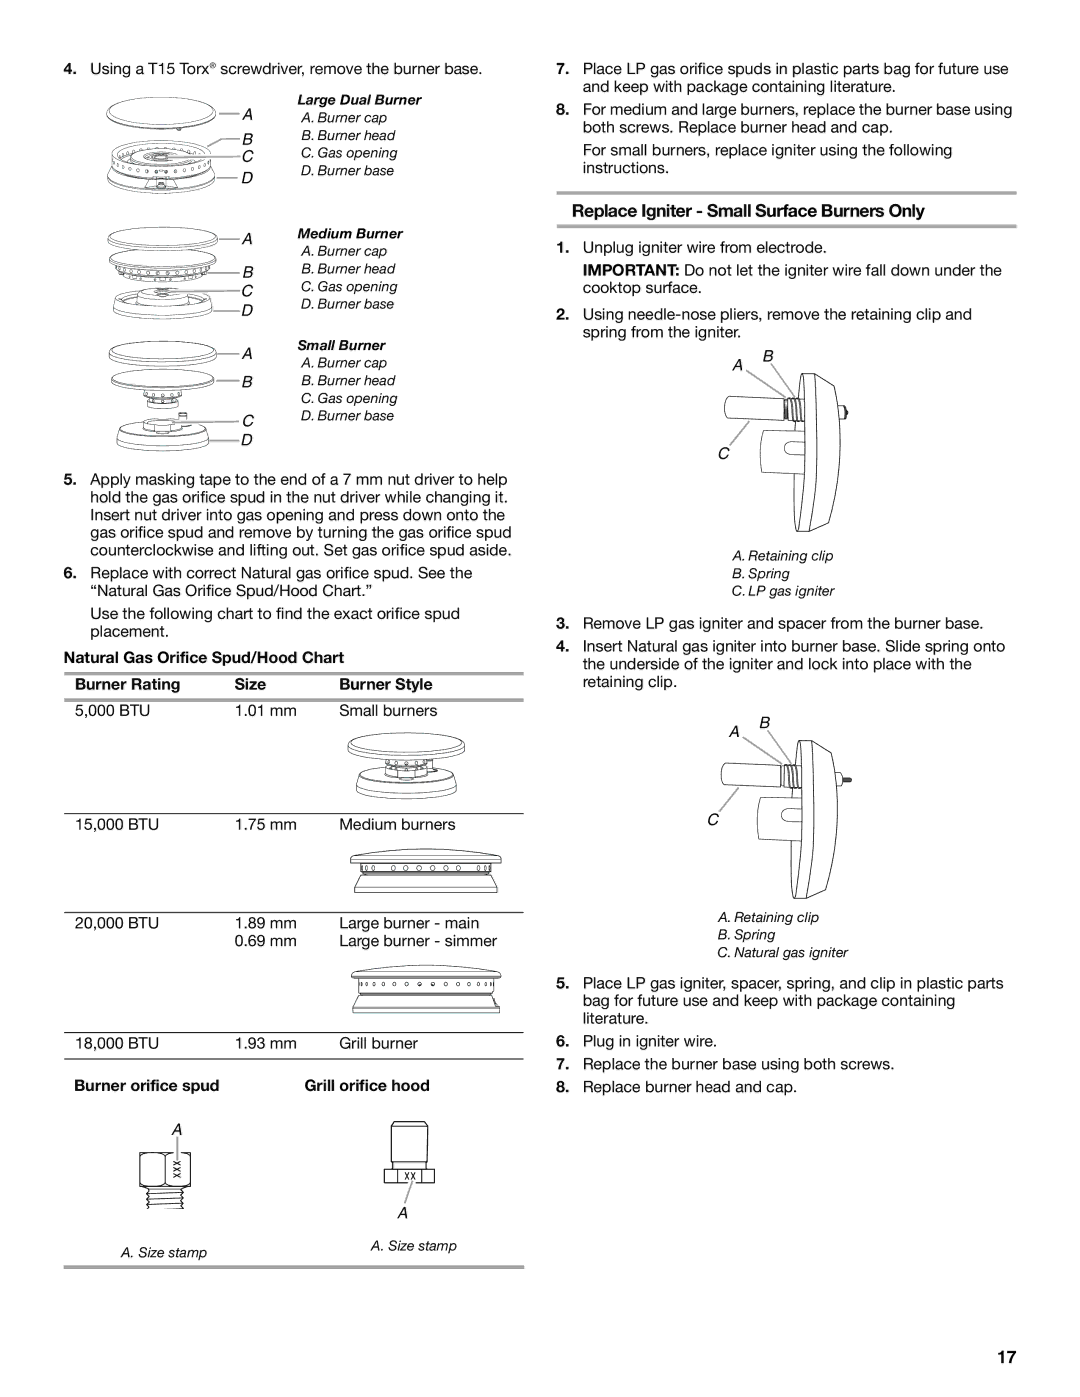
W10271686C specifications
The KitchenAid W10271686C is an essential component for any kitchen that revolves around efficiency and culinary excellence. Recognized for its innovation and durability, this product represents KitchenAid's commitment to high-quality household appliances.At the core of the W10271686C model is its impressive functionality. This replacement part is compatible with a variety of KitchenAid appliances, enhancing their performance and ensuring the smooth operation of your cooking experience. Its versatility is one of the leading characteristics that attract users, as it seamlessly fits into multiple appliance configurations.
One of the standout features of the W10271686C is its robust construction. Made from premium materials, the part is designed to withstand the rigors of daily use. This durability not only guarantees a longer lifespan but also minimizes the risk of wear and tear, keeping your kitchen running smoothly. Home cooks and professional chefs alike appreciate the reliability that comes with using a KitchenAid product.
The W10271686C also embodies advanced technology to optimize its performance. Enhanced with innovative design elements, this replacement part ensures that users have access to the latest advancements in kitchen technology. This not only improves efficiency but also leads to better cooking outcomes, empowering users to achieve culinary perfection.
Another significant characteristic of the W10271686C is its straightforward installation process. KitchenAid understands the importance of convenience in the fast-paced modern kitchen. With a user-friendly design, this product allows for quick replacements, making it easy for anyone to maintain their appliances without requiring professional assistance.
Moreover, the compatibility of the W10271686C with various models enhances its appeal. It supports a wide range of applications, simplifying the replacement process for countless users. This aspect minimizes the hassle often associated with sourcing kitchen appliance parts, as many users can rely on one trustable option.
In summary, the KitchenAid W10271686C is more than just a replacement part; it's an embodiment of quality, efficiency, and innovation. With its durable construction, advanced technology, easy installation, and wide compatibility, it serves as a crucial element for anyone looking to elevate their kitchen experience. Whether you are a culinary novice or a seasoned chef, this product is designed to meet your needs. By choosing KitchenAid, you invest in a brand that stands for excellence in kitchen appliances.

